Want to take your 3D interior design rendering workflow to the next level? Apply these helpful tips in your next project and thank me later.
Interior design is one of the most inspiring industries for architectural visualization artists. We continue to discover incredible design proposals and hyper realistic CG images that deceive even the sharpest eye.
My name is Ricardo Ortiz, and I am a product specialist at Chaos. I have been a 3D instructor for more than 10 years. In this article I want to share with you a series of recommendations that will improve your workflow and make your interior images look more professional and stunning.
Keep reading to discover my top 10 tips that can help improve your interior renderings with V-Ray.
Tip 1: Look for references
Always look for references in the very beginning. Once we have our project brief and before opening any 3D platform, I usually look for many references of everything that the project would require; similar existing spaces, decorations, materials, styles, lighting, objects, colors etc.
Investing time in references is very important, because it allows you to define a mood board that will give a clear route of what you want to represent.
Gather references in different ways– use Google, interior design communities, Pinterest, magazines or even visit the places and take a lot of pictures.
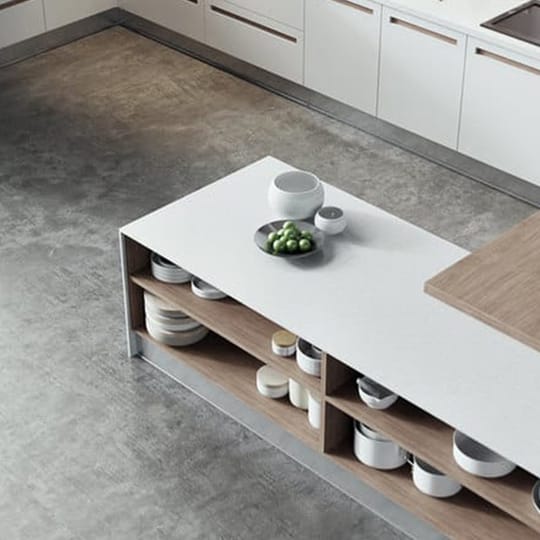
Tip 2: Follow modeling principles and create highly detailed 3D models
Sort and carefully select your models. A rule that I always establish with my students is to define an order for each 3D scene, using layers or tags, renaming models, optimizing geometries, etc. It will make life easier, and even more so if you are working in a team.
If you want to achieve photorealism, your 3D models must look like the real world. Keep the following things in mind:
- Use the correct scale of measurement
- Pay attention to construction details (beveled edges, union details, seams etc.)
- Keep the organic appearance in mind, folds and wrinkles in fabric geometries for example.
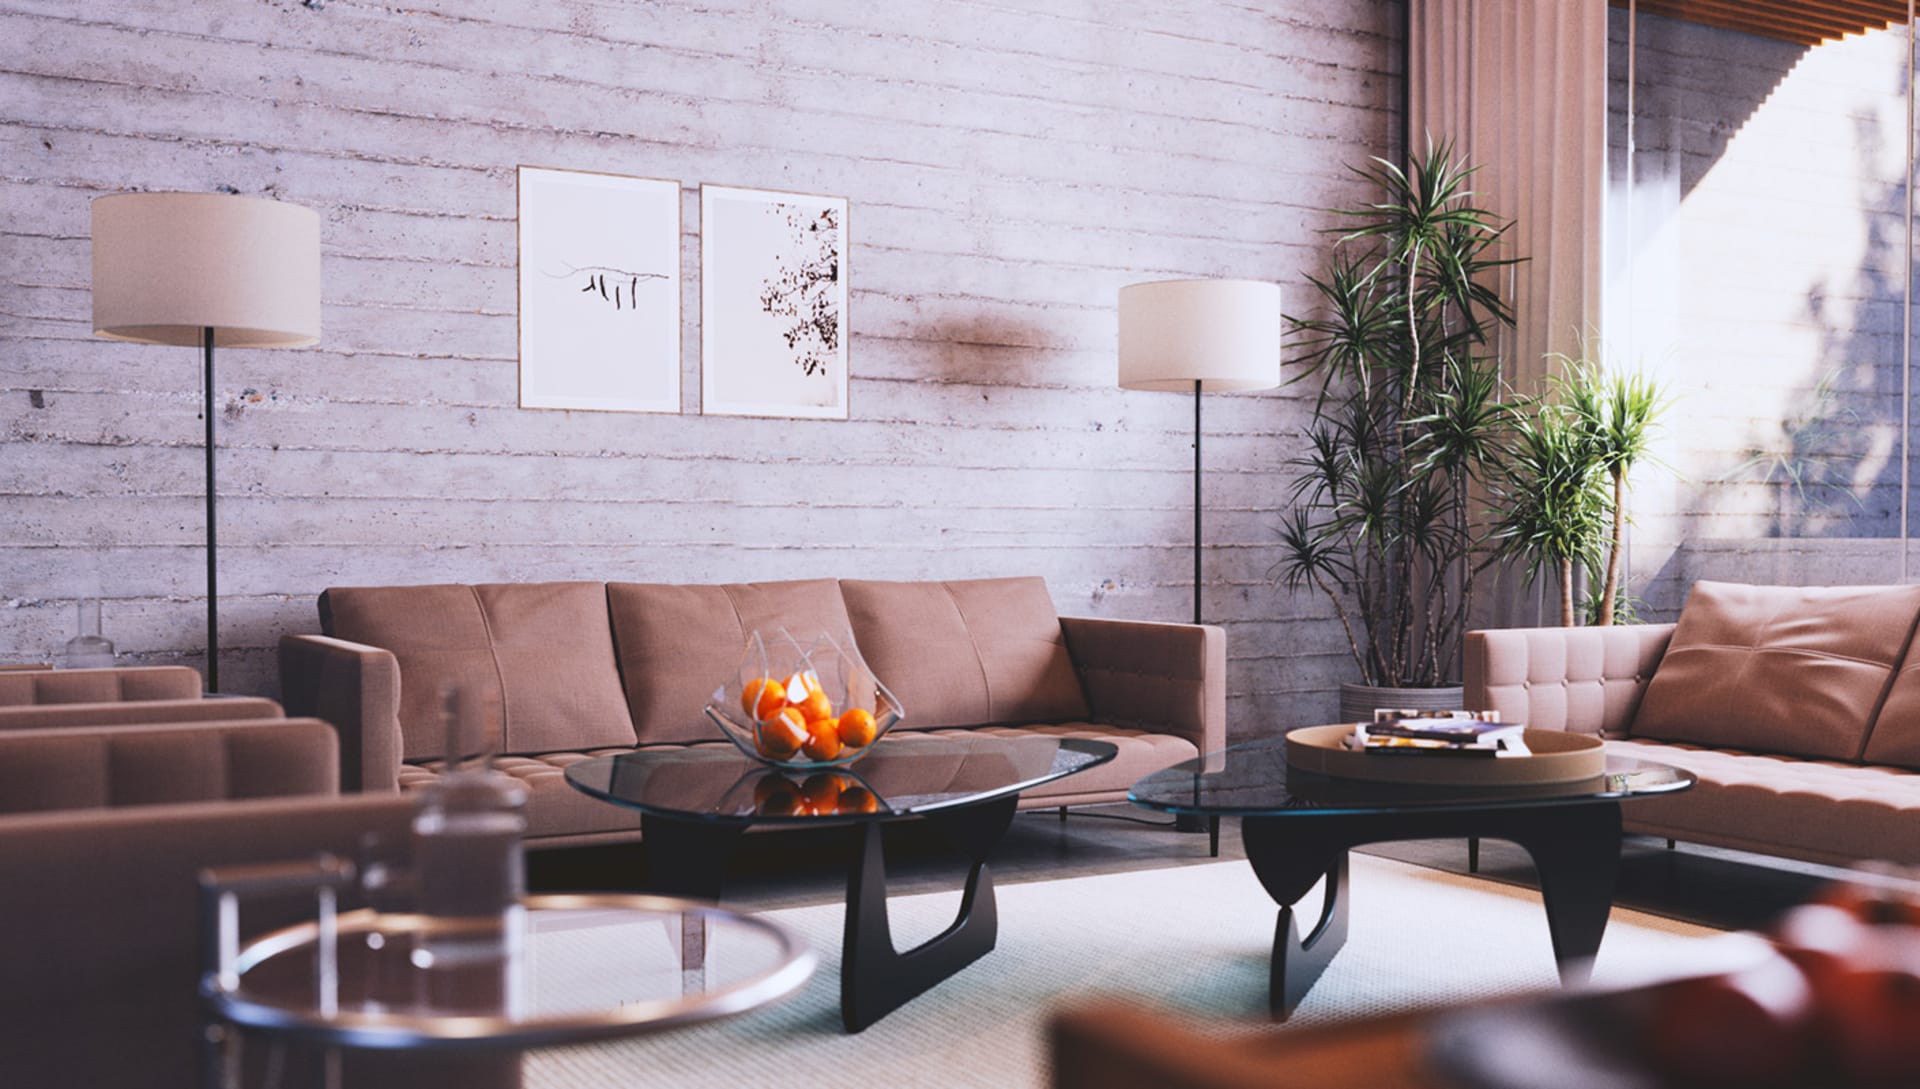
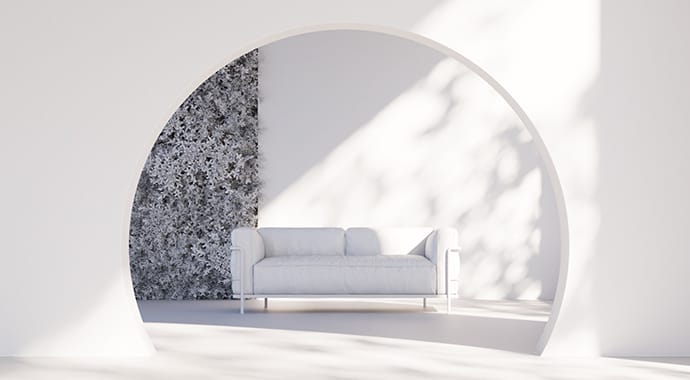
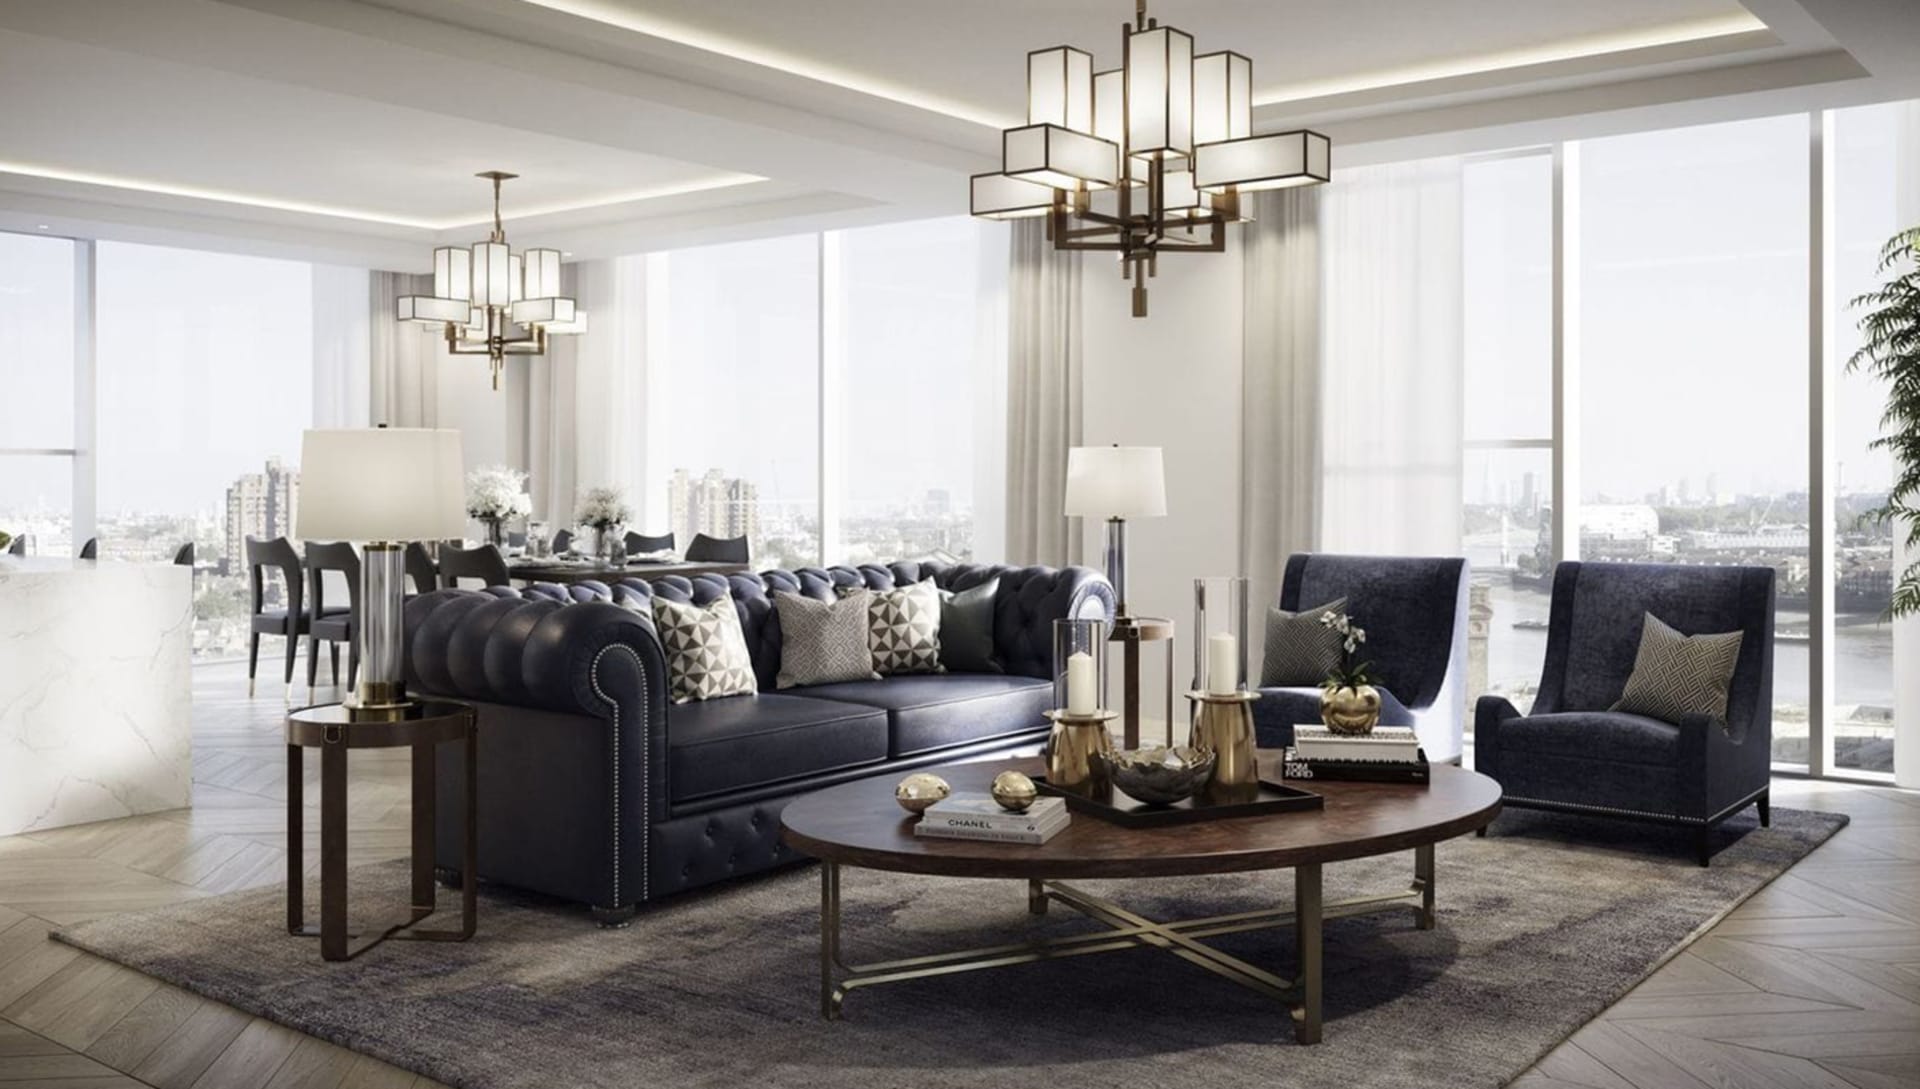
Tip 3: Define the color scheme
Never forget to define a color palette. This requires nothing more than color theory. In most cases, your brief will contain the color palette information previously developed by an interior design department. In creating the color palette, some fundamental aspects are considered:
- Lighting; natural and/or artificial light
- Type of space or activity to be developed
- Rule of percentages; Base color 60%; neutral colors for walls, ceiling, floor. Secondary color 30%; furniture, rugs, decoration. Accentuation 10%, for details and accessories.
- Harmony (monochromatic, analogous, complementary, opposite, triadic)
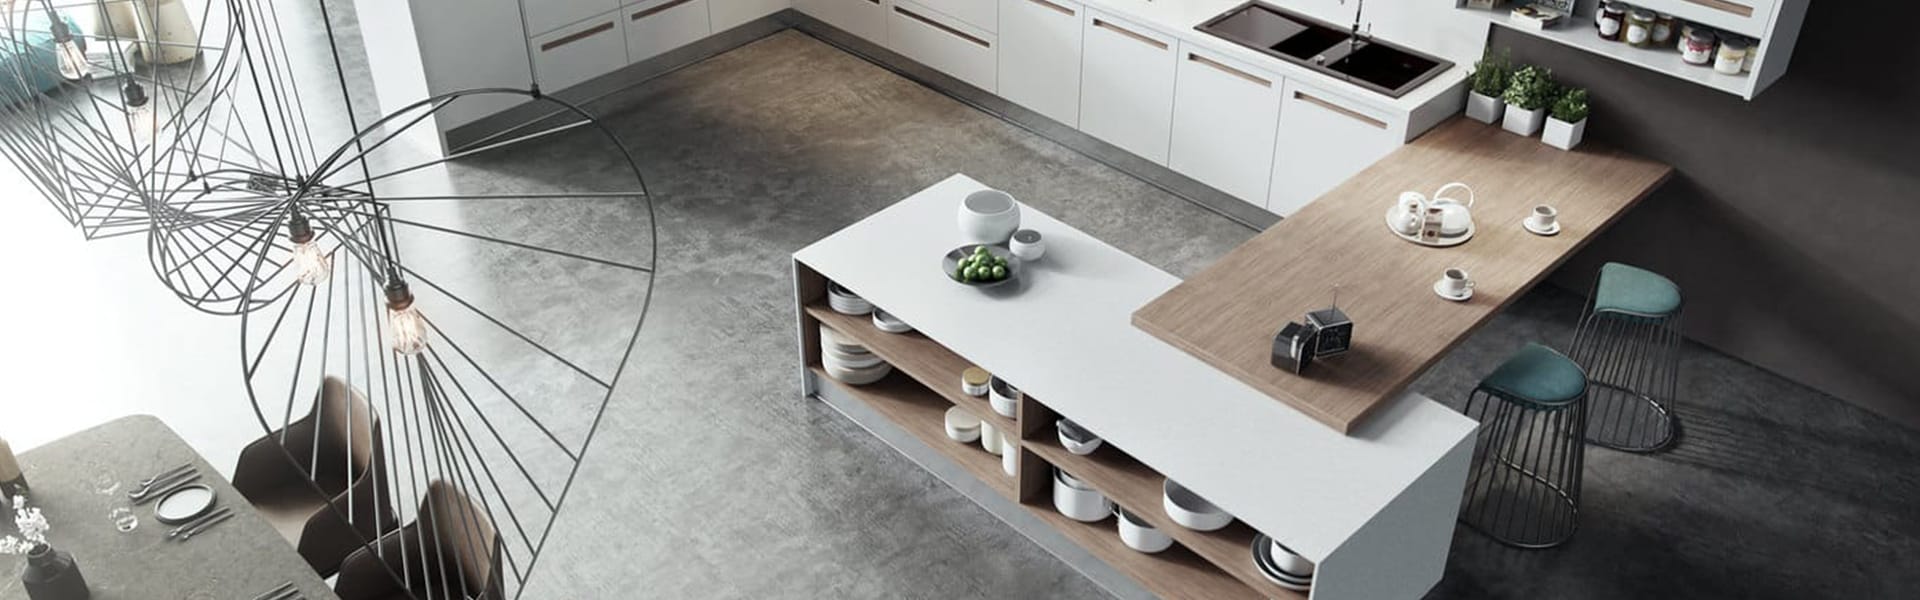
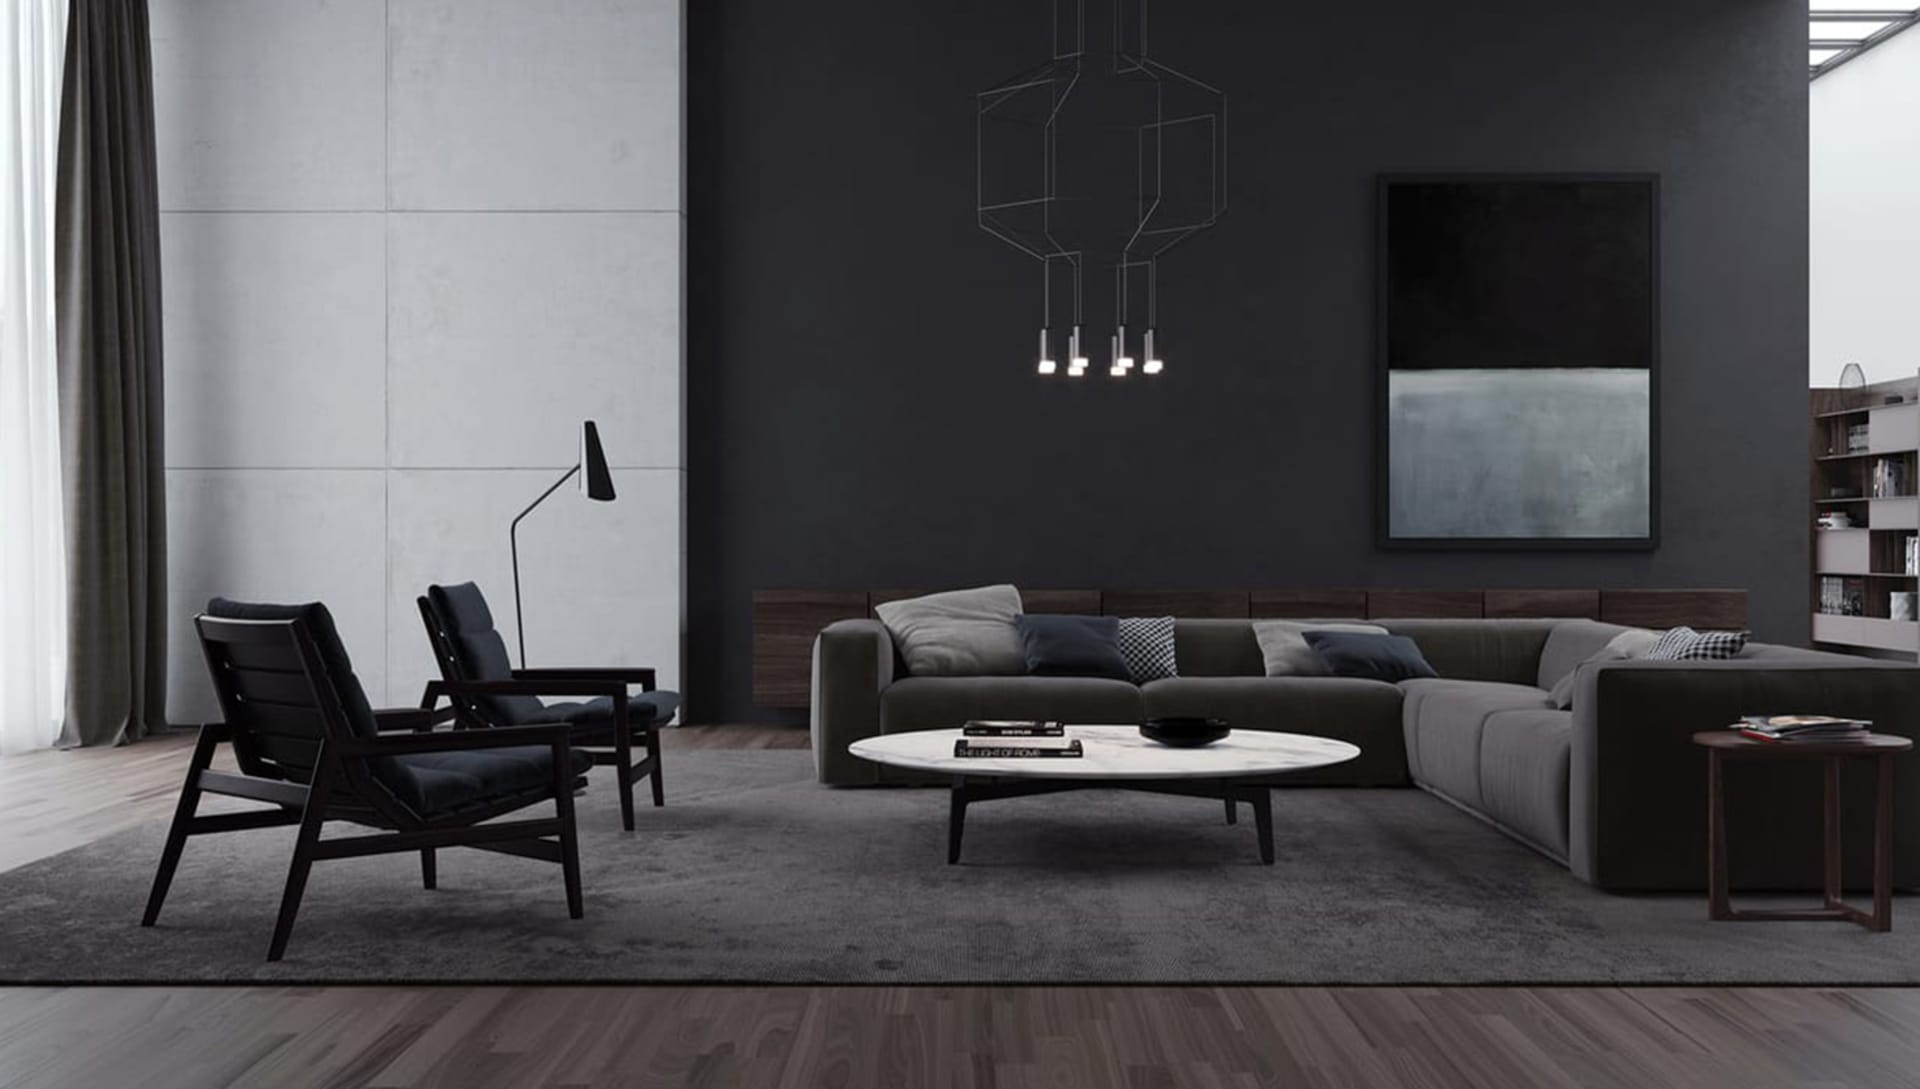
Tip 4: Take into account real-world cameras and composition rules
Surely you have already read in many places how important it is for us visualization artists to know everything about photography; theory, concepts, rules etc.
Each space we create has peculiarities, and before placing a camera we must know if our client has a specific idea about elements or spaces to highlight and thus determine the points of interest.
- Use composition rules (rule of thirds, symmetry, golden ratio etc), this guarantees that our image is balanced, experimenting with several options to find the best one.
- Move, remove or add elements in each camera view if necessary, many times we will need to balance the space, it is a trick that interior design photographers do frequently.
- Depth of Field and Motion Blur, let's not forget that a real life camera has these behaviors, use them always, the result will give a more realistic feeling.
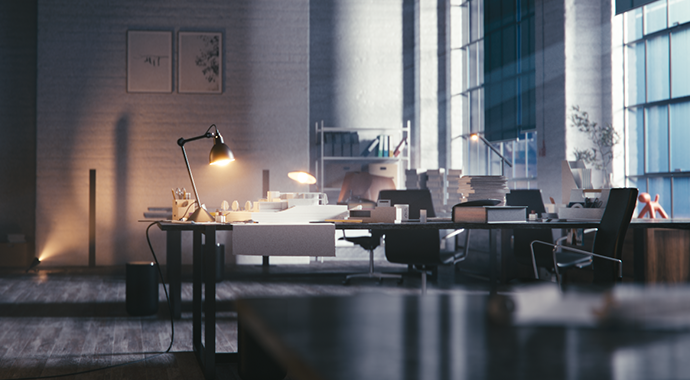
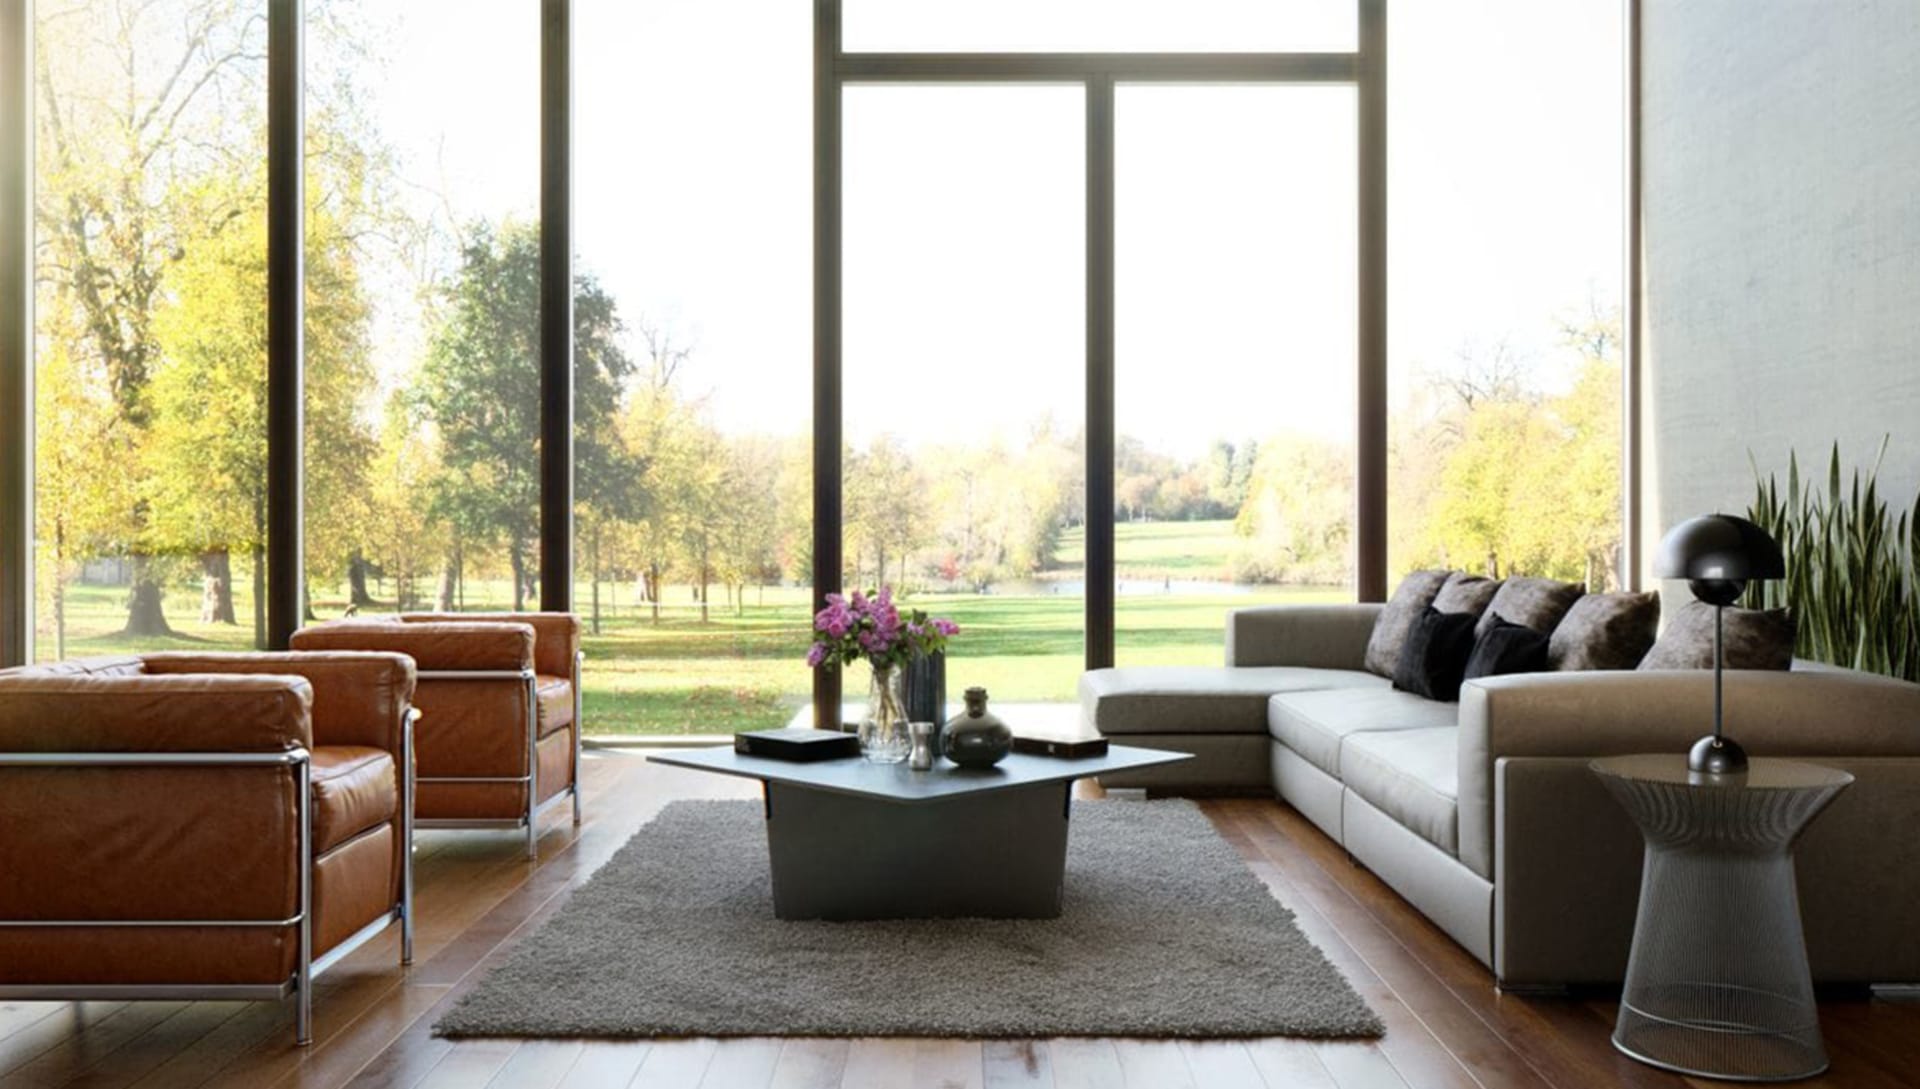
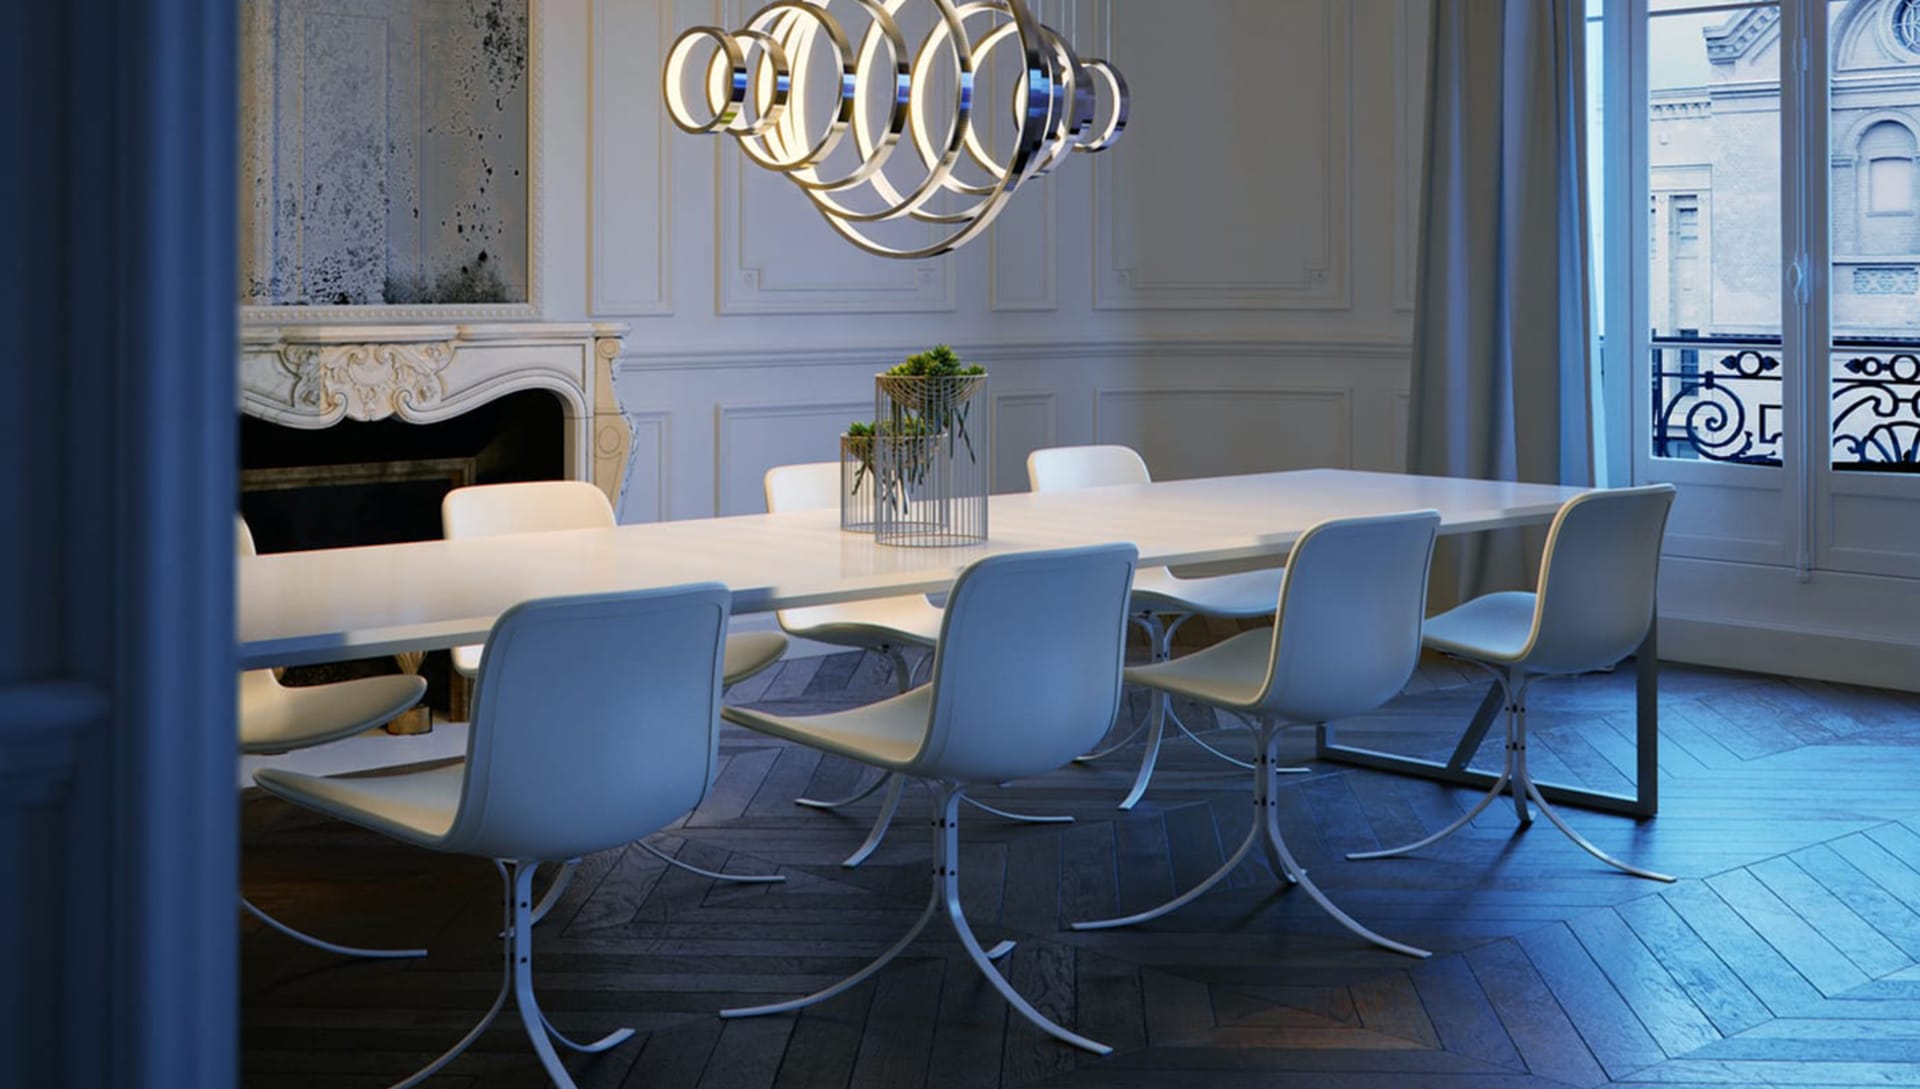
Tip 5: Adjust the lighting
Lighting is perhaps the most important factor and often the most complex of all to achieve photorealism, you will find hundreds of tips and tricks, and many times, they all work. At this point I will omit the interior spaces of bars, restaurants etc. Since they involve a specific lighting design that deserves to be discussed in a full article.
So, let's simplify this point to only interior visualizations with natural and hybrid light, as they are the most common.
There are two very efficient methods to resolve illumination;
- Use an Image Based Lighting (IBL) with a dome light and an HDR map.
- Use the Physical Sun and Sky, where you must also create a dome light and place the Sky in it to optimize the evaluation.
Remember this, both methods require a dome light and use its adaptive algorithm. This allows for a quick configuration without the need to place portal lights in the windows or openings, (as was done in previous versions).
Now, if you would like to create hybrid lighting by adding artificial lights (such as IES profiles), it is important to consider the new LightMix system, so that after rendering, you can freely control the contribution of the lights until you achieve a perfect balance.
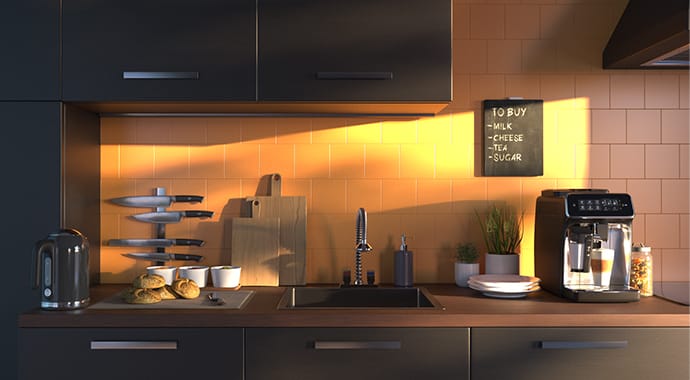
Tip 6: Choose the right materials
Material work is key to making your models look realistic. Today we can use free and commercial libraries of incredibly detailed materials, however, we must consider some aspects when applying them to obtain better results:
- Make sure to apply correct scales in relation to the texture maps. Take a look at your references.
- Details physical characteristics according to the type of material. With the new V-Ray Material you can add reflective layers for wood, plastics, etc. with the Layer Coat. Or, for textile materials you can use the Sheen layer to detail velvets, satin, silk, and more.
- Create randomness that breaks repetitive patterns on large surfaces. To achieve this you can use the VRayUVWRandomizer map utility.
- Add subtle details of imperfections such as wear, impurities or dirt. You can use the VRayCurvature, VRayDirt maps, or the VRayDecal function.
Tip 7: Fine tune the rendering settings
Years ago, we as artists would spend a lot of our time discovering the appropriate settings for our images, now everything is simpler, a couple of clicks and that's it.
The default V-Ray settings resolve most images, of all types. Basically we only need to add some extra functions and some render elements for our final render.
-Use Denoiser, an amazing tool that will help you remove noise without sacrificing render time. Consider only something, not all surfaces in a scene require it the same, so if you make zonal adjustments, it will be much better.
Tip 8: Take advantage of compositing and light mixing
In V-Ray 5, the composition possibilities were expanded thanks to Composite and LightMix within the new VFB, these tools offer you greater possibilities for adjustments, and without leaving the 3D platform, consider the following:
- BackToBeauty. This render element preset is quite useful if we want to emphasize and/or correct certain physical evaluations such as reflections, refractions, indirect light, etc. Having separate control of the contributions will give us ample adjustment possibilities.
- Use the Cryptomatte render element. It is the best masking system with all the precision we require. Whether animations or stills, this feature is essential for post-production.
- LightMix. An excellent alternative to control post-render lighting, this tool allows you so many possibilities, you can even totally change the lighting conditions, go from day to night and more.
Tip 9: Bring your images to post-processing
Always finish the images, this process is not only technical but also very creative, it gives your images your personality, it can be a bit complex at first, but with practice and taking references you can create great results.you
Just like the composition process, I recommend - whenever you can - use the VFB, as it will be very practical for you not having to export your images, in addition to the fact that the VFB works with pure pixel information.
- Use the correction layers, as many as you need. The layers in the VFB are designed for a non-destructive workflow.
- Activate the Lens Effects, do not leave light sources without bloom and glare effects. The visibility of light sources in front of a camera or our eyes always carry these effects to a greater or lesser extent, the VFB Lens Effects allow you to add conditions similar to a real camera, even considering the imperfections of the real-world.
- Filmic tonemap, in conjunction with other correction layers, can really make you achieve that result based on your reference from some film or photography.
- Use and create LUTs, lately they have become more and more popular. These files contain adjustments that help define images to a certain style. You can even create your own to unify your methodology and/or work style.
Tip 10: Ask for feedback
A common mistake we often make as artists is that sometimes we focus too much on one point of interest or one technical or artistic aspect of our image, that we forget to see the big picture.
To avoid ending up in that situation, always ask for feedback. Before you publish or send that image, it is worth listening to the opinion of a colleague or partner. I am positive that on many occasions it will help you.
Conclusion
Creating interior renderings is a process in which we always face new technical and artistic challenges that we must solve. Many times there will be no information or tutorials, and we will have to invest time in researching and experimenting. However, defining a work methodology considering aspects such as the ones I have mentioned will greatly simplify your workflow.