
Your cart
There are no items in your cart.


Push your interior and exterior scene staging to ludicrous speed with Chaos Cosmos—a universe of assets optimized for any workflow and ready-to-render with V-Ray.
 © Toyota Europe
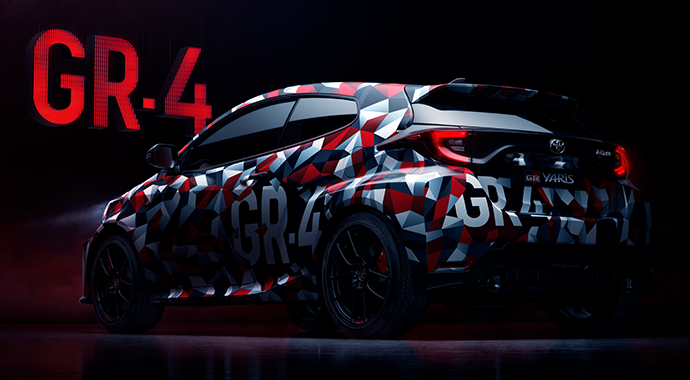
CGI Artist & Retoucher Tim Taylor reveals how The&Partnership London created striking car renders for Toyota Europe’s GR Yaris Concept using V-Ray for Cinema 4D.

Learn how to light and render daytime and nighttime arch-viz exteriors using V-Ray for Cinema 4D with these two helpful video tutorials by Fabio Palvelli.
 © Škoda Design
Get the latest news, artist spotlight stories, tips and tricks delivered to your inbox.