
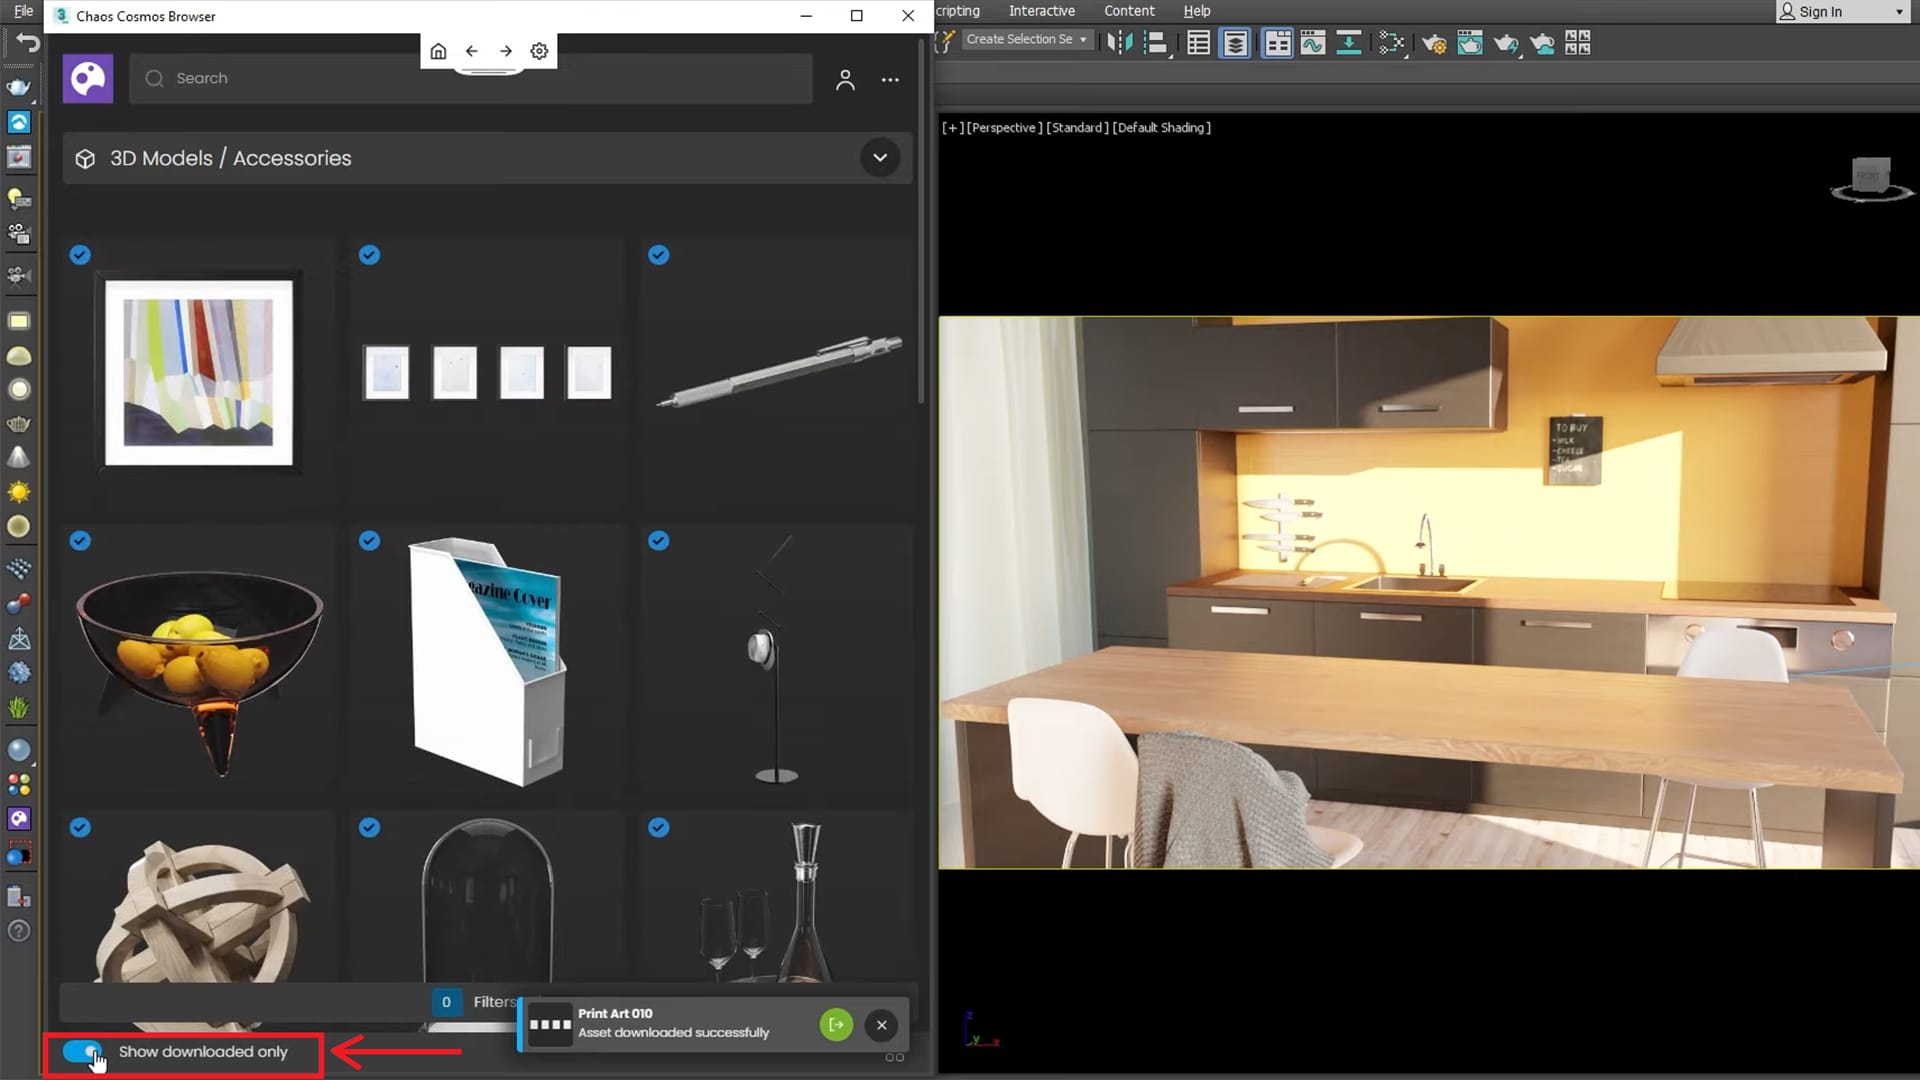
Your cart
There are no items in your cart.


 © Hagen Gilbert
Crunch time: Discover how V-Ray 5 for 3ds Max, Chaos Scans and Phoenix for 3ds Max helped VFX Artist Hagen Gilbert unleash mayhem in this dramatic car rendering.
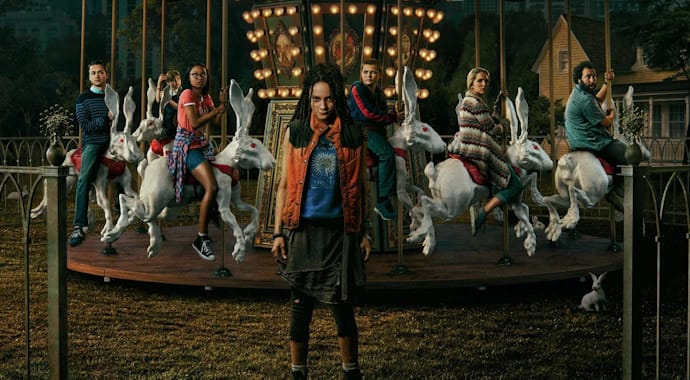 Mondlicht Studios, Rhubarb Agency © Amazon Studios
Mondlicht Studios and Rhubarb Agency’s campaigns for “Utopia,” “Altered Carbon” and “Alta Mar” are humongous. Find out how V-Ray for 3ds Max helped create them.
 © Capitol Records
CG artist Pedro Conti had just 6 weeks to deliver high-quality content for musical megastar’s latest promo. Here’s how V-Ray for 3ds Max helped him hit deadlines.
 © Škoda Design
Get the latest news, artist spotlight stories, tips and tricks delivered to your inbox.