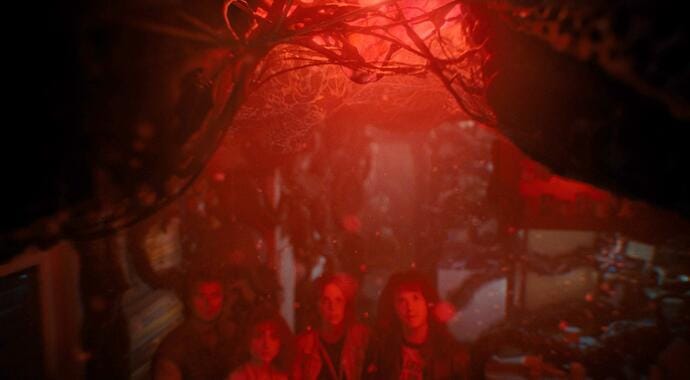
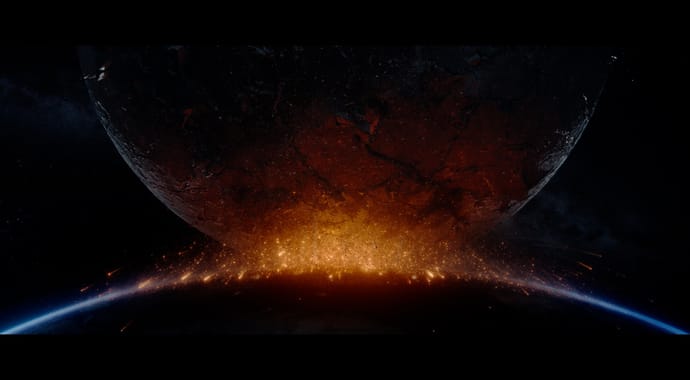
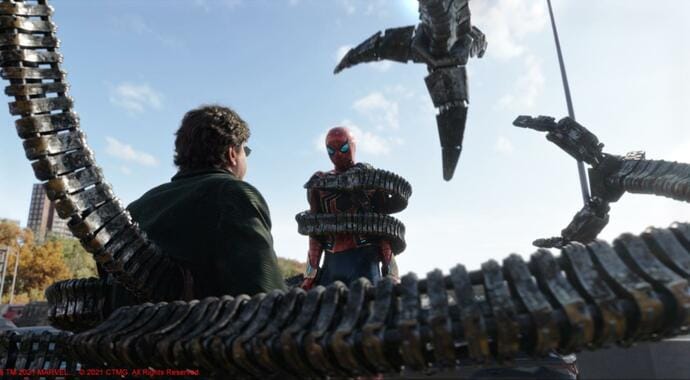
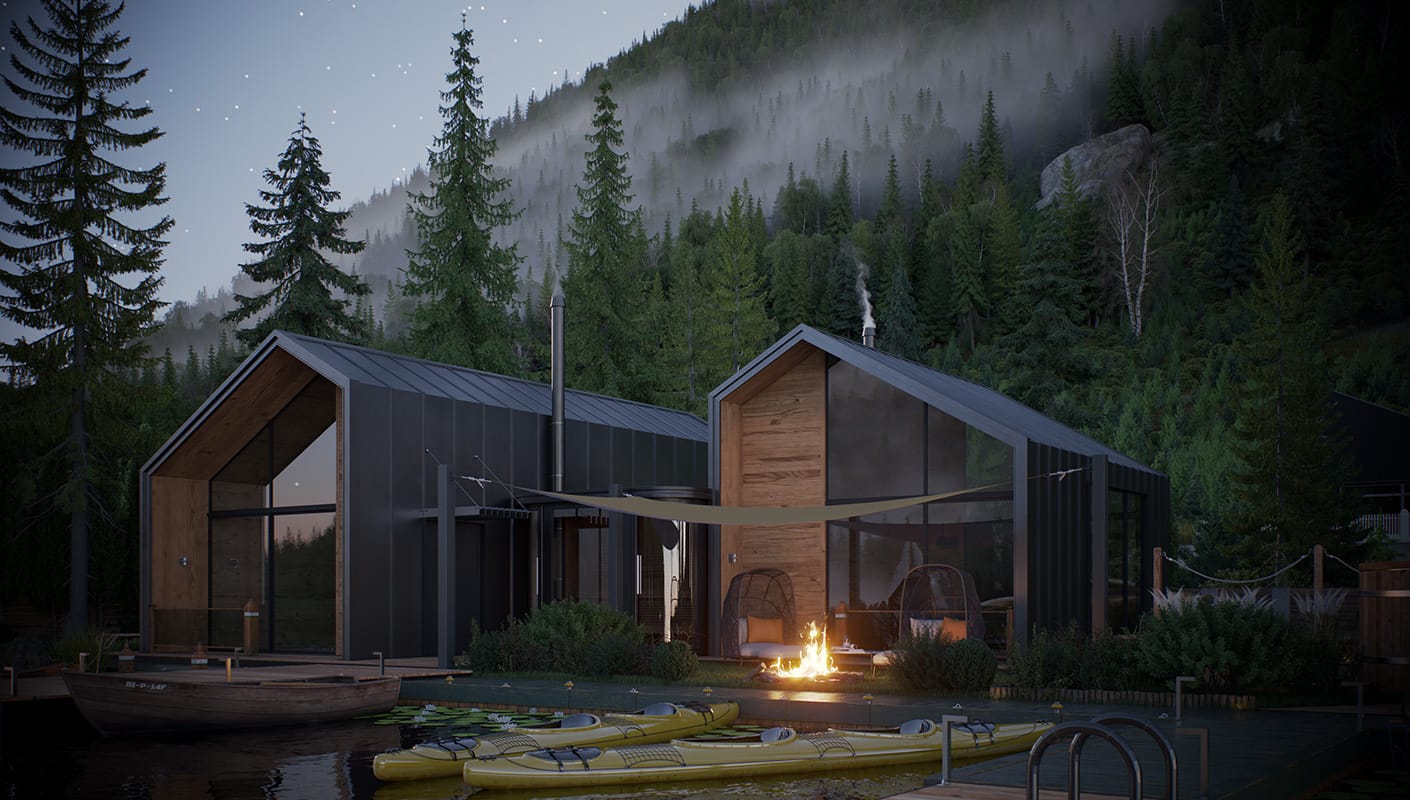
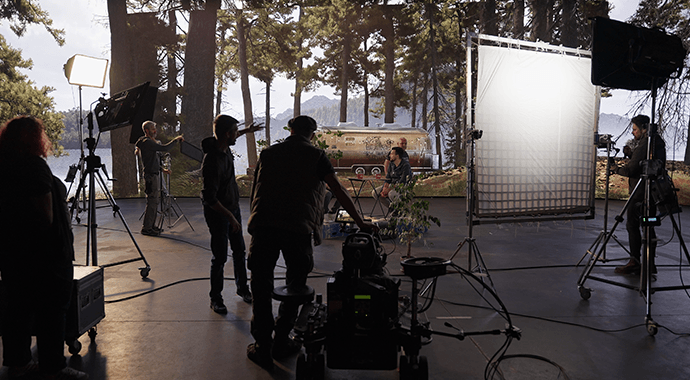
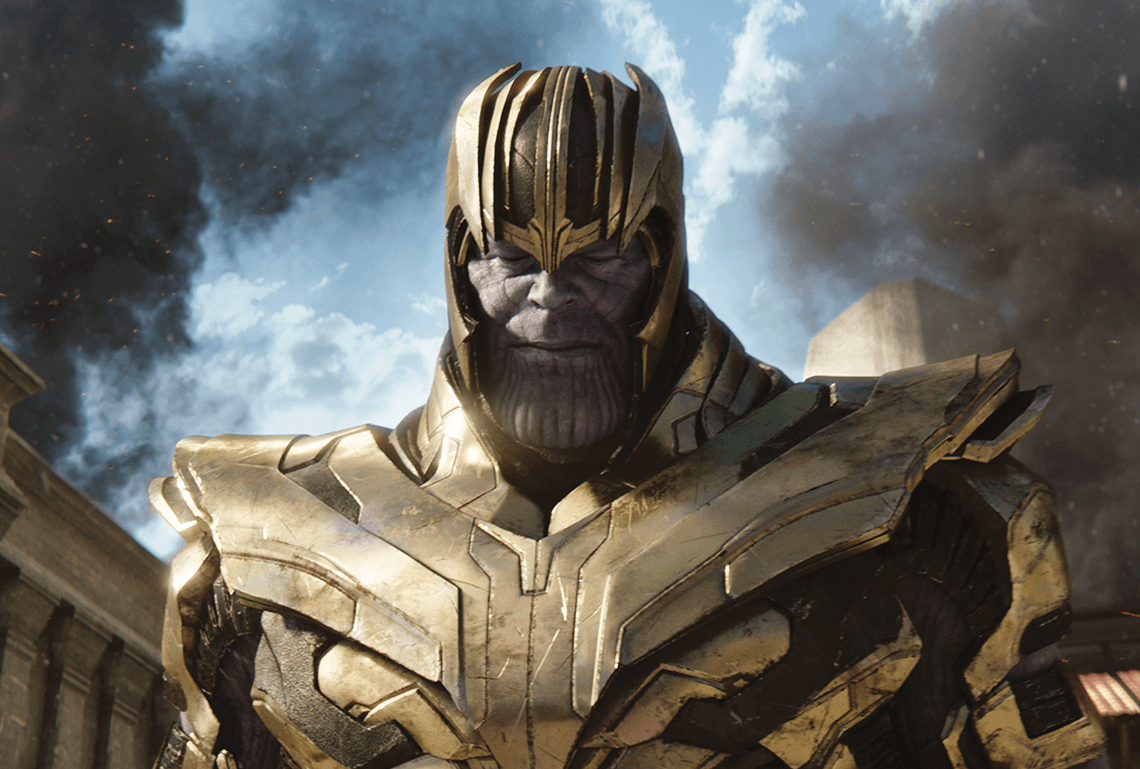
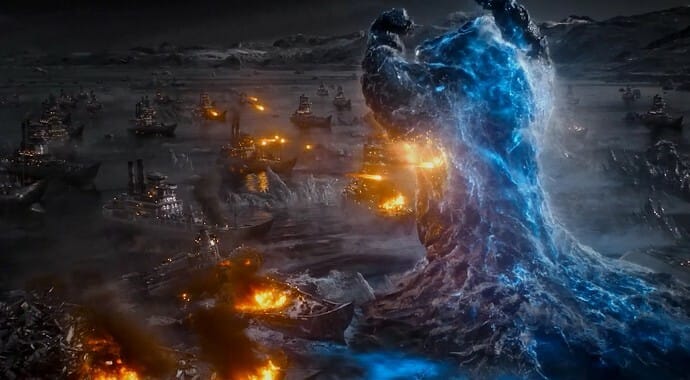
Chaos
Architecture

Industry solutions

Explore our ecosystem

Products

Media & Entertainment

Industry solutions

Explore our ecosystem

Products

Product & E-Commerce

Industry solutions

Explore our ecosystem

Products

Education & CommunityHelp

Chaos Help Center


What are you looking for?

Tips_for_realistic_arch_viz_and_VFX__pt.2_thumb.jpg

Tips for realistic archviz and VFX simulations part 2: Advanced techniques


Want to become a fluid dynamics master? Dive deep into Chaos Phoenix with expert Hammer Chen, and find out how to add extra levels of realism to your simulations.

In the first part of my guide to Chaos Phoenix, I introduced the key research and development concepts that help you create and tweak your simulations. Now, it’s time to dive deeper — Phoenix-generated water splash optional.

These tips will help you get creative with Chaos Phoenix and unleash the true potential of this powerful, versatile software.


Recycle the volumetric rendering settings

For shading a fire and smoke simulation, you have to adjust the color and curve in the Volumetric Settings. Curves and gradients will be adjusted for different effects. Practically, you can recycle volumetric settings by using the save/load rendering preset option as a *.tpr file. You can find various examples in the Flamethrower, Burning Cardboard Boxes, and Explosion Plume with tyFlow tutorials. You can see plenty more on the official tutorial page. Use the *.tpr file in the provided sample scene packages and apply one of them to your scene.


Higher grid resolution does not necessarily mean better simulations

This is a very common misconception by beginners. In fact, a certain level of grid resolution is sufficient, and cranking up the resolution from that does not necessarily make it a better simulation; in fact, it can be worse. The practical workflow for a fire or smoke simulation is to first run a base simulation at a high enough resolution (around 1~10 million cells) and then increase the resolution through the resimulation process.

Want to see it step-by-step? Follow the Collapsing Building tutorial, where we refine the smoke with resimulation, which adds Wavelet turbulence to increase the base simulation’s detail or simply amplify the resolution.

Working with VRay materials and textures

As Phoenix is a Chaos product, it’s highly compatible with V-Ray in many aspects. There are a lot of advanced effects you can’t do without the help of V-Ray texture maps or materials. Here are some examples:

  • VRayDistanceTex is a procedural texture that returns a different color based on a point's distance to objects specified in a selection list. I often use this to attenuate the artifacts of the fire at its roots by inserting VRayDistanceTex into the opacity modulation of the fire. You can find an example in the Burning Cardboard Boxes tutorial. Besides opacity modulation, VRayDistance can also be used as a mask. In the procedural ground dust with Phoenix article, when horses step on the ground, the VRayDistanceTex detects the horseshoe and serves as a mask for the ground emitting smoke. 
  • V-Ray Blend and V-Ray Light material. These two are my frequently used V-Ray materials. V-Ray Light is for anything that emits light. In the Lava flow tutorial, we use V-Ray Blend to mix a V-Ray Light material and Phoenix Grid texture, producing complex magma shading.
  • Another example is the Milk and Chocolate tutorial. Both chocolate and milk are translucent substances, so we use VRayFastSSS2 for them. The blending between the two is done by using VRayBlendMtl with the PhoenixFDGridTex as a mask.


Use particles as sources

Phoenix supports 3ds Max's own particle system as sources, including Super Spray and PFlow. It also supports third-party plug-in particle systems like tyFlow and thinkingParticles. 

The use of particles as sources allows you to create more advanced effects. In fact, it opens up a whole new world of non-linear animation. In the Artillery Explosion tutorial, we have multiple bombs dropped on the ground. Each triggers a huge explosion. Of course, we can keyframe the fluid emission by matching the timing of each bomb’s hits. But what if the director changes the frequency or timing of the bombing? It will be an animator's nightmare. Alternatively, Phoenix gives you an option called “Time Base”, which allows you to animate the emission using the age of the particle instead of the timeline frame time which is a powerful feature for procedural pyro effects.

Let's get physical

You don't need to be a rocket scientist — but knowing a bit of physics can make a big difference. For example, the temperature unit of Phoenix is Kelvin, not Celsius or Fahrenheit. The Kelvin at room temperature is 300, above this temperature, the smoke will rise. Conversely, if you want to make a dry ice effect, you need to lower the temperature below 300 degrees Kelvin.

Different molecular compositions affect the scattering of light within them. For example, if you want to render clouds, the Phase Function should be set to a positive value for forward scattering because it is easier for the light to penetrate the clouds. On the other hand, if you want to make thick smoke, it is recommended to set the phase function to a negative value for backscattering. You can find some insightful diagrams in the official documentation.

Phoenix is also not only capable of fluid simulation, but it can also simulate fluid together with a rigid body, which we call an Active Body. Active Bodies allow for two-way interaction between scene geometry and the Phoenix simulation. However, when using Active Bodies, you’ll need to pay attention to their properties, such as a ship’s Center of Mass and Density. This is critical to get a ship to float in water and sail safely, or otherwise, it can capsize. You can read more on this subject in the Stormy Sea tutorial. 

Play with time

There is a limit to how fast the human brain can process information. When an object breaks, such as a full wine glass, liquid and hundreds of glass fragments result in tons of information. Slowing down time makes things more accessible to your brain and therefore more aesthetically pleasing. 

With Phoenix, you can change the time after the simulation is completed using the Time Bend controls or Time Bend resimulation. Or, before running a simulation, you can go with another more straightforward method — animating the Time Scale. This enables you to change the time according to the animation of an object, which makes the shot more interesting and realistic. You’ll often see this used to create a bullet-time effect in movies or TV commercials. You can find a concise tutorial regarding this subject in the Making of Fruit Explosion blog post, and another detailed tutorial in the recently published Cosmetic bottle with splash

Monitor the particle number

When you are doing large-scale simulations, such as a stormy sea, it is important to monitor the number of particles. This type of simulation often pushes the hardware to its limits, as the frame advances, the simulation cache accumulates on the hard drive quickly, and your machine is eventually going to run out of RAM and disk space. For ocean waves, the number of Mist particles is less important than Splash ones. Right below the Simulation rollout, there is a window called Cache File Content, where you can read the statistics for all of the different particle types for that frame. You should constantly monitor those numbers. For example, if we see that Phoenix generates too much Mist, we can either reduce the Splash to Mist parameter or decrease the Mist Amount to optimize the scene. This way, you can simulate and render faster.

Tips_for_realistic_arch_viz_and_VFX__pt.2_05.jpg
3D model © Lien Ying-Te

Minimal changes from the default value

It is a good habit to change one option at a time so that they can see what exactly happens and how this contributes to the final simulation. Changing a few settings each time is a sure way to get unpredictable results. It is better to know exactly what you're doing to achieve a specific effect, by making precise parameter adjustments, rather than making several at once and running simulations haphazardly. 

If you tweak a parameter, and you can't see a big difference after the change, then it is a good idea to dial it back to the default value. I often get scene files from users; though the results are great, the parameters are a patchwork of results. Even though you can get usable results, it is difficult to further develop the scene for future usage. Cleaner setups also mean easier debugging and faster iteration for development.

Tips_for_realistic_arch_viz_and_VFX__pt.2_thumb.jpg

Fired up for Phoenix?

Archviz and VFX require different approaches when it comes to creating a 3D scene.

This article provides artistic tips that can be applied to make fluid simulation easier. Not only is it beneficial for VFX artists, but adding fluid effects to your project will make your architectural visualizations stand out and win the bid from clients. After all, who doesn't like a luxury hotel with an ocean view? Or a villa with a pool, or a hot coffee in the morning, or a fireplace in the living room during a cold winter?

Feel simulated.

Grab a 30-day trial of Chaos Phoenix.
© Škoda Design

Subscribe to our blog.

Get the latest news, artist spotlight stories, tips and tricks delivered to your inbox.

By submitting your information you are agreeing to receive marketing messages from Chaos. You can opt-out at any time. Privacy Policy.

Chaos
© 2024 Chaos Software EOOD. All Rights reserved. Chaos®, V-Ray® and Phoenix FD® are registered trademarks of Chaos Software EOOD in Bulgaria and/or other countries.