
Your cart
There are no items in your cart.

 Blur Studios © Netflix
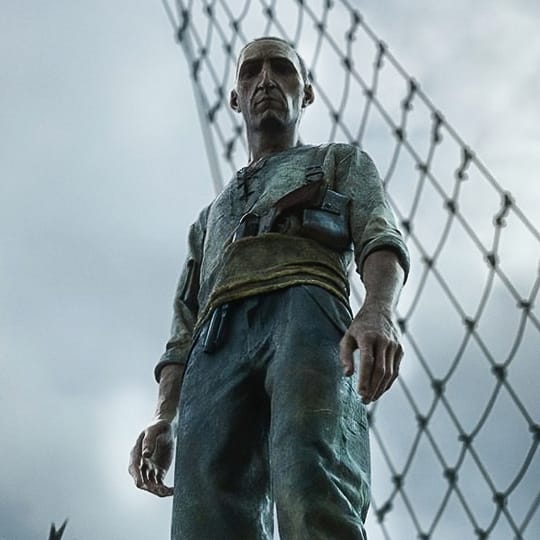 Blur Studios © Netflix
We previously spoke to Blur Studio about how they got started on David Fincher’s computer-animated short film for Netflix’s Love, Death & Robots series. Now, we’re joining Compositing Supervisor Nitant Ashok Karnik and Co-CG Supervisor Jean Baptiste Cambier to get into the nitty-gritty of creating atmospheric lighting for the short, as well as the versatile V-Ray features that helped breathe life into a moribund world.
Be warned: This article contains spoilers for “Bad Travelling.” Read on at your peril.
Bad Travelling’s lighting is incredible — but it must have been very challenging to get right. How did you approach it? Could you share any tips for lighting a shot like David Fincher?
Nitant Ashok Karnik: Yes, lighting was absolutely critical in this show. David’s focus was very clear – he wanted the lighting to tell the story as much as any other tool at our disposal.
A key theme for lighting on this show was that we were not lighting just to make it look pretty. We needed the lighting to support the story — which means that you can’t just light individual shots in the nicest way possible, that’s not realistic.
David did not shy away from brave choices with lighting. In the tempest scene, he asked us to push the intensity of the lightning flashes — to break some OLED screens with how bright it is! As an artist, that tells me that I don’t need to be afraid to blow out the image as long as we can read the action. It was liberating to be bold with lighting in this way. I would encourage others to be more ugly and real, than pretty and fake.

Jean Baptiste Cambier: Before starting to work on the lighting, we took the stand of not lighting our shots like David. Our objective was to open our work to what would give us the most potential for the final piece. We offered him what we imagined when looking at his story, so we could get the most out of our combined ideas.
Before showing any progress to David, we observed a few rules.
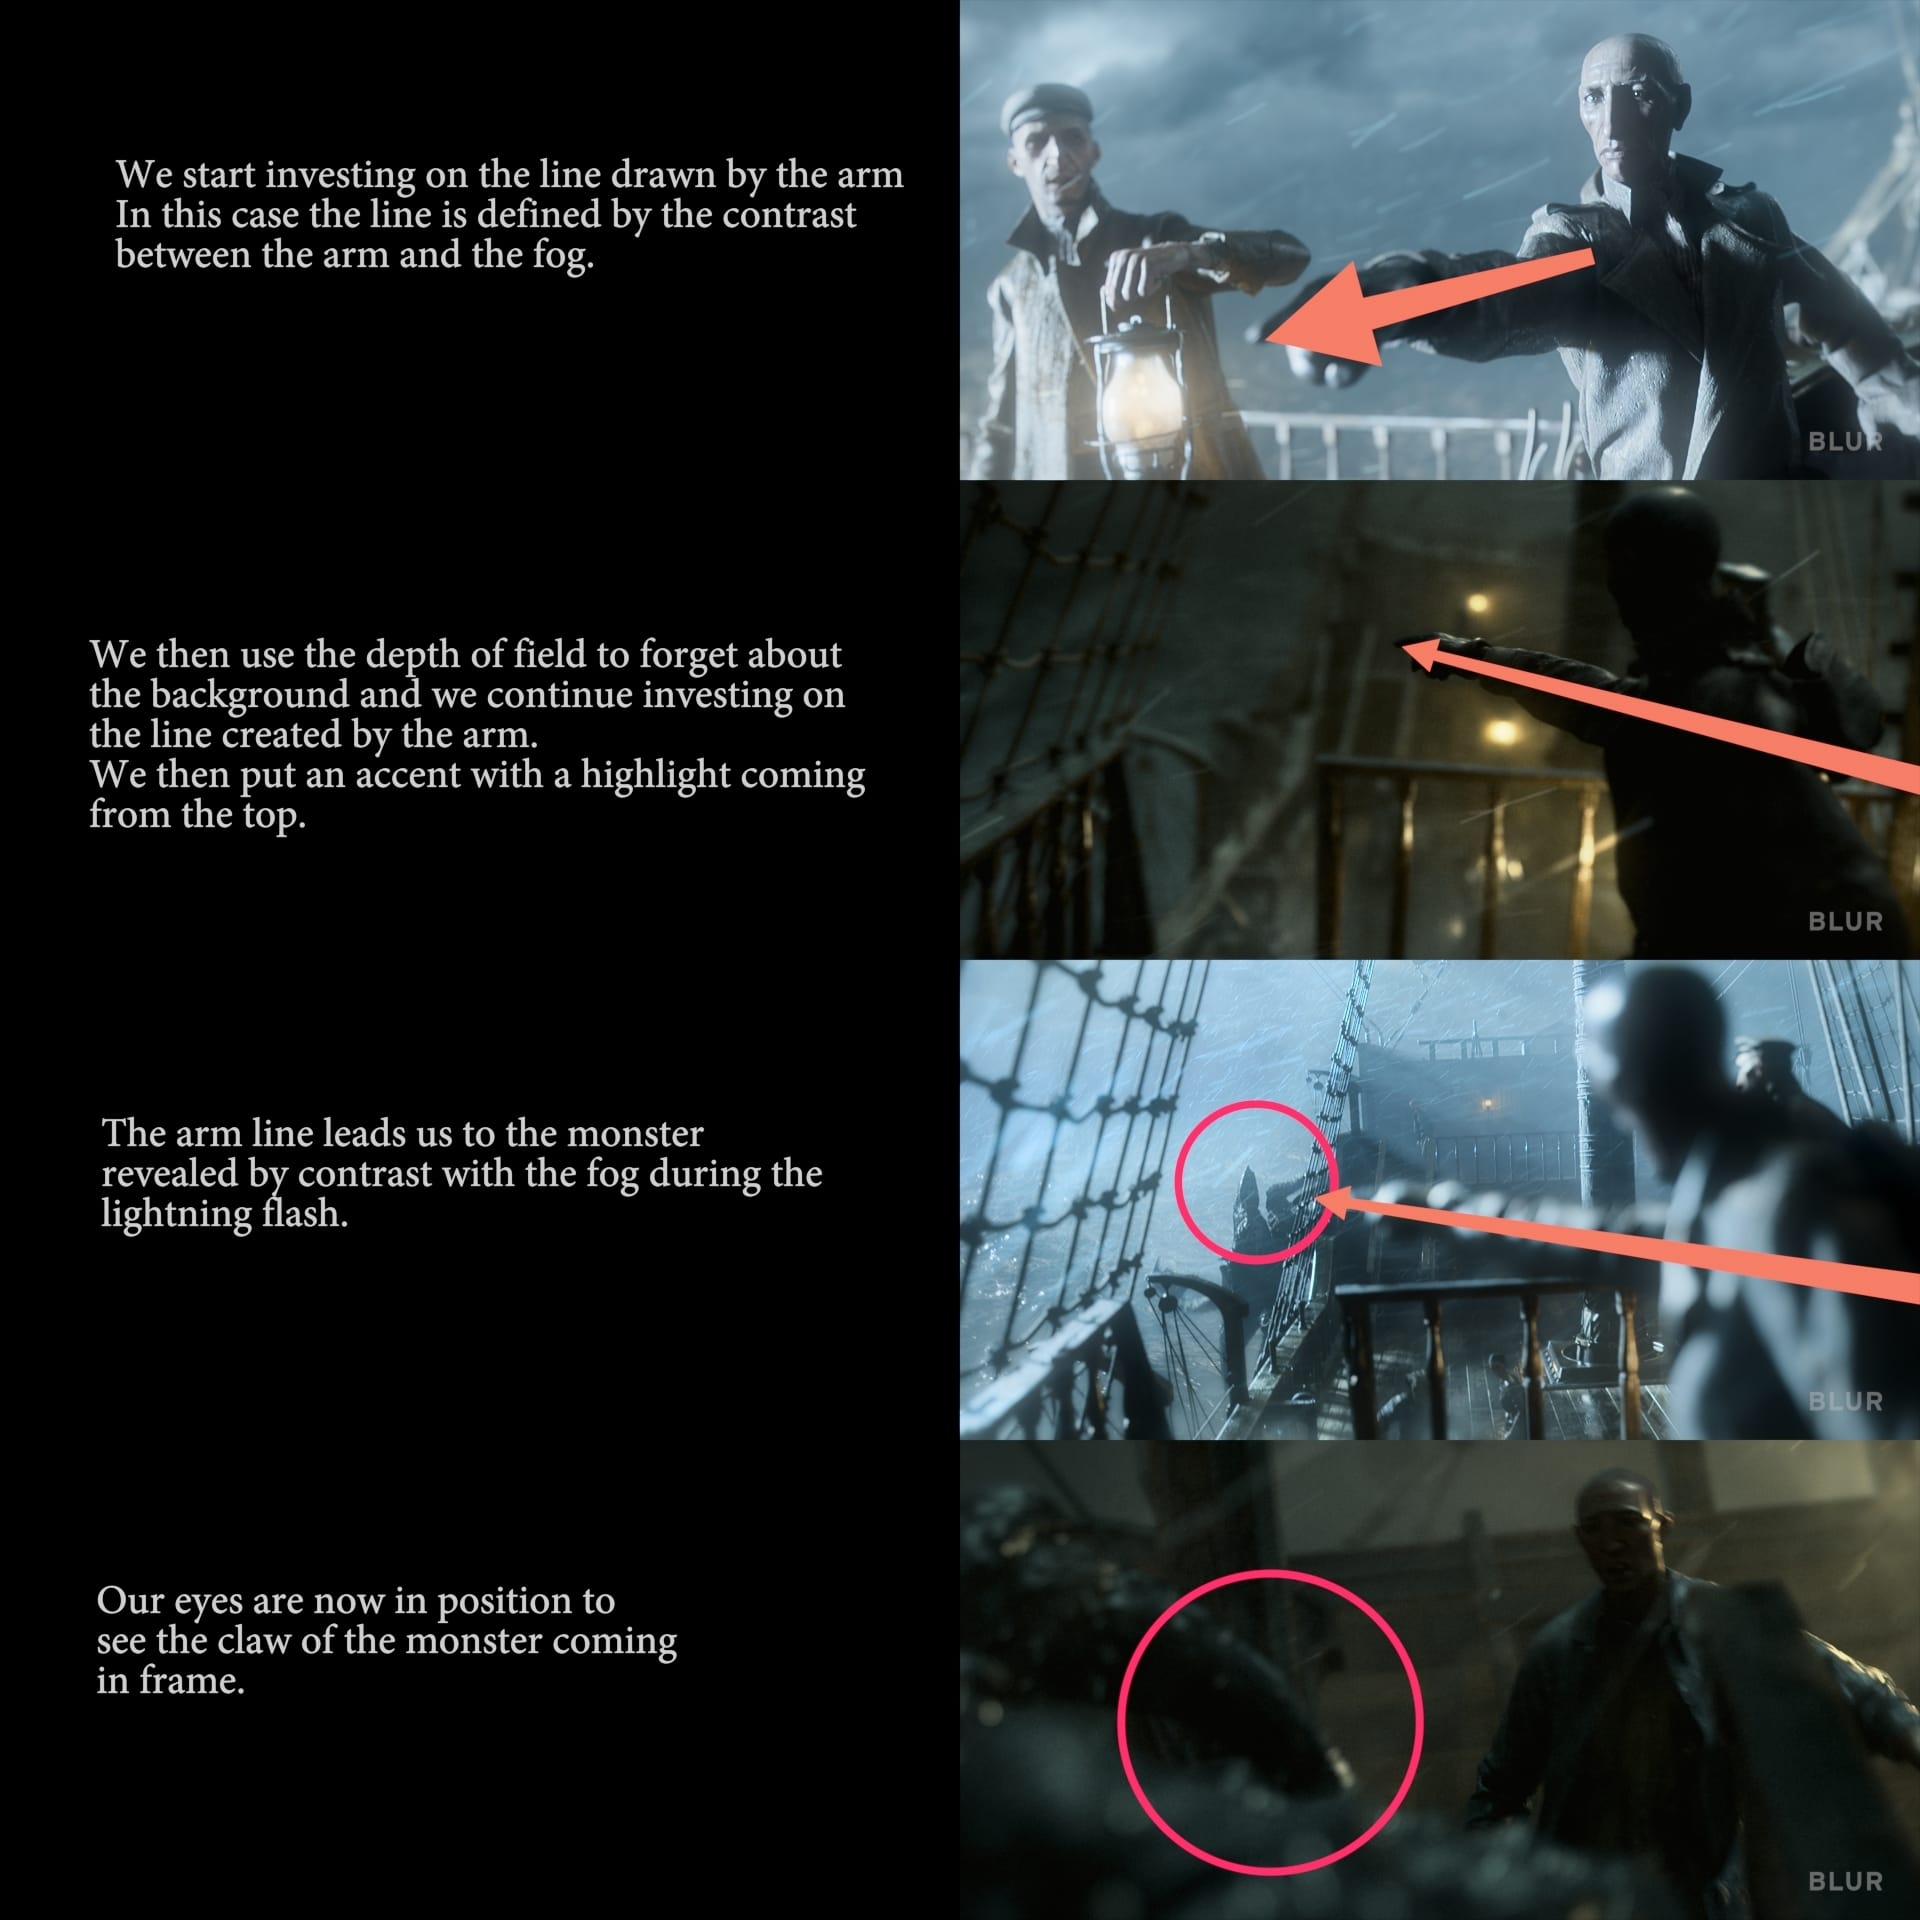
I love working with basic shapes and geometries when we light; arguably some of the best shots can be summarized with basic geometrical shapes. The framing of a shot or the set dressing are only the first steps of making a nice-looking image and merely a part of the structure. Lighting can totally shift your shape relationships, or the hierarchy of a shot and how one character can become more important than another. But where it becomes more complex is that this is not enough to think about it as a static frame. One shot leads to another; part of the artistry is to guide the eyes of a spectator in a flow, or a dance.
Another key notion we decided to lean on, and this is something we have taken the habit to do as we get more experienced from one project to another, is to break the rules.
Don't follow the three-point lighting, do not assume that if you have a key in one direction, you need the pendant of a bounce light on the other side, etc. Proceeding this way encourages the lighter to look at the action, not only in the shot they are working on but as a sequence, as a story.
As a whole, working in steps in lighting, and following a mindful path should naturally lead us to light a shot simply with very few lights. It’s like someone making a complex speech; our mind is going to struggle to ingest all the information at once. Images follow the same rule: if they look simple, they will have more impact.
What are some of your favorite V-Ray features? Is there anything that particularly helped out here?
NAK: V-Ray’s Light Selects and physical camera exposure controls were critical in helping us bridge the gap between live-action and full CG. As I mentioned, David was very precise about the temperature of the lights in the show, so he would also give us an idea of the white balance he would shoot with for a particular scene. Armed with that info, our artists calibrated the moonlight and lantern lights so they immediately landed right where Fincher expected.
In compositing, we created a tool for Nuke, called Light Rig, that allowed us to leverage V-Ray’s Light Selects like a cinematographer would. We could dial in the exposure of each individual light across the environment, characters, atmosphere, vvgs, and fluid sims all at once while looking at it in our final comp. It was a simple but powerful tool that helped us dial in a look very quickly, then push those settings back into the lights when possible — and back into our comp templates when it wasn’t.
V-Ray and Chaos have been our partners in crime for a very long time.
Jean Baptiste Cambier, Blur Studio
JBC: It's amazing how every version of V-Ray provides us with shorter render times. In our industry, this really is a game-changer because, from management and artistic standpoints, it gives us more options. We can either decide to render our shows more quickly, which allows us to move faster between projects, or we can decide to push our quality by turning on some features we sometimes don't use because they are expensive, such as shutter imperfections, caustics, or textures in fog, or even just rendering our images at higher resolutions.
With that in mind, we can also decide to keep a show within its original scope and schedule and give more time to the artists to finish work and maintain a healthy work/life balance. That is how precious it is to work with people constantly improving their tech.
We use V-Ray in all its aspects. Besides Chaos’ continuous improvement of the engine, some obvious features make it possible for us to tell our stories. But we also used some features on “Bad Travelling” that may not necessarily come to mind immediately.
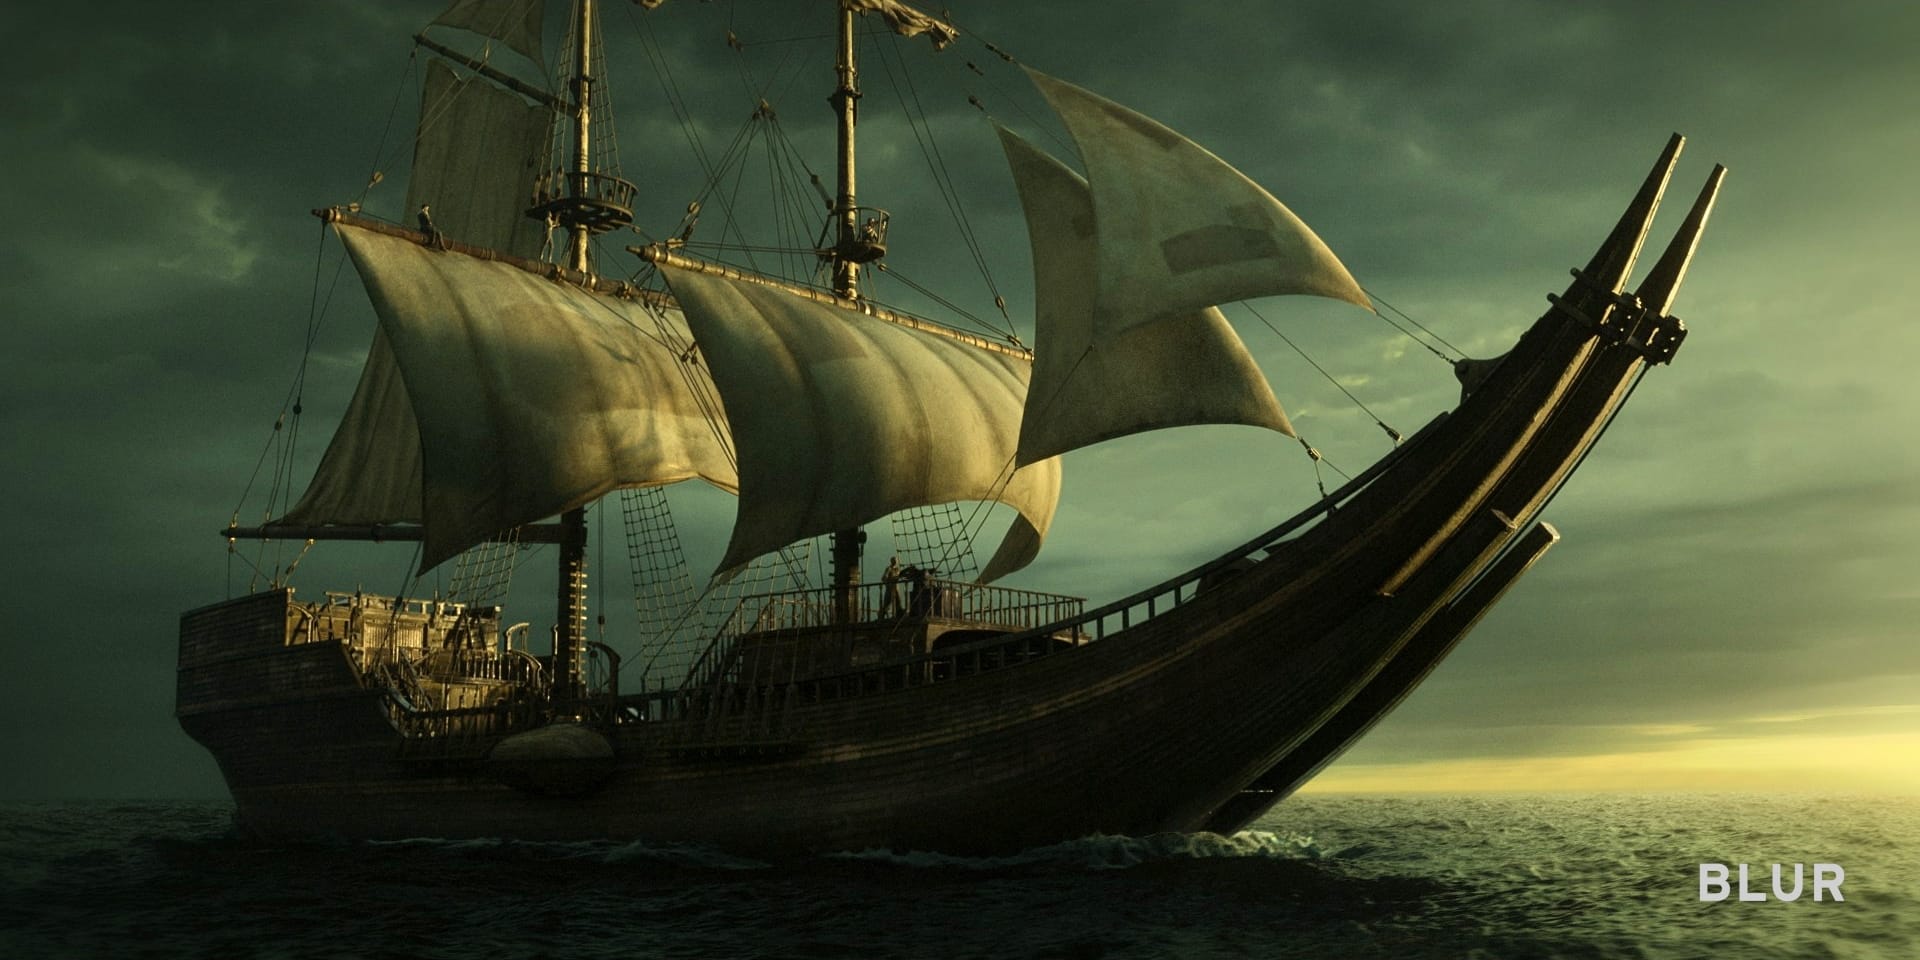
One of them was VRayPlane. It may sound simple, but as everything happens at sea, it was important for us to have an entity that can go to infinity. This way, we can carefully craft all our horizon lines in lighting and comp. Even if we shoot our show on a boat, which represents a relatively contained space, the notion of parallax and scale is key.
V-Ray is a complete package that gives us a large amount of data so we can make choices and have full control, even on custom render elements.
Jean Baptiste Cambier, Blur Studio
Hubert Daniel was our animation supervisor on the show. At Blur, we playblast animations for reviews, but we also systematically do some animation renders. This allows us to make sure the caches are going through the pipe properly. We also make sure that shaders on character, as well as textures, work as they should. Those renders also offer a more “sexy” look for reviews and therefore allows everyone to see all the good work done by animation.
We also wanted to introduce the swaying of the boat on the waves, and we had two choices:
- Sway the whole boat and all the characters on it, as well as the cloth and hair
- Or counter sway everything around the boat to give the illusion of swaying
The choice was rapidly made to sway all that is around the boat instead, as it would have been a nightmare to animate on top of everything happening on the deck. The swaying of the boat is a cinematographic aspect and therefore it had to be crafted and reviewed in animation previews. V-Ray Plane allowed us to do some simple coding to include and snap that infinite ocean in all our renders from animation to lighting all the way to the comp.
Another feature we took advantage of were the LightSelect render elements. As we have a lot of fog and VolumeGrids throughout the piece, V-Ray allowing LightSelects on those expensive passes allowed us to significantly limit their number for our show.
Other V-Ray elements we used included the LightDome optimization, as well as its deep compositing features for pretty much everything, including the fog and VolumeGrids. For us, V-Ray is a complete package that gives us a large amount of data so we can make choices and have full control, even on custom render elements.
Were there any particularly interesting or funny moments behind-the-scenes of making Bad Travelling?
NAK: At one point, David mentioned wanting this sunset to feel like the ugliest sunset ever. That’s not something you hear often, but we had some fun with that one since it was the antithesis of every beautiful and romantic sunset you’ve seen. This bleak and miserable sunset was the backdrop of Torrin’s murder attempt at the crow’s nest. Funnily enough, we ended up looking at references from David's own films, such as Se7en’s ending, where you see these kinds of eerie hues veering more into yellow/green than red/magenta.
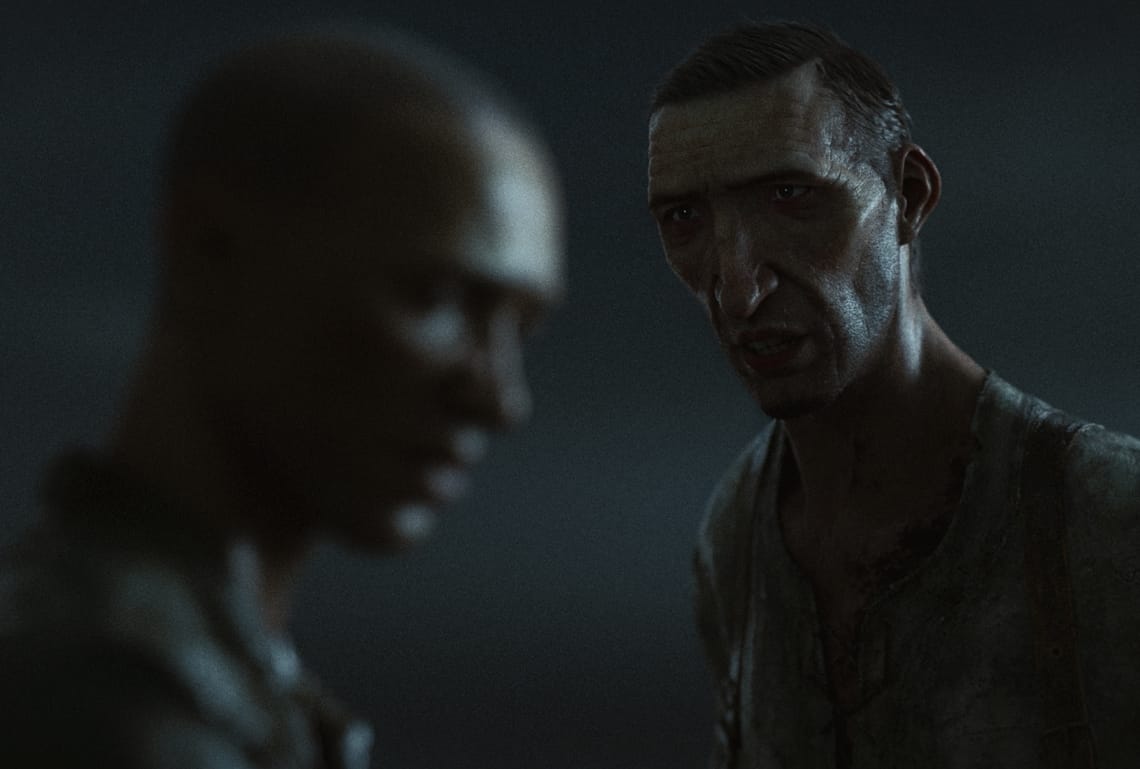
JBC: On the subject of how dark is too dark, there was an aspect that I found very appealing in making the short film: The characters have amazing designs, angular faces, and caricatural facial features (longer nose longer, overly spaced eyes) which gave a new dimension to portrait lighting.
The nature of their stylization made it so that they all have a big supraorbital bulge which in early lighting phases systematically put all their eyes into shadow. We thought that was gorgeous. In a way, that situation also made us realize that for this film, we would not light the faces.
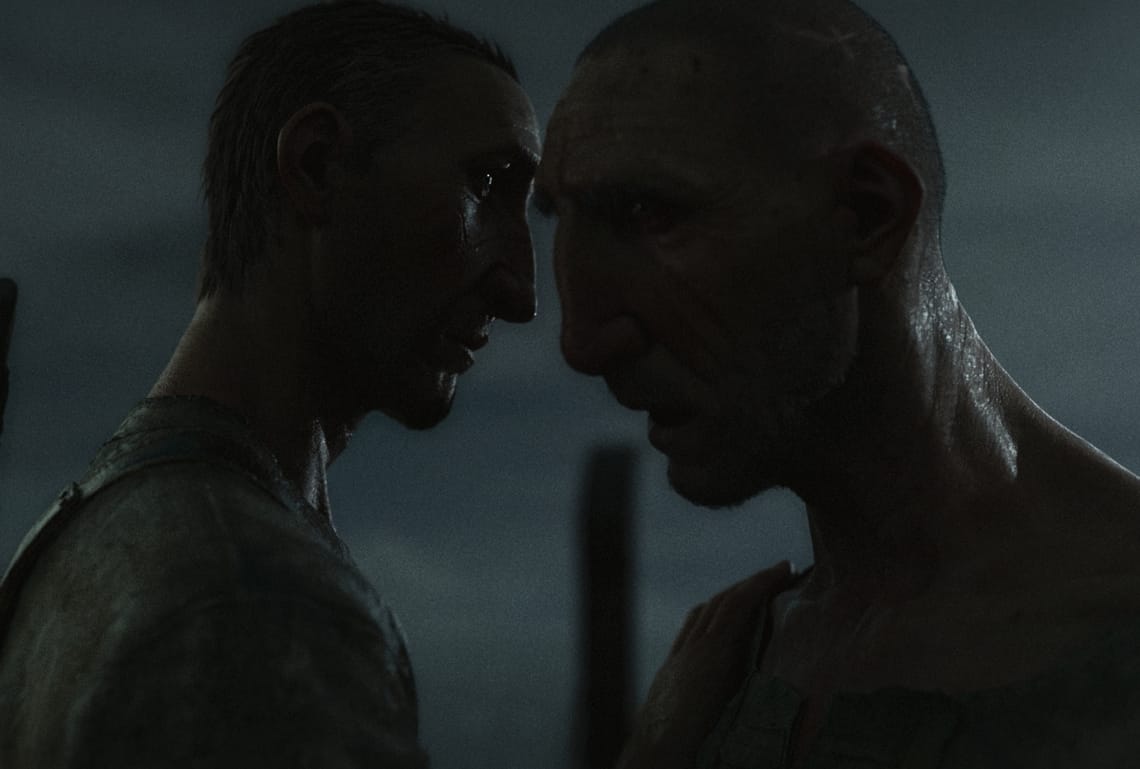
Another incredible aspect of our collaboration with David is that absolutely all situations were subject to open discussions to make the show better. We were looking at the sequence where Torrin and Deacon, a crew member, throw the final bodies to feed the Thanopod (giant crab). In this sequence, Torrin ends up confessing that he knew everybody voted against his proposal and ends up throwing Deacon to the crab.
As usual, we sat with David and the team around the images, and we started our review process. Fincher gave us some awesome notes and tweaks, but once we had all his feedback, I suggested that we start the process again — with a little difference.
I explained to him that we work with LightSelects in V-Ray which allows us to change each individual light in compositing. To put this into practice, we used the Lightrig Tool that Nitant had built for Nuke as it guaranteed that lighters and compers were following the same steps when they dialed in their lighting. I also told David that one of the key processes of comping a shot is to turn all the lights off, and progressively turn them back on one by one, tweaking them as we go.
I then told him that he gave us some solid notes on the sequence that will work nicely, but I also invited him to look at the same sequence without the key light. That removed a lot of light, making the shots darker with faces falling into shadow. It really brought another dimension to the action. David was all for it, and we constructed the sequence together based on this darker lighting scenario.
That little story is a good representation of the collaboration our teams at Blur had while working with David. We found him to be an extremely talented director, always open to others' opinions, but, more importantly, a very nice and respectful person. That is all you could dream of when tackling such a big project with over 400 shots, almost 20 minutes of running time, many lighting situations, and all the complexity that comes with it.
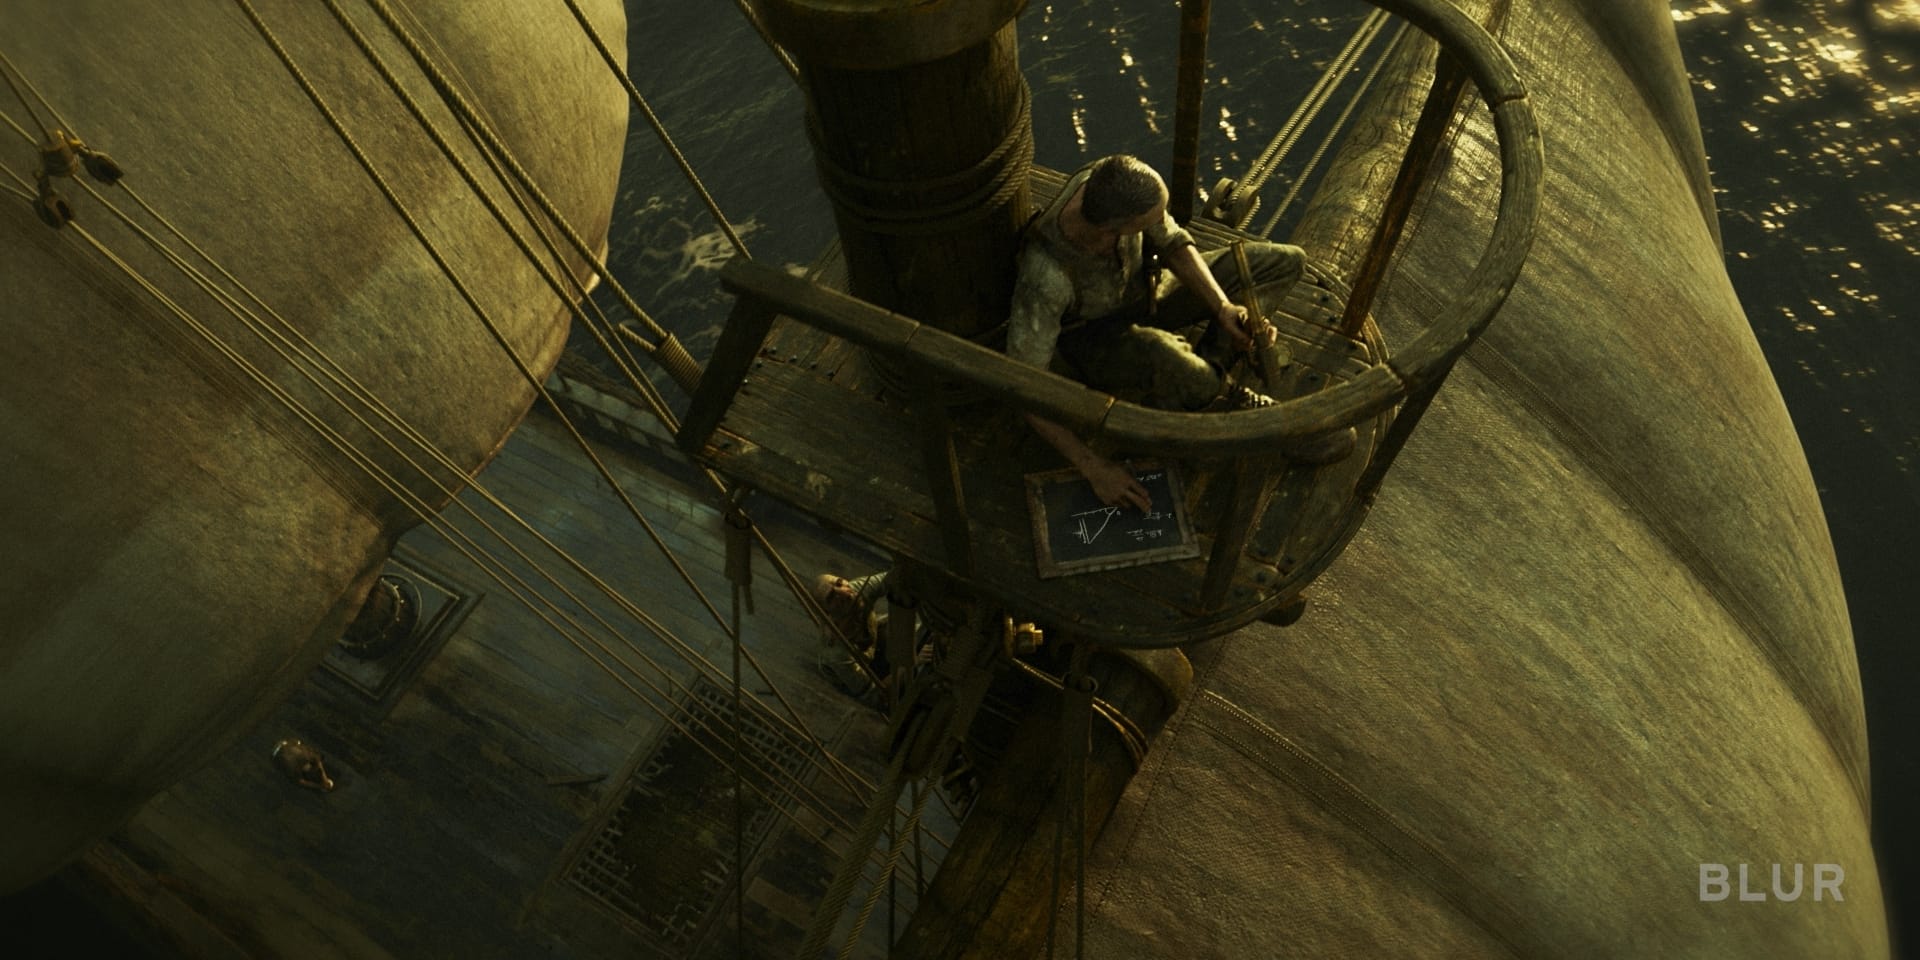
David Fincher is known to go to extreme lengths when making films, even digitally removing hair from Jake Gyllenhaal’s double’s fingers in Zodiac. With “Bad Travelling,” Jean Baptiste Cambier followed David’s eye for detail.
“There is a neat little detail when Torrin is up in the mast and he writes calculations on the chalkboard. Based on the speed of the boat in the scene, which we assume he knew with a knotted rope, the angle of a known star he’s seeing through his sextant, and the height to the horizon at which the star is located, he has what he needs to know how far he is from his destination. What is written on the chalkboard is actually a working formula and a proper calculation of the remaining time needed to reach the island, based on speed and distance to their destination.”
How did you feel when you saw the final result?
NAK: Supremely satisfied. As a compositor, you’re the penultimate person to work on these shots before they go into the movie, so the best feeling is seeing that our work had minimal adjustments, even after going through the final step of digital intermediate (DI). That was definitely the case with this show, and it was awesome. For that tempest scene with the crazy bright lightning, all those flashes made it all the way to the HDR mastering, which made me smile.
JBC: Working on a film and seeing it on screen are two different experiences. After the work is done, finally being able to fully place yourself as a spectator is a treat. I have to say that at Blur we have the chance to work on game cinematics, movies, and TV shows, and that often means that we also get to see the reaction of people online as well.
It is sometimes hilarious to see what people think about the films we make and it's also part of the “post-experience” we have once the show is over. It’s funny to see that a film you make has another life once it is out of your hands.
What’s next for you?
NAK: This project and my experience turned out to be my proudest achievement to date. I loved working on Love, Death & Robots, and I would love to have the opportunity to tell more unique stories like this one. I’m keeping my fingers crossed for Volume 4!
JB: Plenty of good things, hopefully!
We’re lucky to work in an evolving field that ensures personal, artistic, technical, and human growth. The core of our profession resides in people, and the job we do on a daily basis makes us encounter wonderful individuals with their own culture, history, experience, and talent. As long as that exists, we'll find happiness in whatever we do, regardless of the project we end up spending time on.
What I can tell you for sure is that Blur has a ton of exciting things coming on screen and that makes it all the more thrilling.
On to more adventures …
 AfroVFX
Meet AfroVFX, the organization bringing free 3D and VFX education to Africa and introducing the world to a continent of untapped talent.

Oscar-winning VFX supervisor Steve Preeg joins Chris Nichols for CG Garage’s 500th episode! From virtual production to real-time rendering and AI in filmmaking—how has VFX evolved? Let’s dive in.
 © Scanline VFX
Lights, camera, Chaos! This year’s VFX showreel is your front-row ticket to an electrifying showcase of V-Ray and Phoenix artistry at its finest.
 © Škoda Design
Get the latest news, artist spotlight stories, tips and tricks delivered to your inbox.