
Your cart
There are no items in your cart.

 © nu.ma
 © nu.ma

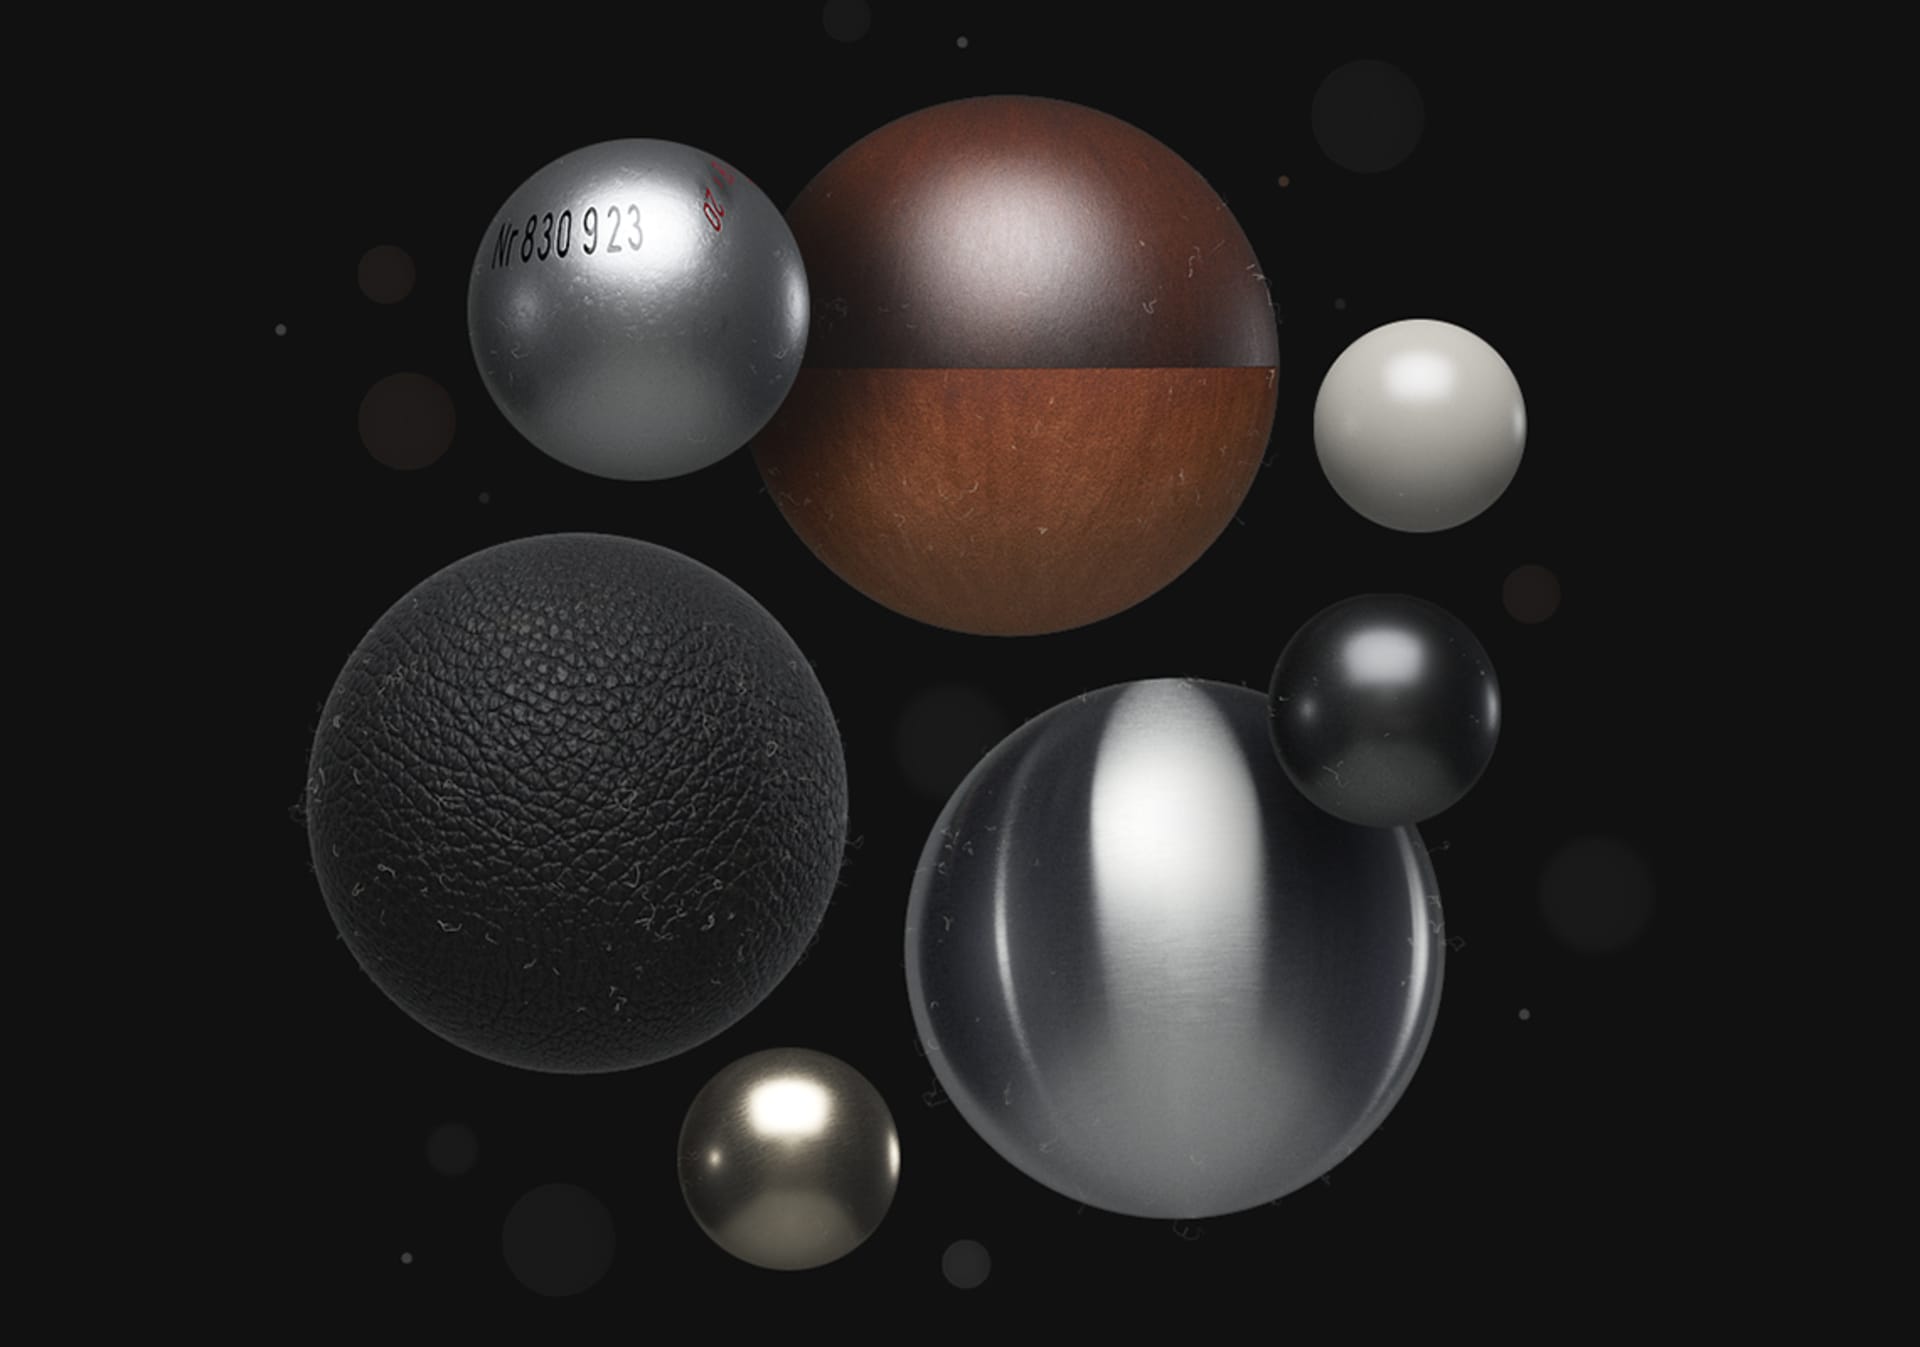


In the next part of your rendering journey in V-Ray for Cinema 4D, learn how to work with materials so they bring your scene to life.

Continue your rendering journey in V-Ray for Cinema 4D with helpful tips from 3D artist Nejc Kilar on how to light your scene.

Learn how to use V-Ray 5 for Cinema 4D to create impressive interiors using helpful tips from 3D artist Nejc Kilar.
 © Škoda Design
Get the latest news, artist spotlight stories, tips and tricks delivered to your inbox.