© Taichi Kobayashi
 © Taichi Kobayashi
V-Ray is production-proven. For more than a decade, the world’s leading studios have used V-Ray to render over 400 television series and feature films. In 2017, V-Ray’s ray tracing technology received a Sci-Tech Academy Award for its contribution to photorealistic visual effects. In 2021, V-Ray was awarded with an Engineering Emmy for advancing the use of fully ray-traced rendering.
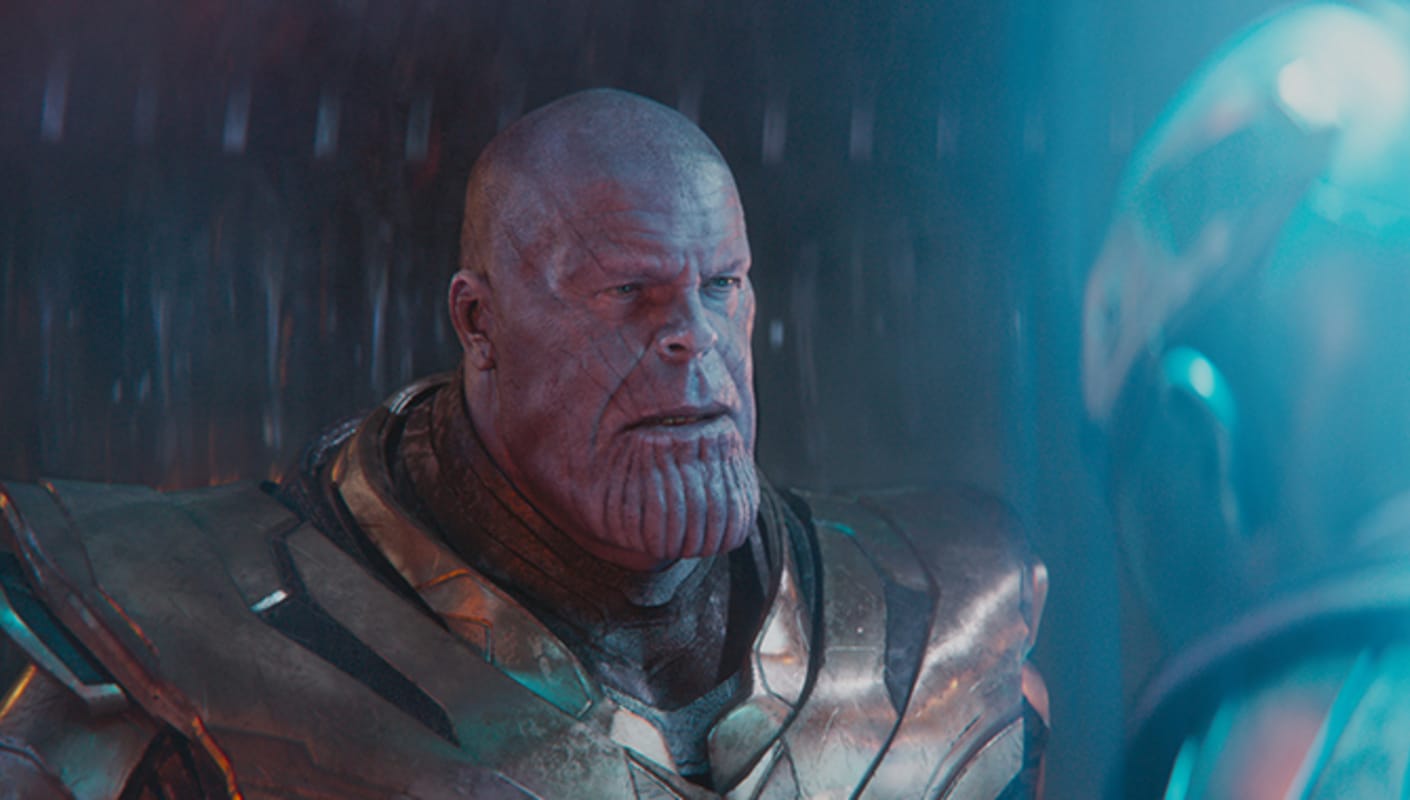 Digital Domain © 2019 MARVEL
 Scanline VFX © 2019 HBO
Take full advantage of your hardware with production rendering that scales on multiple CPUs, GPUs, or both. You can even render a single image across multiple machines with distributed rendering.
V-Ray works seamlessly with Maya and your studio pipeline. This includes support for MASH, Bifrost-USD, MayaUSD, and MaterialX, as well as your favorite Maya plugins, including Golaem, Massive, Ornatrix, Chaos Phoenix, Yeti, and more. V-Ray for Maya is also compatible with ACEScg, Alembic, OpenVDB, OpenColorIO, and OpenPBR industry standards.
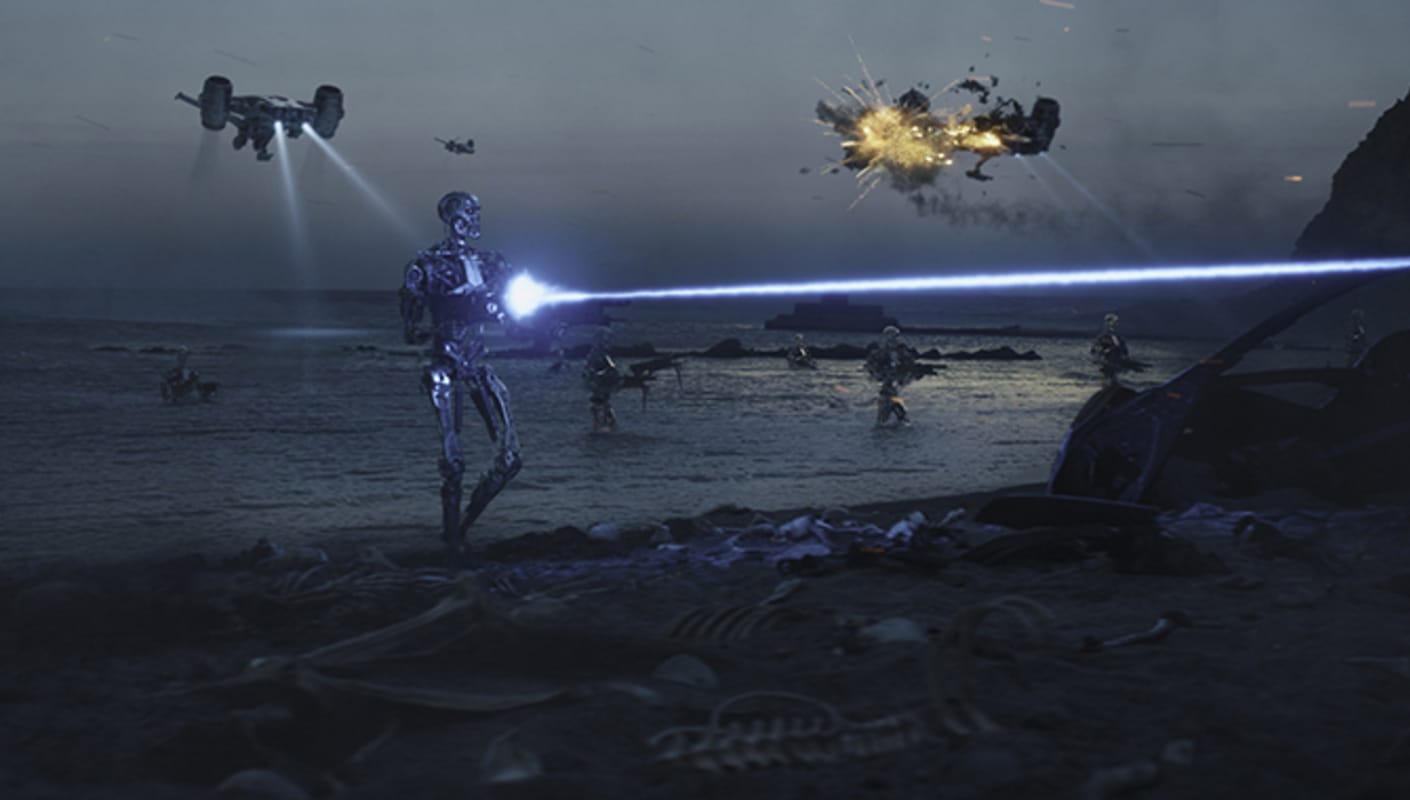 Scanline VFX © 2019 Paramount Pictures
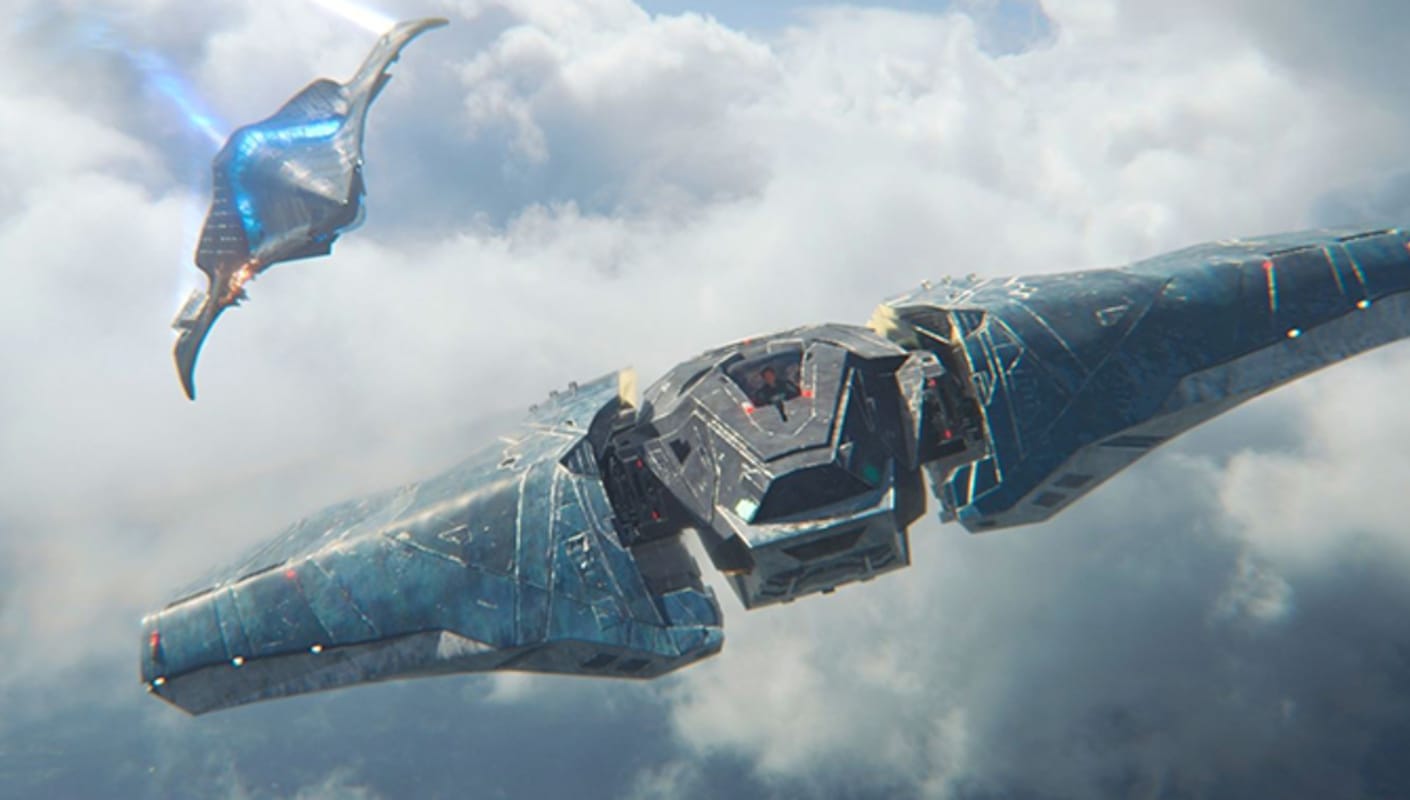 Scanline VFX © 2019 MARVEL
V-Ray is easy to deploy on any Windows, macOS, or Linux network, and offers flexible licensing options for you to choose from. The bundled V-Ray Standalone renders scenes directly with V-Ray, which is perfect for headless render-farm nodes.
V-Ray for Maya also includes two software development kits to customize your rendering workflow. For example, you can write custom shaders with the V-Ray SDK (C++) or build custom pipeline tools with the V-Ray App SDK (Python).


To see all the versatile features you can access using V-Ray for Maya, take a look at our feature-by-feature list.
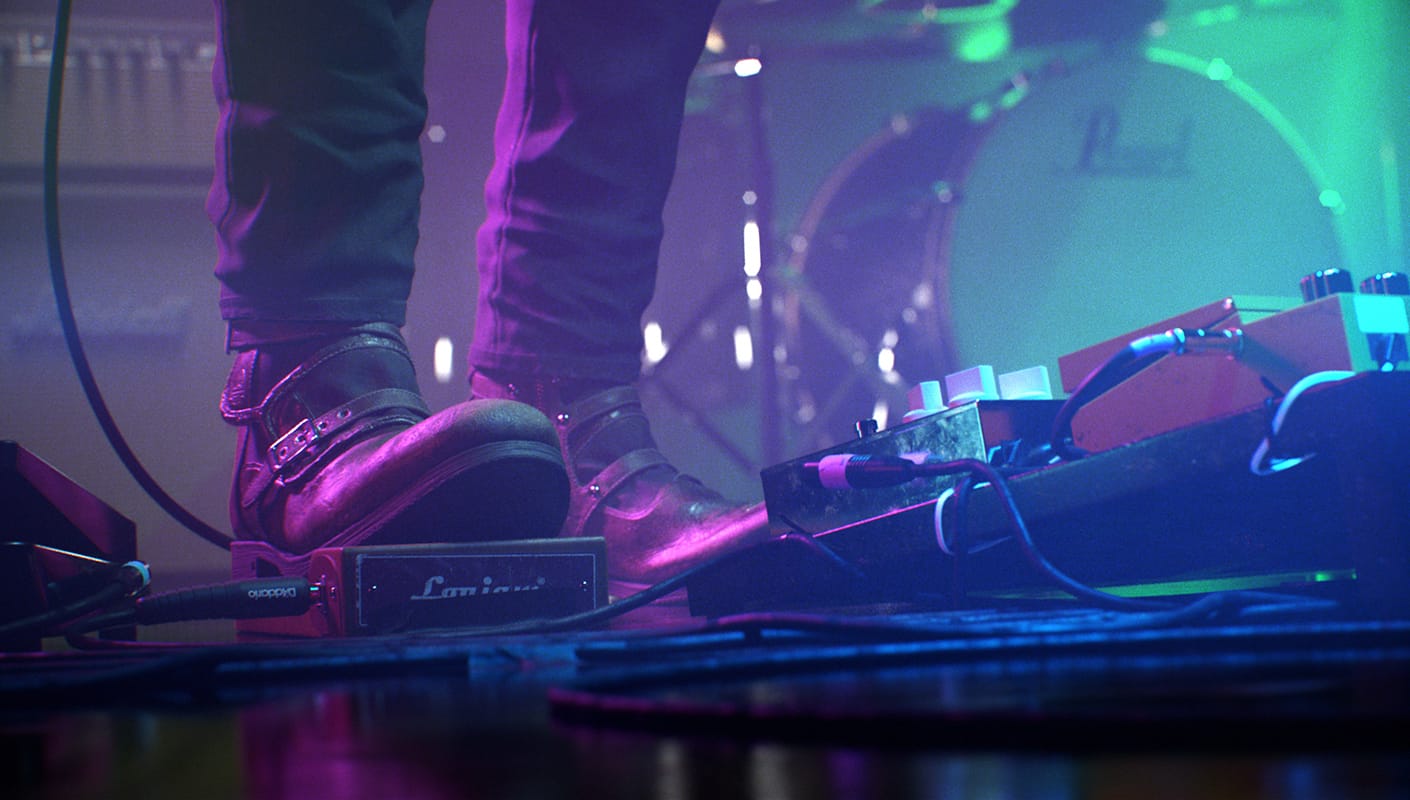 © Daniel Bates
Get a 30-day free trial and dive into the full range of features we offer. You will also get access to comprehensive training resources and dedicated customer support.
Start rendering for free in seconds.V-Ray Personal Learning Edition (PLE) for Maya is a free, non-commercial version of V-Ray for Maya. You can use it for your personal projects and education or to explore it's features at a pace that suits you.