Creating the based wooden texture for 3ds Max
1. Find an image of real wood on the internet or use a photograph of wood.
- You can browse through various wood textures in Chaos Cosmos and download and import them straight into your scene.
- Ensure you have both a diffuse texture and a normal map of the wood.
2. Connect the normal map to the bump channel and increase its value to 100.
- This will add depth and texture to the wood material.
3. Plug the diffuse texture into the diffuse slot.
- This will provide the color and pattern for the wood material.
4. Use a V-Ray UVW Randomizer node to control the direction of the wood grain.
5. Make color corrections to the wood material if desired.
- Use a color correction node to adjust the gamma and saturation of the wood texture.
- Lowering the gamma will make the texture darker while reducing saturation will make it less vibrant.
6. Enable reflections by turning the reflection color to white.
- Adjust the glossiness value to control the shininess of the material.
- Real wood surfaces have varying glossiness, so consider creating a glossy texture using image editing software.
- Use the existing diffuse map to create the glossy texture.
- Plug the glossiness texture into the reflection glossiness map slot.
- Set the color space type to None to avoid applying gamma to the texture.
7. Verify that the wood grains have different levels of glossiness, creating a more natural and interesting surface.


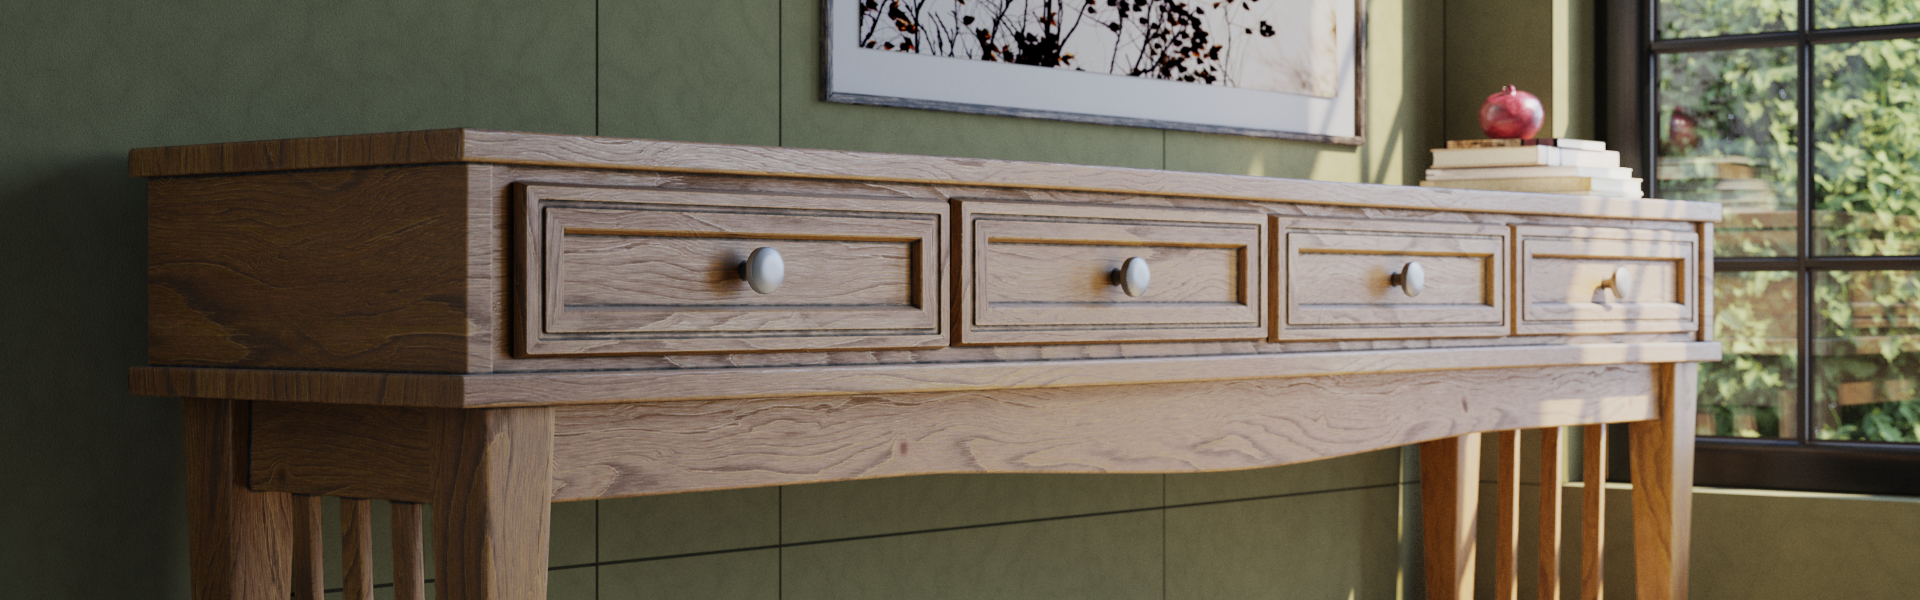
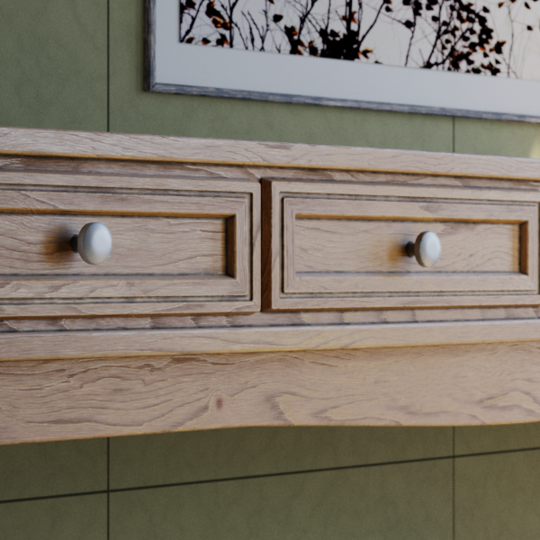

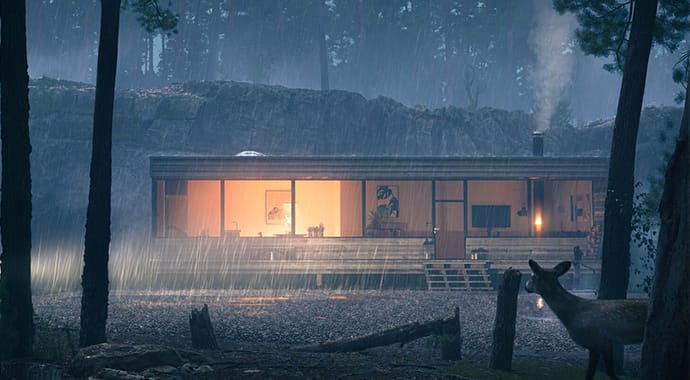 © Emil Rasmussen
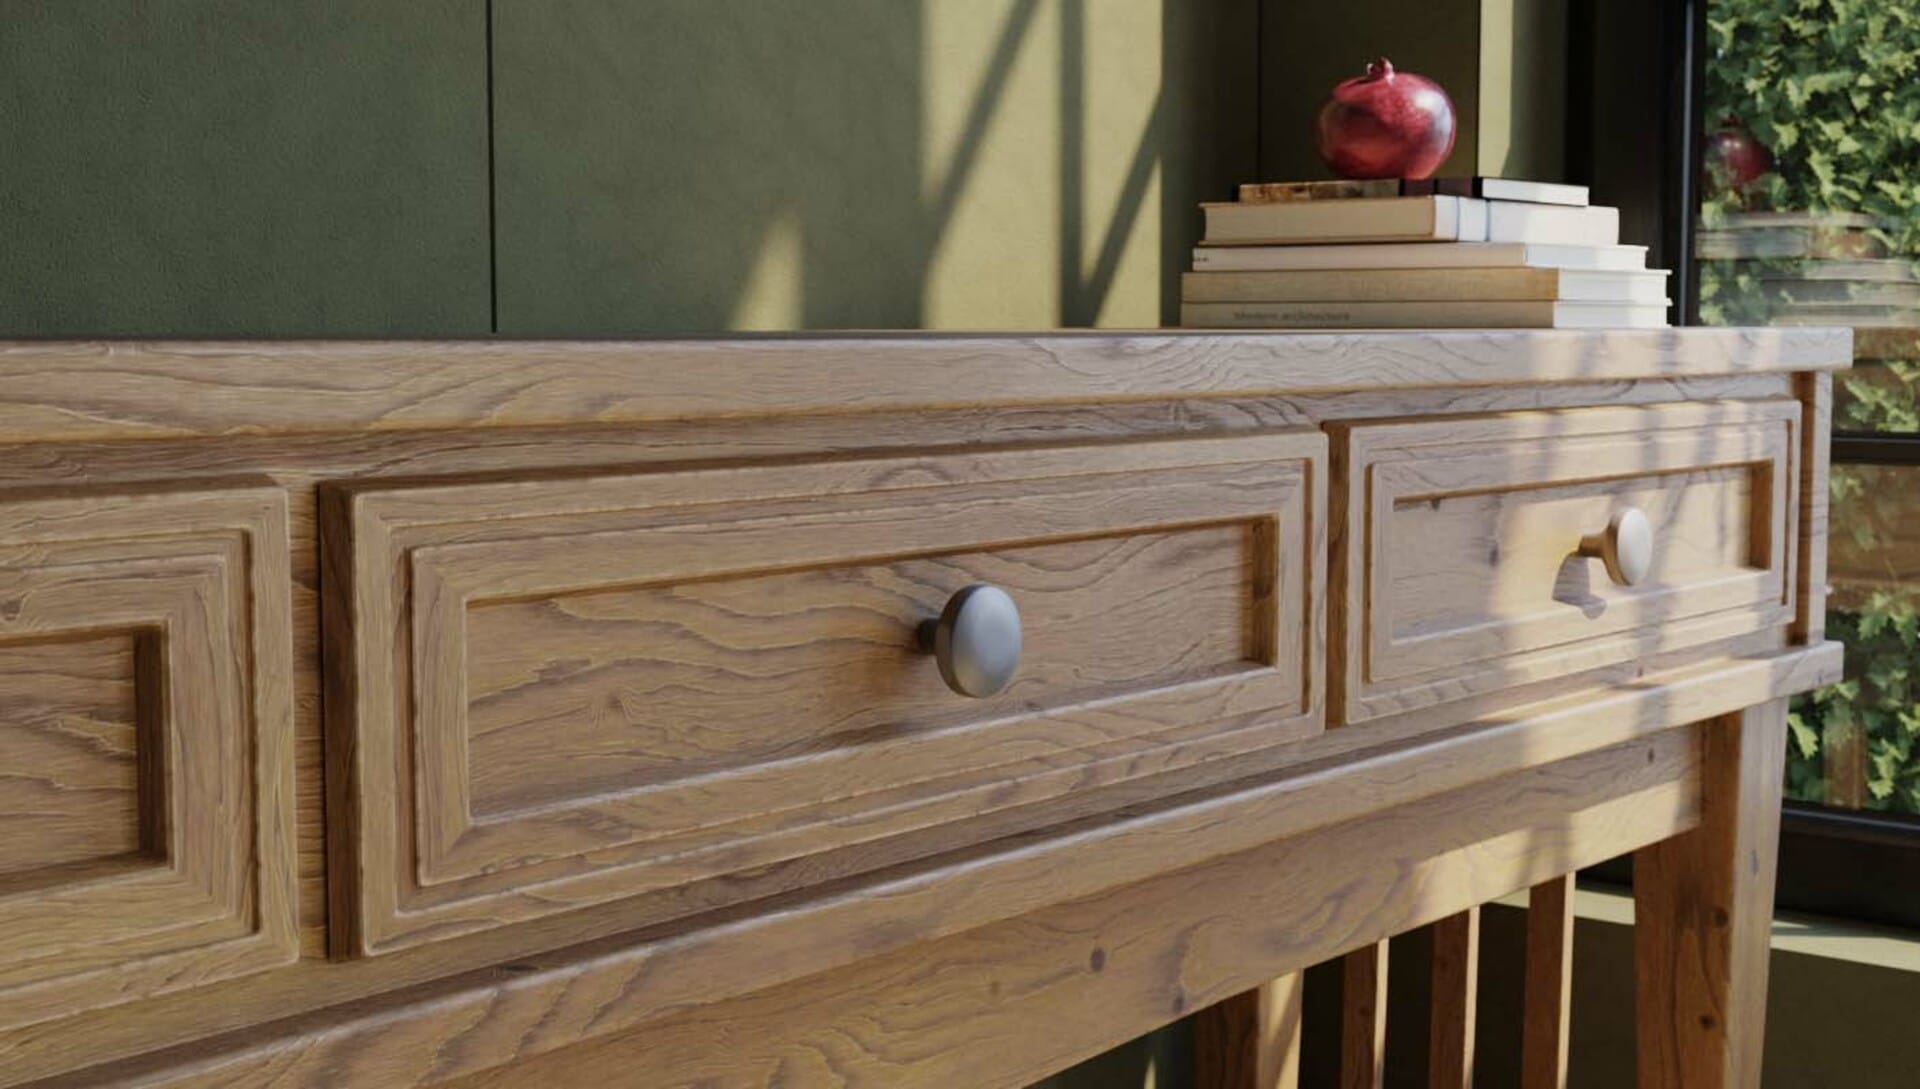
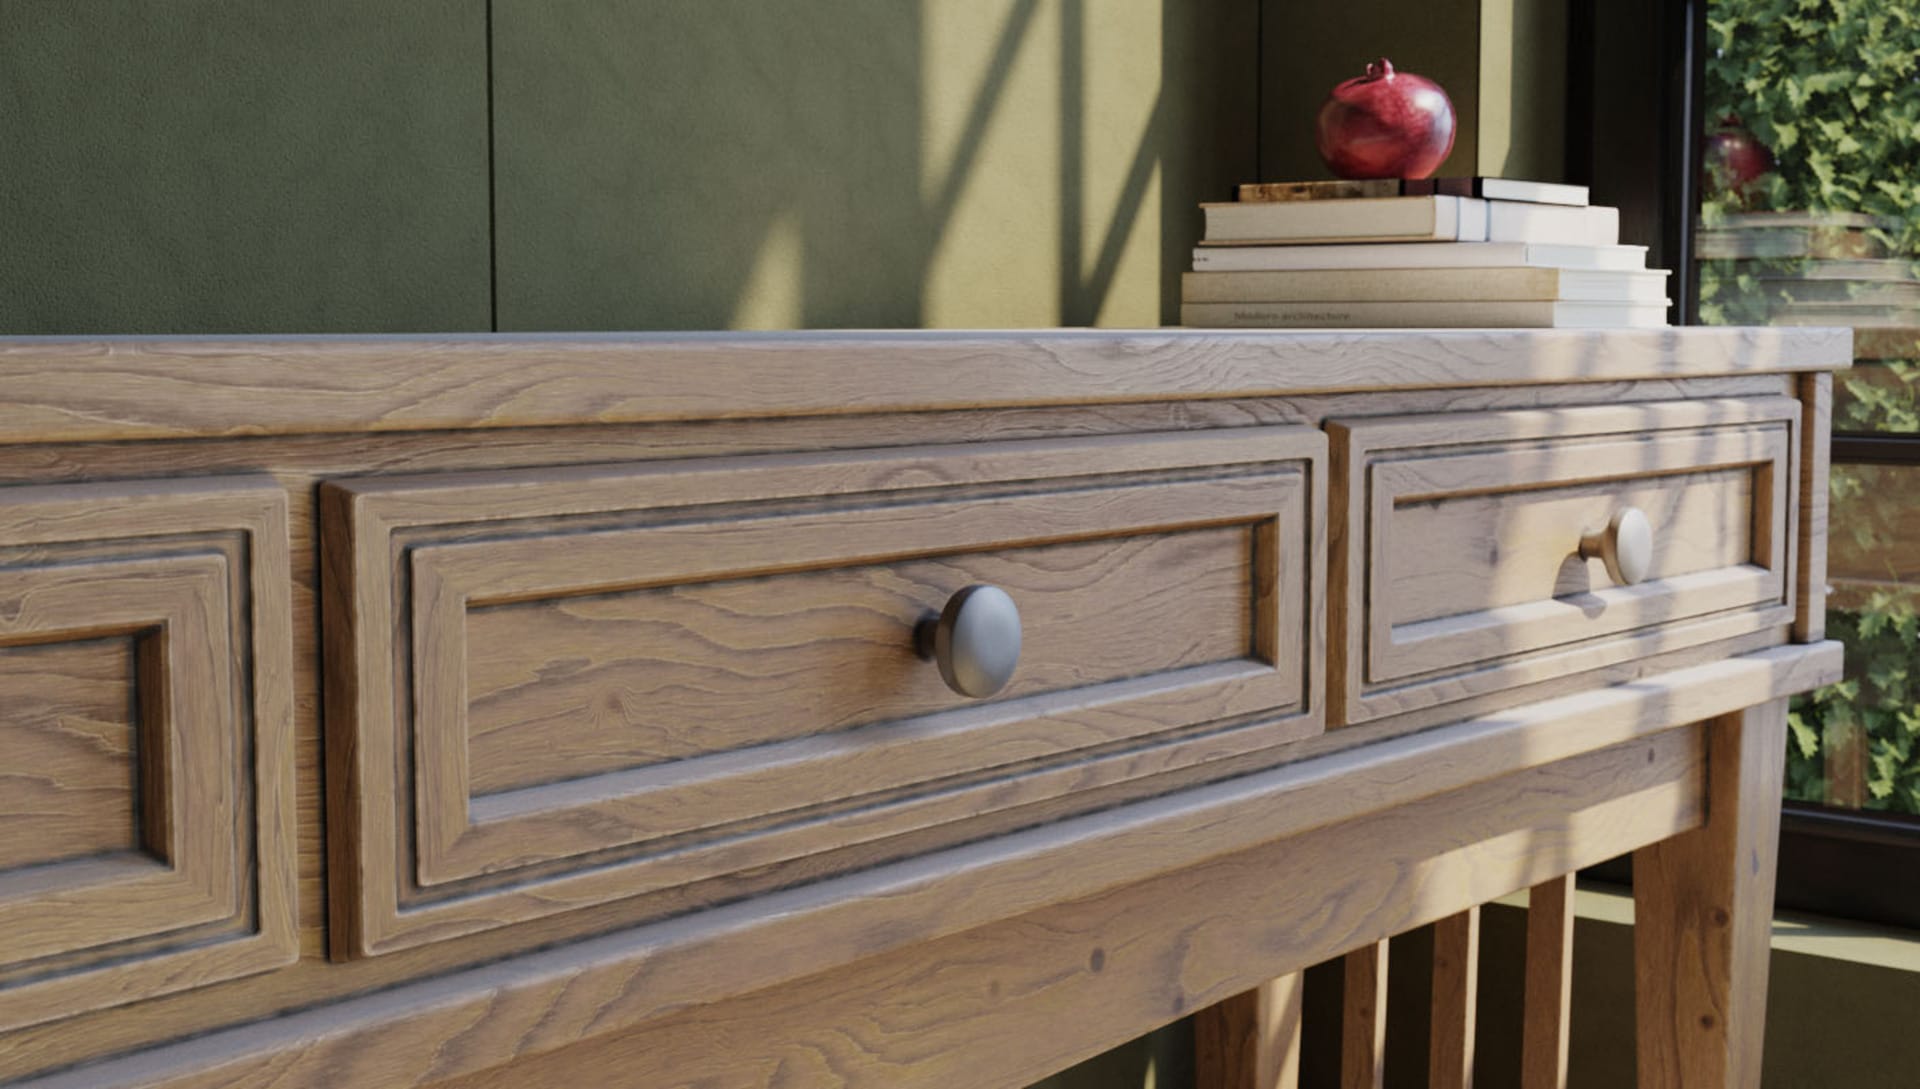
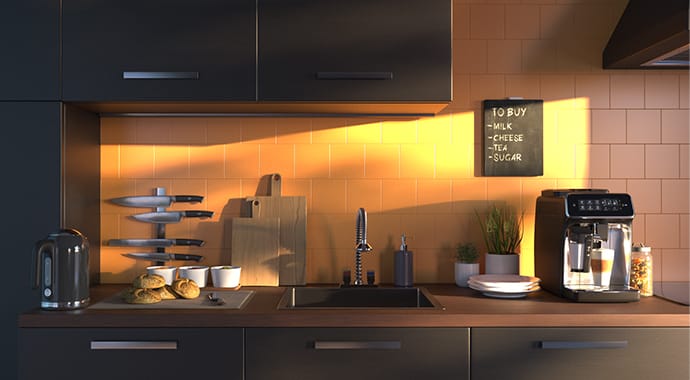
 © Anton Podvalny
 © Škoda Design