Chaos
Architecture

Industry solutions

Explore our ecosystem

Products

Media & Entertainment

Industry solutions

Explore our ecosystem

Products

Product & E-Commerce

Industry solutions

Explore our ecosystem

Products

Education & Community
The State of AI in Architecture.

New insights from 1,200+ architects.

Help

Chaos Help Center


What are you looking for?

featured-image-goodbye-kansas-solaris-1920x600.png

Top 5 nodes Goodbye Kansas uses in Solaris for an efficient workflow


The key to a smarter workflow: nodes. Learn how Goodbye Kansas is using the building blocks of scene creation in Houdini to create powerful art.


It takes a great team to succeed. To support the talented artists at Goodbye Kansas Studios, two creative minds are paving the way for a more efficient and reliable workflow in V-Ray for Houdini.

Chaos was thrilled to have Erik Johannson, head of pipeline development and Dan Englesson, technical director at Goodbye Kansas as guest speakers at 24 Hours of Chaos. In this brief summary, Dan Englesson shares Goodbye Kansas’ Solaris workflow in USD as well as the five most useful nodes they use in Solaris with the V-Ray Hydra delegate for lookdev, lighting and layout. 

goodbye-kansas-24hoc-1410x800.jpggoodbye-kansas-24hoc-1410x800.jpg

Benefits of using USD

USD stands for Universal Scene Description. This framework interchanges graphics data, including models and animations, for large-scale projects. It was developed by Pixar and became open source in 2016. 

Goodbye Kansas’ main reasons for using USD is to be able to handle complex scenes with ease, enjoy more efficient sequence lighting, and have the ability to extend their workflow into more applications if needed.

goodbye-kansas-usd-1410x800.jpg
Goodbye Kansas Studios

We have a layout layer where we put all our layouts in and then we have a lighting layer where we can put all our lights in and then combining those together into a shot makes up the shot. Being able to describe both the scenes and assets in the same file format makes it a very powerful pipeline tool to use among different DCCs.

Dan Englesson, Technical Director, Goodbye Kansas

Dan explains this as an agnostic process. You can do some modeling in Maya, push that into Houdini for some shading, push that into USD and then take that asset or scene and render it in V-Ray for Blender or Unreal because everything is self-contained within the USD file. 

Solaris workflow

Houdini's lookdev, layout, and lighting tool for USD is known as Solaris. Goodbye Kansas has created its own node inside Houdini’s Solaris called “The Manager.” It manages all of its departments including layout and lighting effects and is built around the LOPS context.

Once the node is dropped down into the scene, and the scene is referenced, ftrack pulls in the latest scene version. After that, the team is able to pull in data from the sub context outside of Solaris. To generate terrain, Goodbye Kansas uses Houdini’s Heightfield Scatter, and doesn’t work with live geometry. They publish the shot asset onto ftrack, and then reference that file in “The Manager” node. This process lets them version it and work on it safely, letting previous versions of the asset co-exist with the current version so they can be restored easily.
 

goodbye-kansas-solaris-1410x800.jpg
Goodbye Kansas Studios

Top 5 most useful nodes


1. V-Ray Material Builder node

Goodbye Kansas uses the V-ray Material Builder node inside Houdini to create and manage several different material types. They copy any material they already have prepared in the scene and paste it into the builder to tweak it further. 

2. Instance node

They also make sure to add an Instance node. It is very easy to use and it significantly speeds up geometry generation, for things like tree foliage. When pulling in a tree asset into “The Manager” node, Goodbye Kansas points it to an asset on ftrack and uses the Explore Variants node to expand all of the different modeling variants of trees in their scene. 

In their example scene, they have four different palm trees they would like to instance out. To do that, they have to create prototypes to instance the map.

3. Explore Variants node

The Explore Variants node helps them see all the variants that they are working with. After that, they put the variants into a collection and name it accordingly.
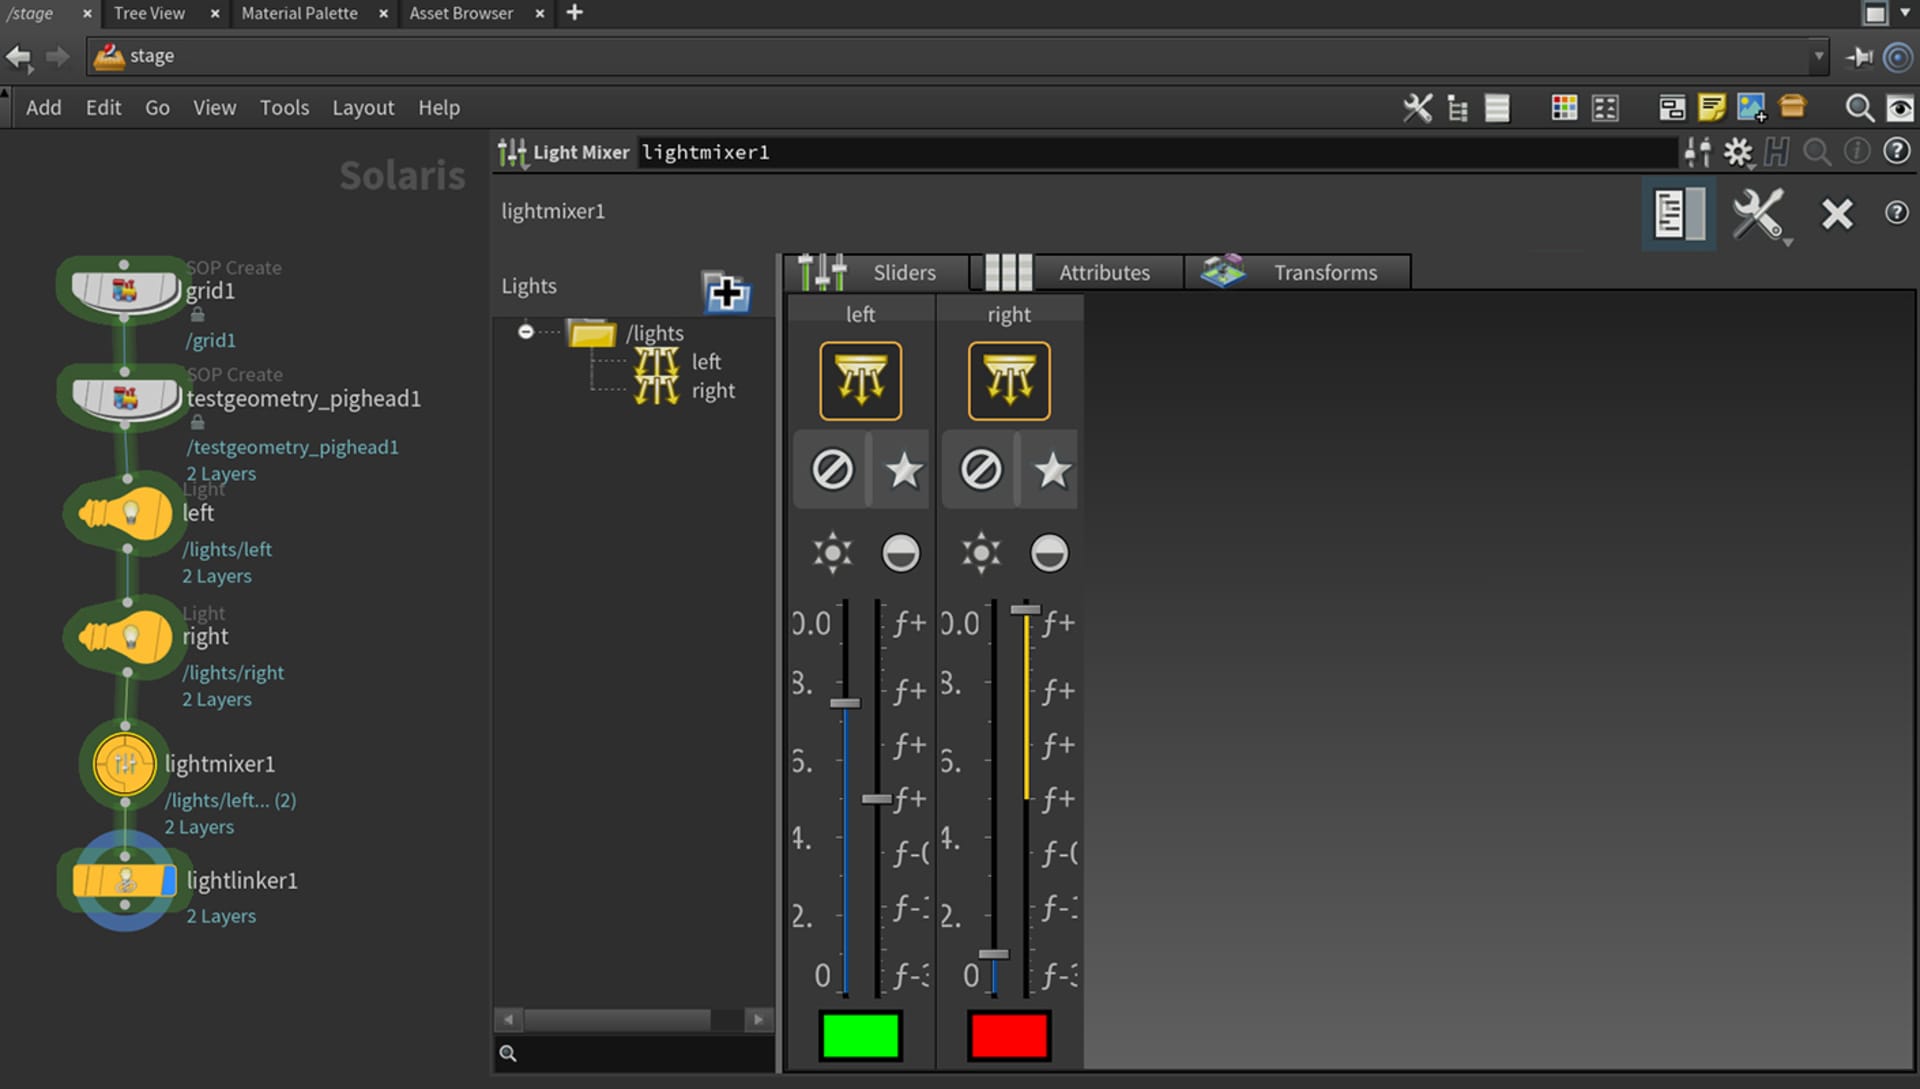
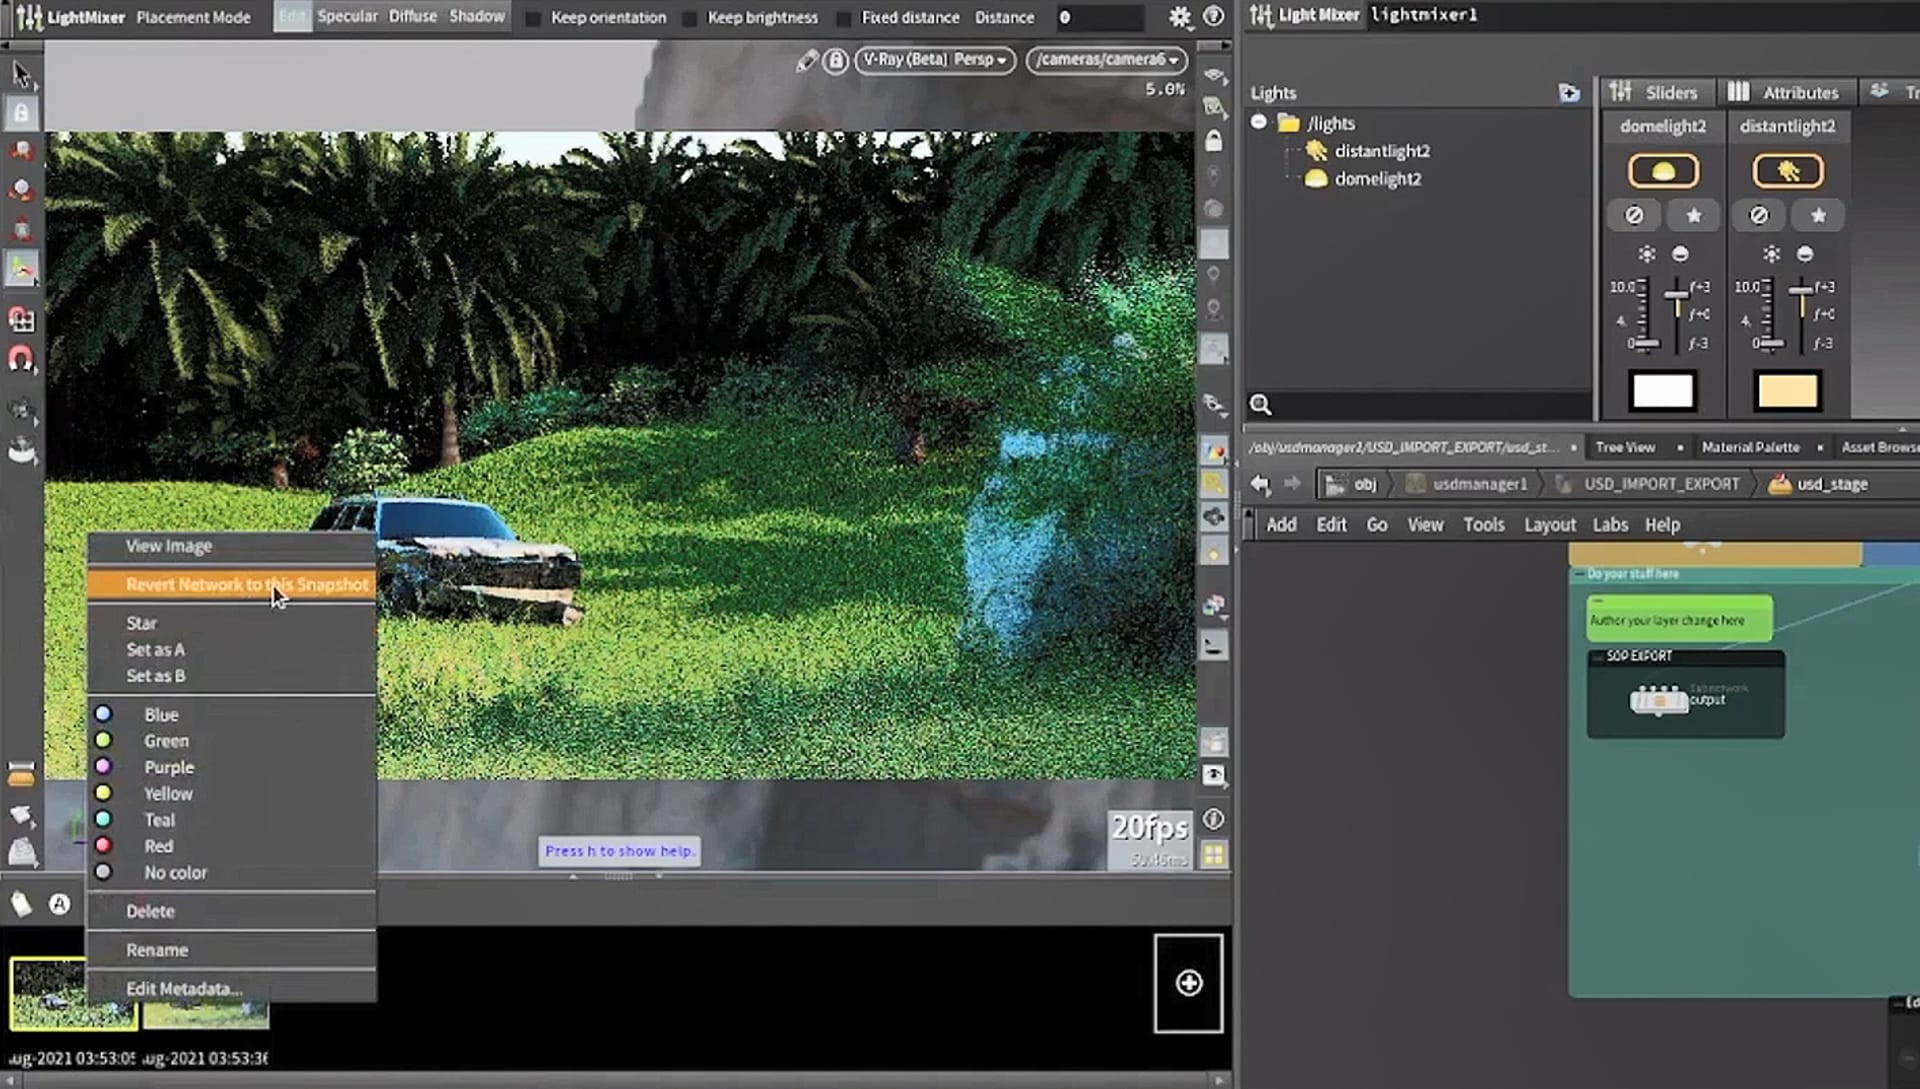
4. Light Mixer node

SideFX’s Light Mixer node lets you see all the lights and edit them all in just one node. You can change the exposure or intensity of the light or the color, play around with it and disable the lights and check out how things look.

5. Husk node

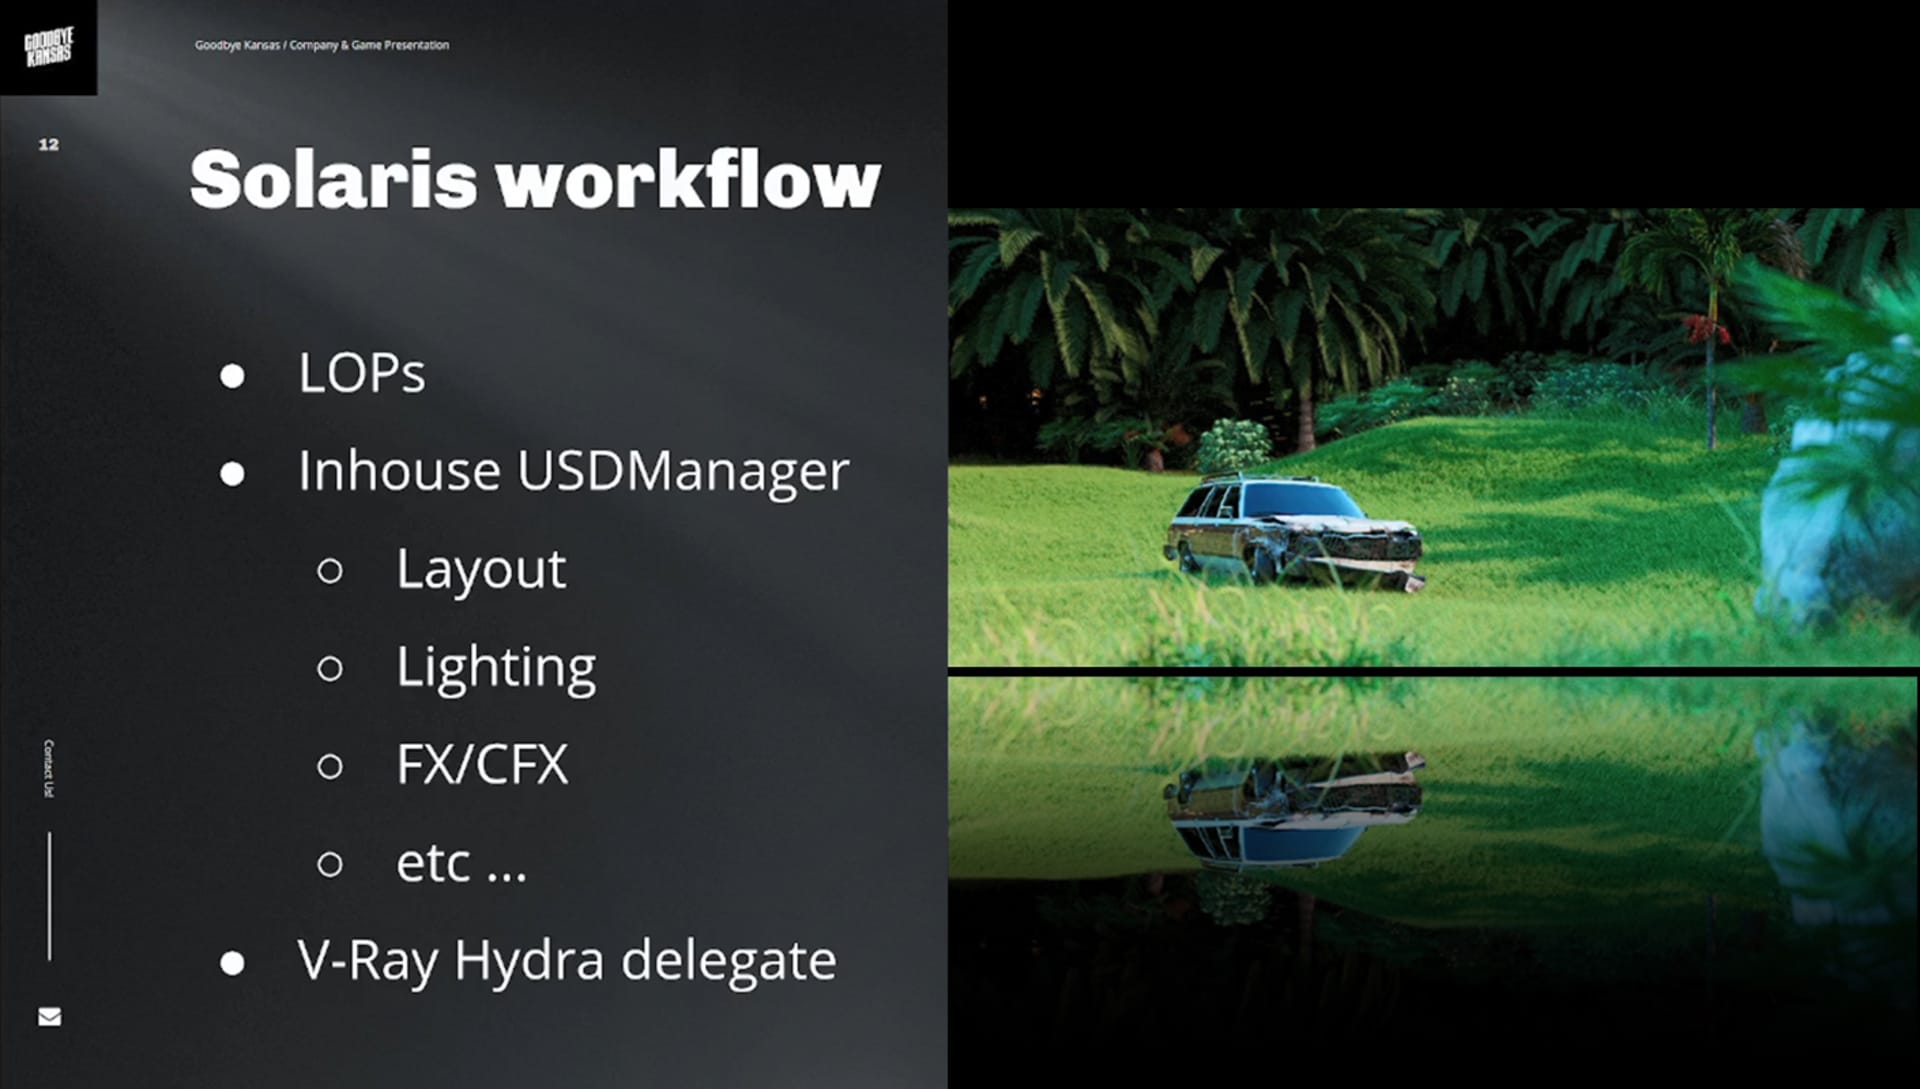
The Husk node sends renders to the farm using the V-Ray Hydra delegate. Husk ships with Houdini and it allows you to use any Hydra delegate for final production rendering.

goodbye-kansas-nodes-1410x800.jpg

Snapshot tool

Sidefx’s Snapshot tool not only takes a snapshot of the image, but a snapshot of the node network as well which makes it very powerful. You can actually tell it to revert the network to a snapshot and go back to that specific state. 

goodbye-kansas-snapshot-scr2-1410x800.jpg

Enjoy a more efficient workflow.

Try V-Ray for Houdini free for 30 days.
© Škoda Design

Subscribe to our blog.

Get the latest news, artist spotlight stories, tips and tricks delivered to your inbox.

By submitting your information you are agreeing to receive marketing messages from Chaos. You can opt-out at any time. Privacy Policy.

Chaos
© 2024 Chaos Software EOOD. All Rights reserved. Chaos®, V-Ray® and Phoenix FD® are registered trademarks of Chaos Software EOOD in Bulgaria and/or other countries.