
Your cart
There are no items in your cart.


 Mikhail Bendus © 747 Studios
Discover how 3D visualization transforms industries by enhancing design, communication, and engagement through advanced software and realistic digital content.
 © Burrows
The kitchen is not just a place for cooking; it's the heart of the home, where design meets functionality. Learn how V-Ray can turn up the heat on your designs.
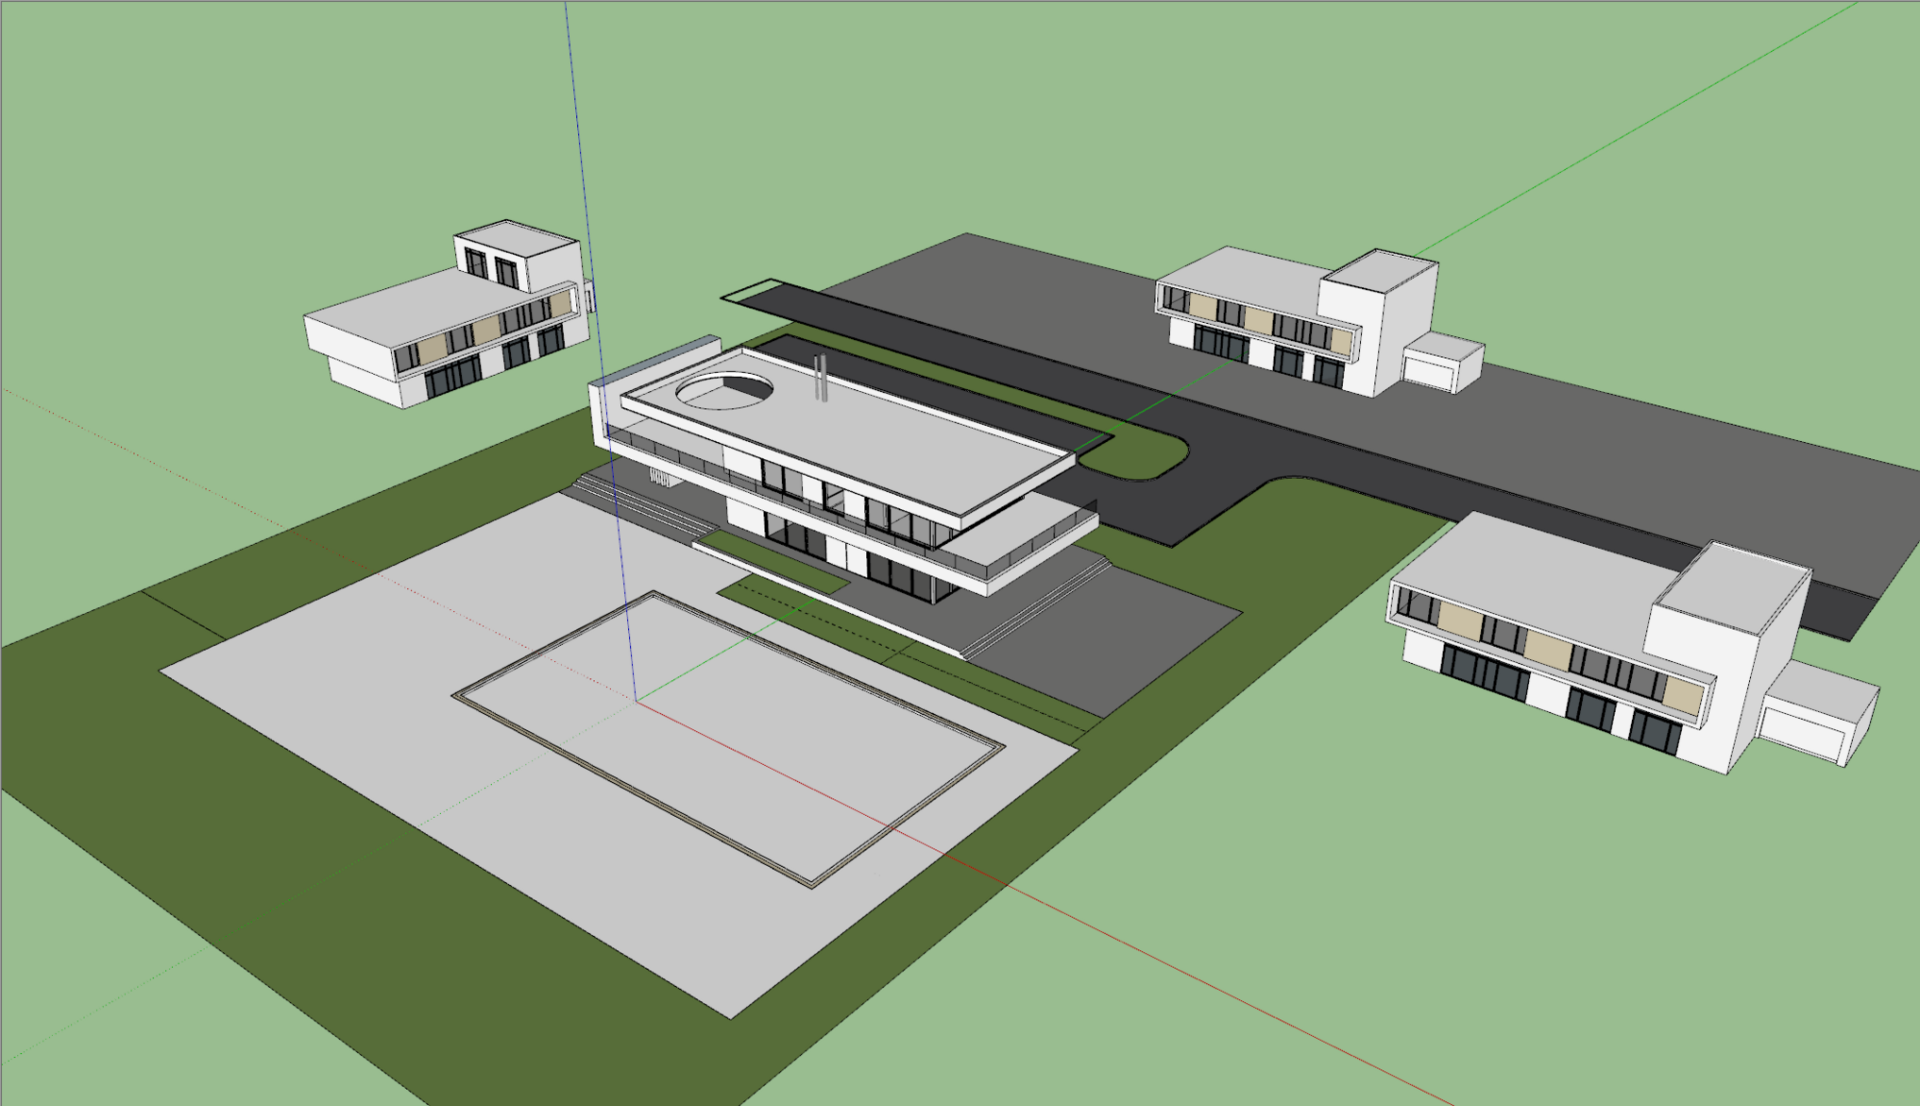
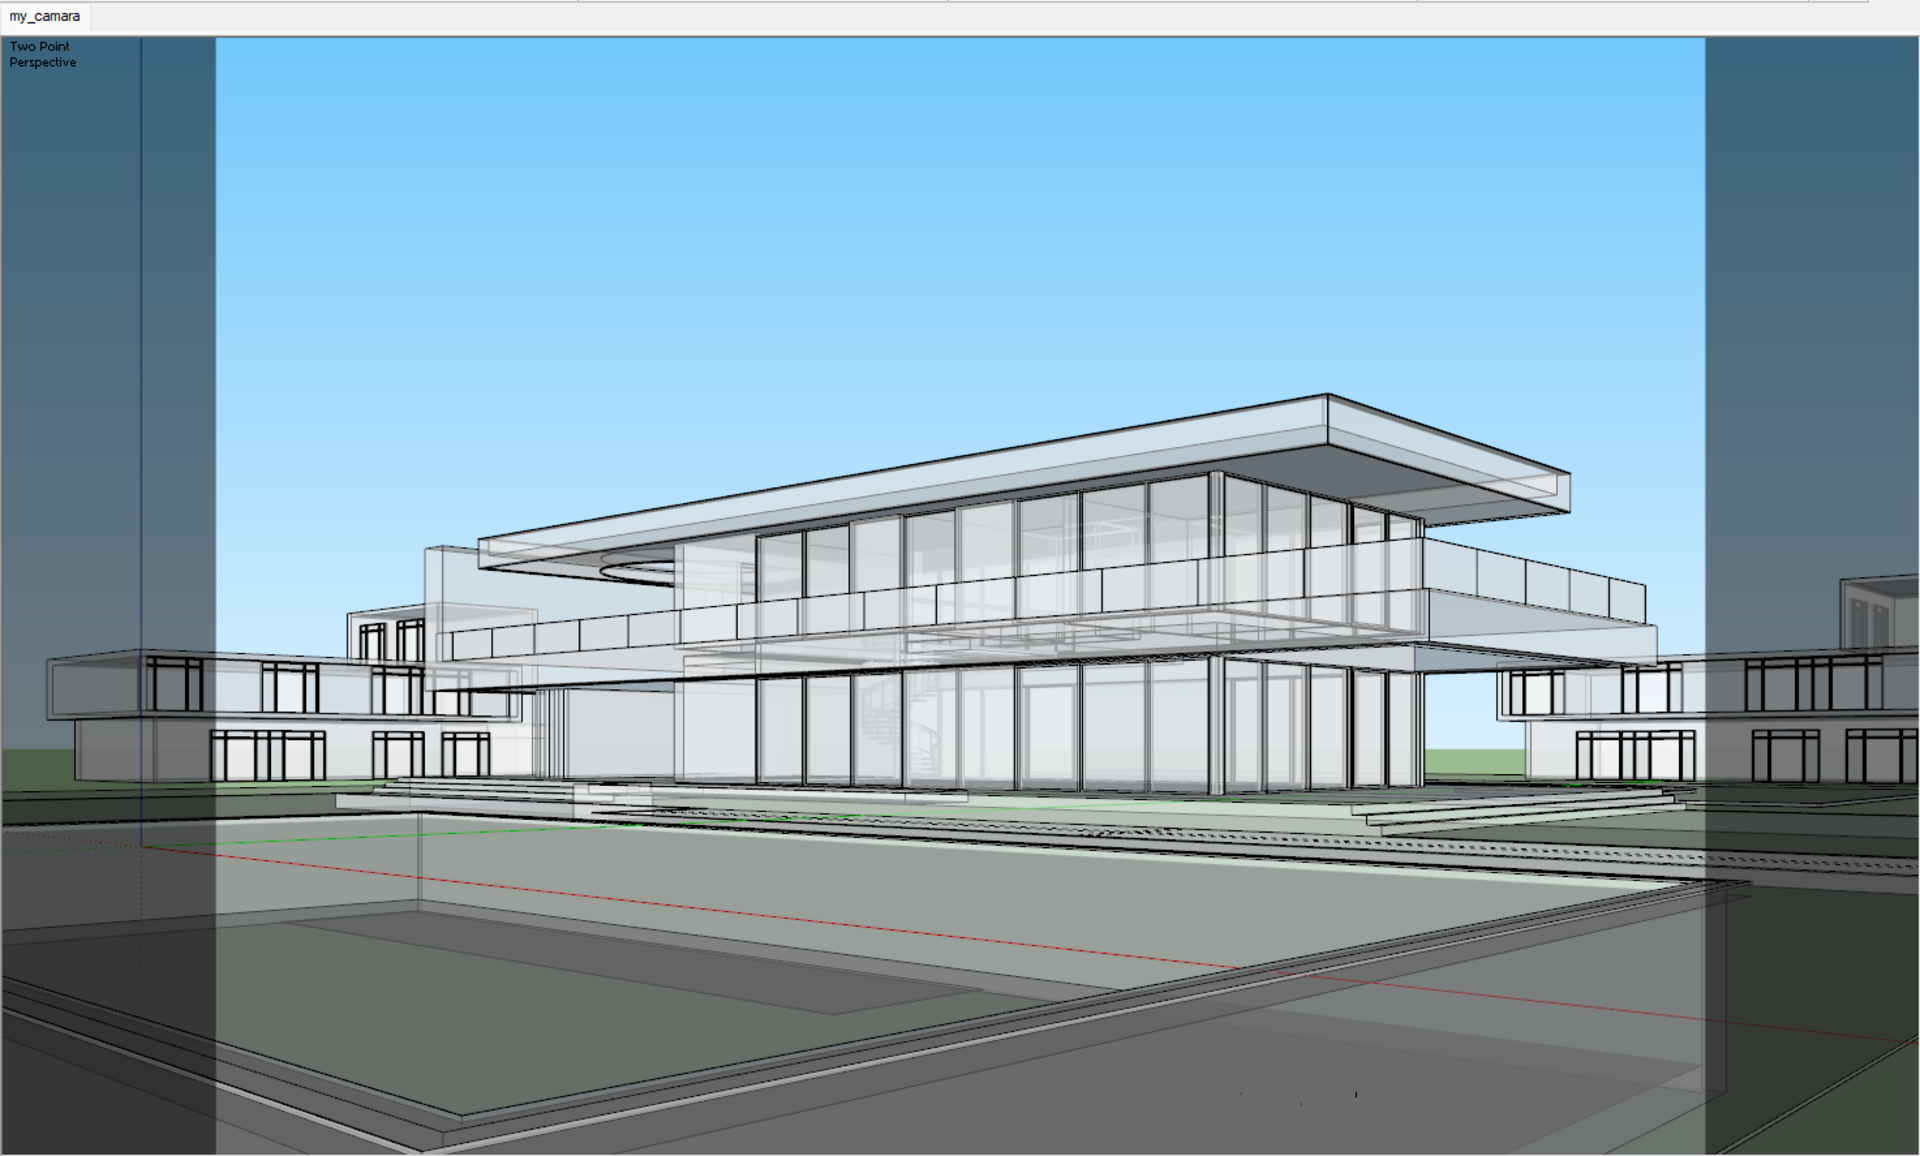
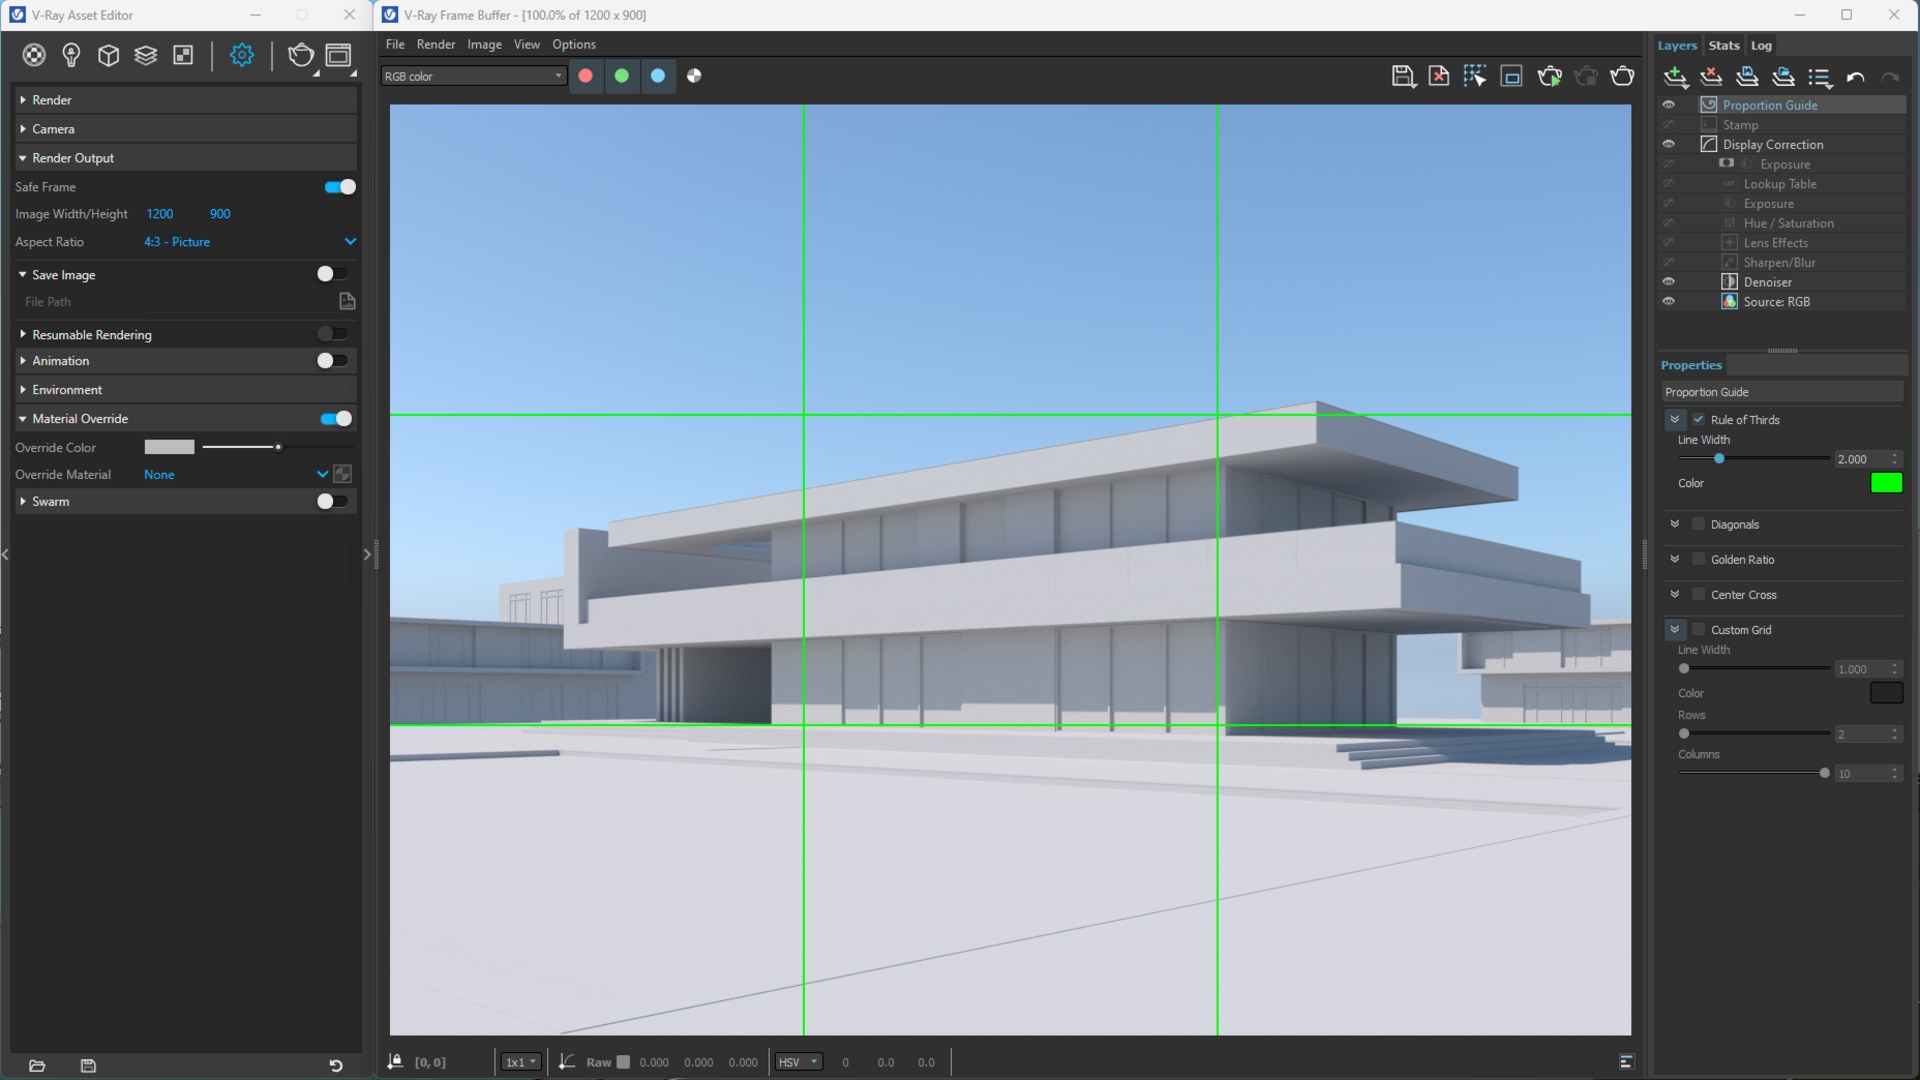
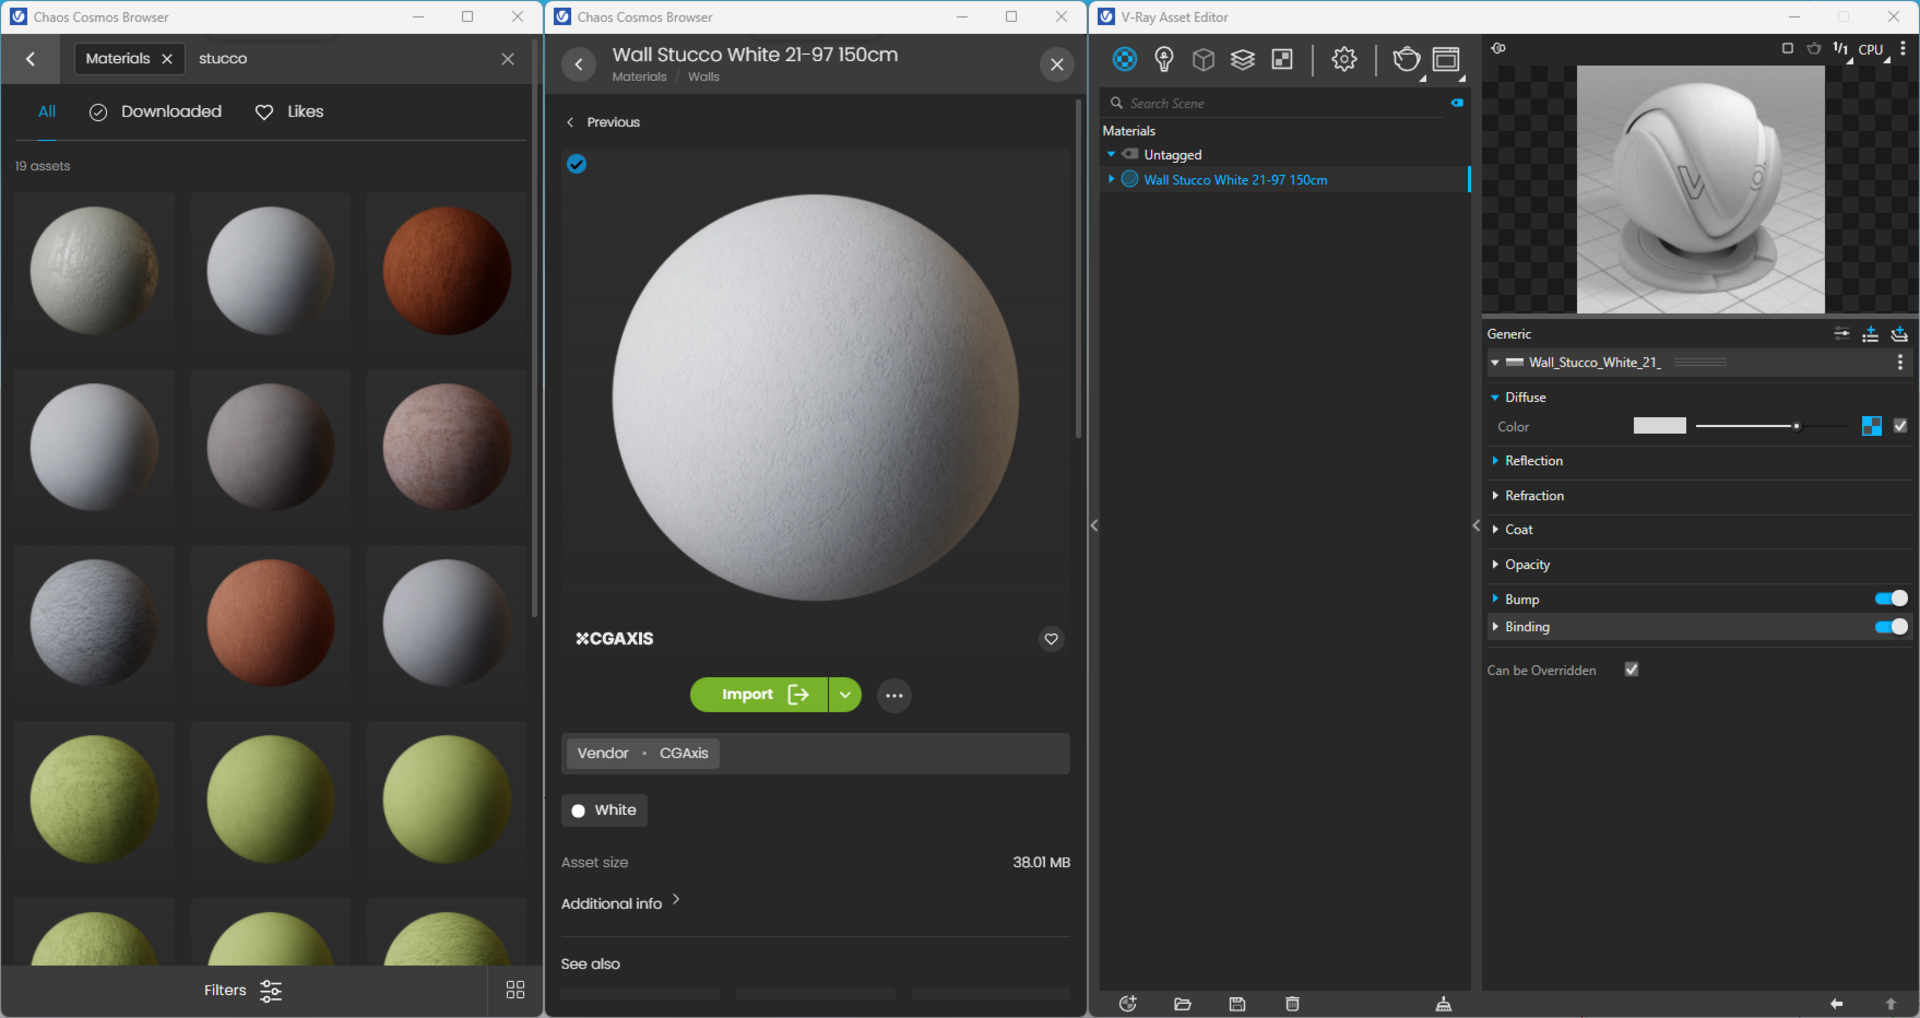
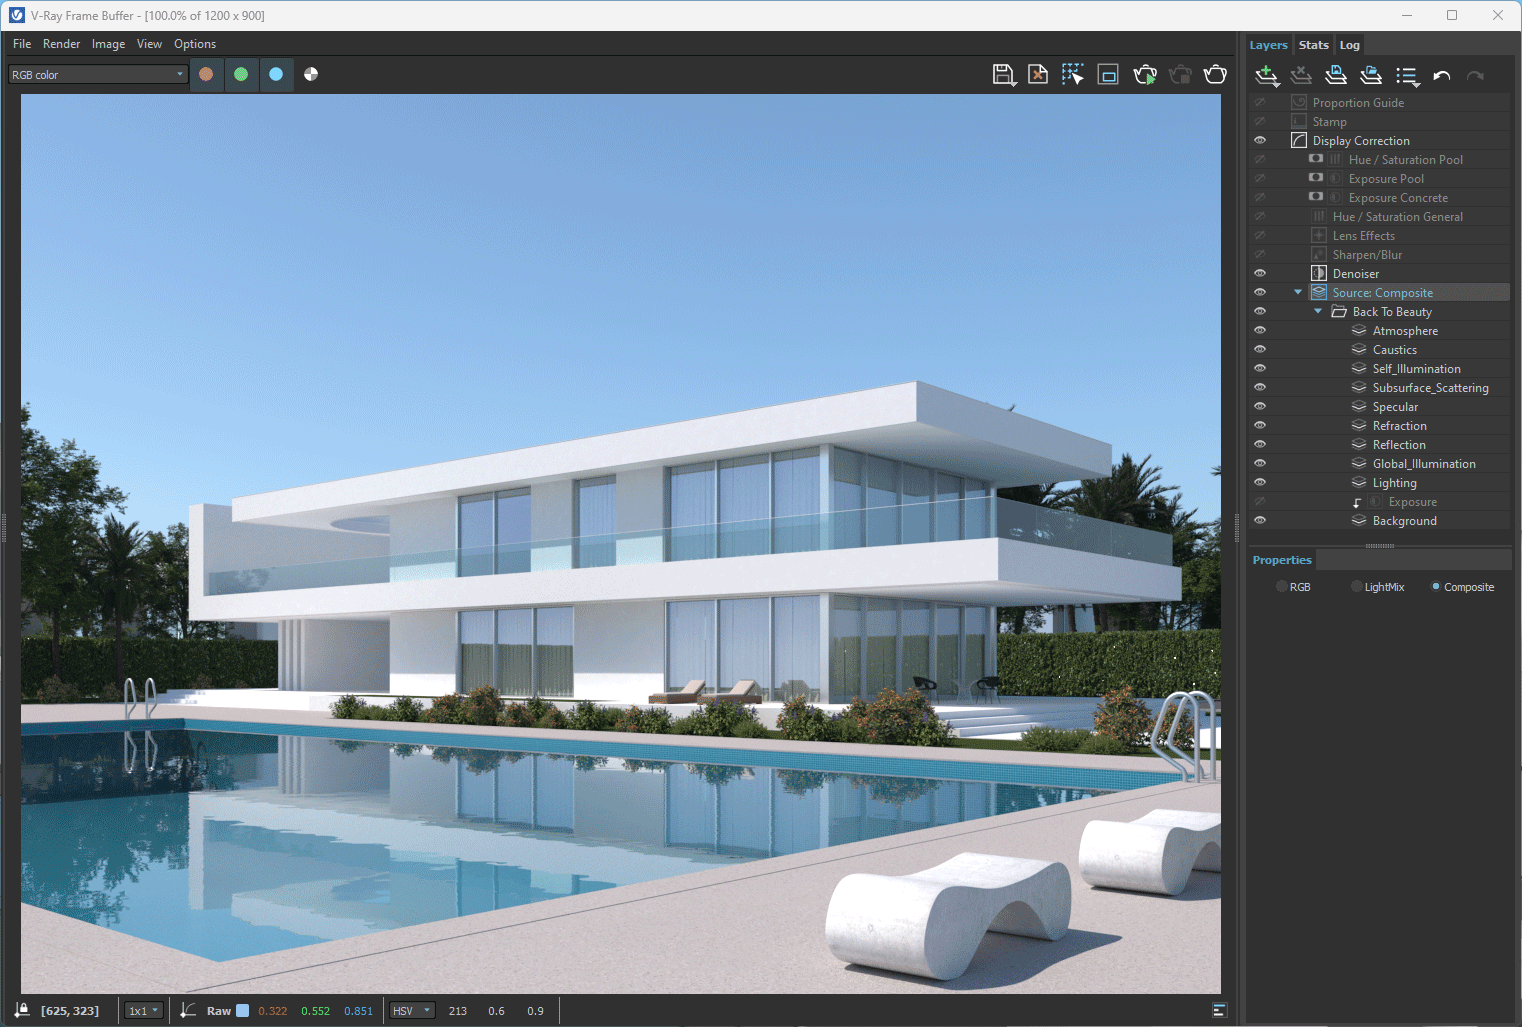
 © Tomek Miksa
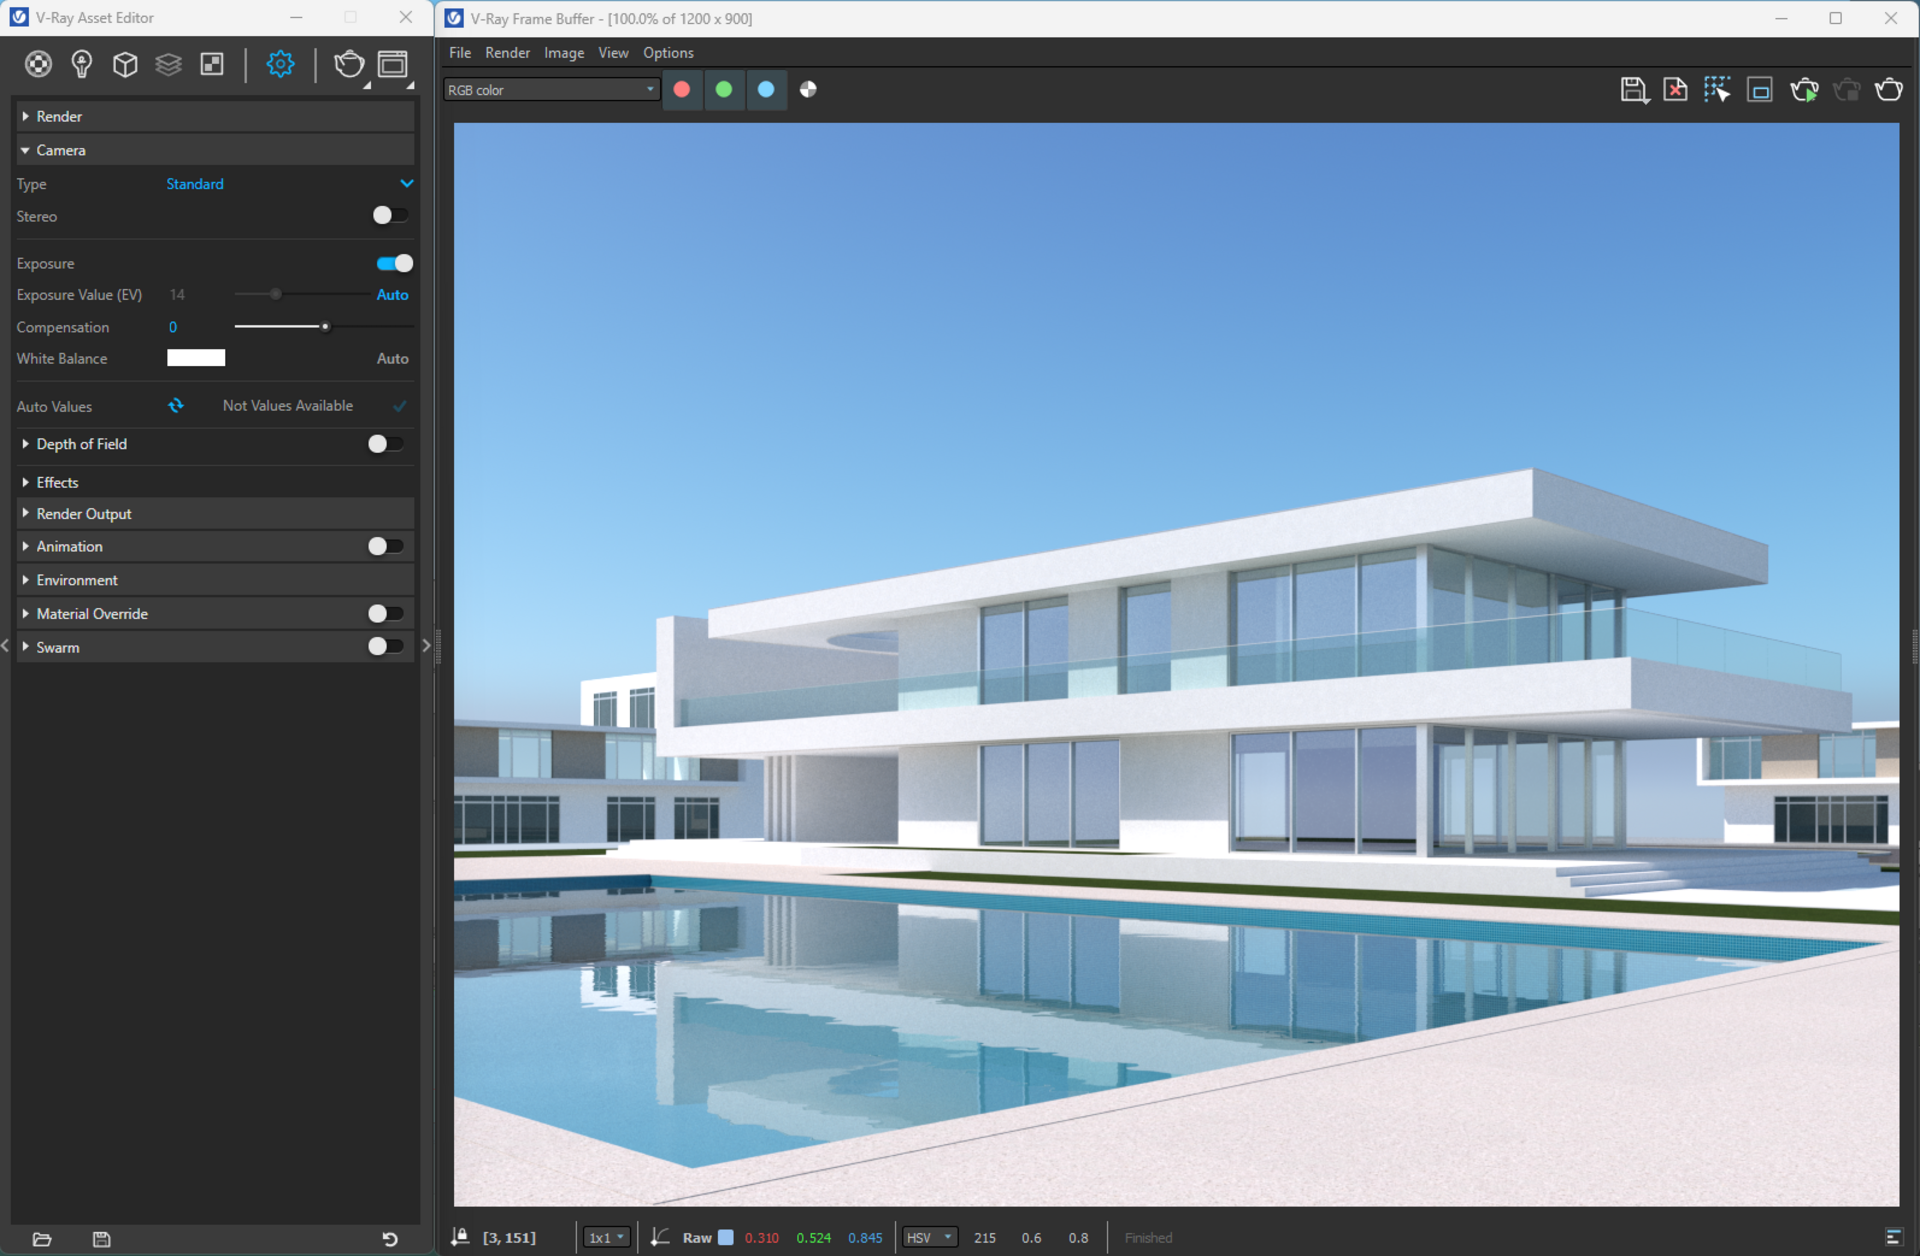
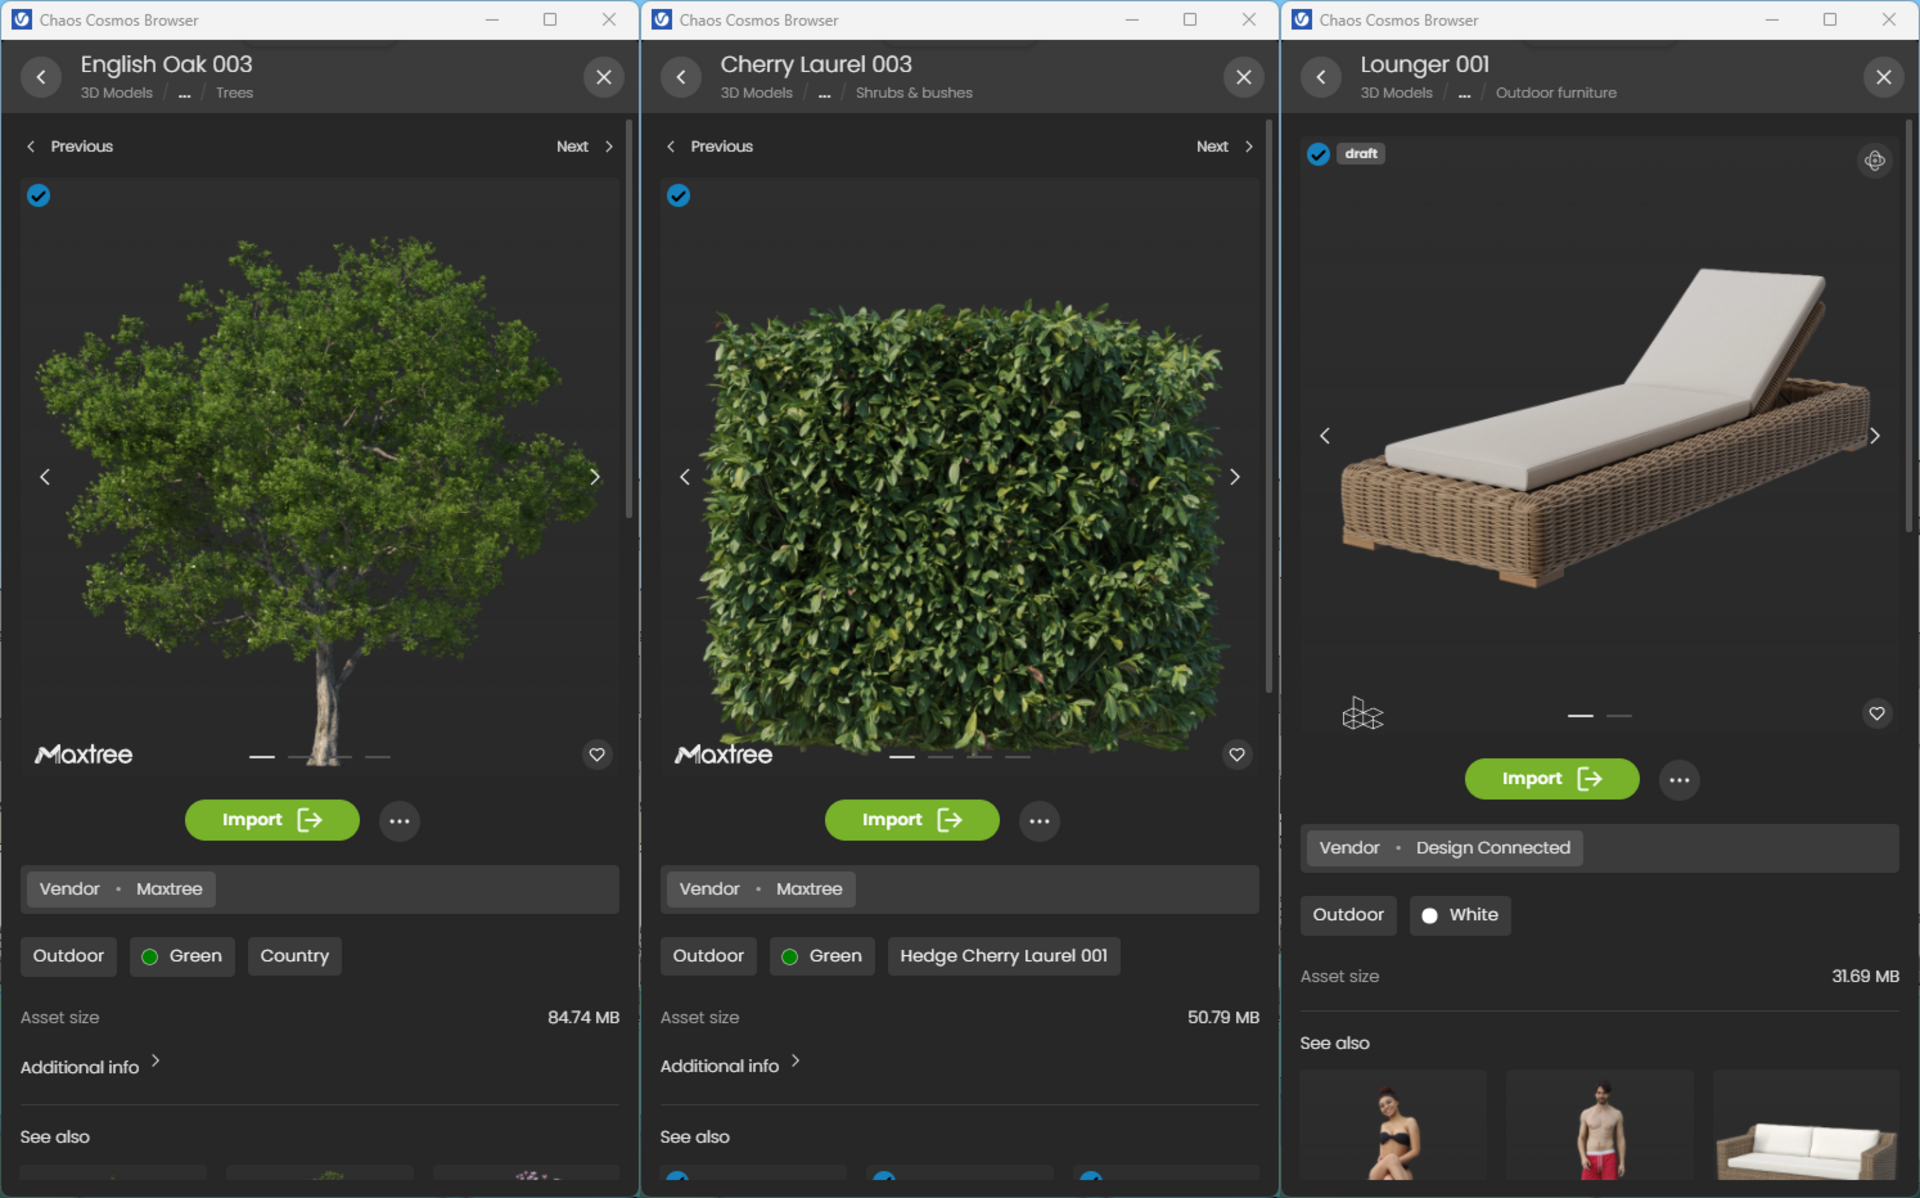
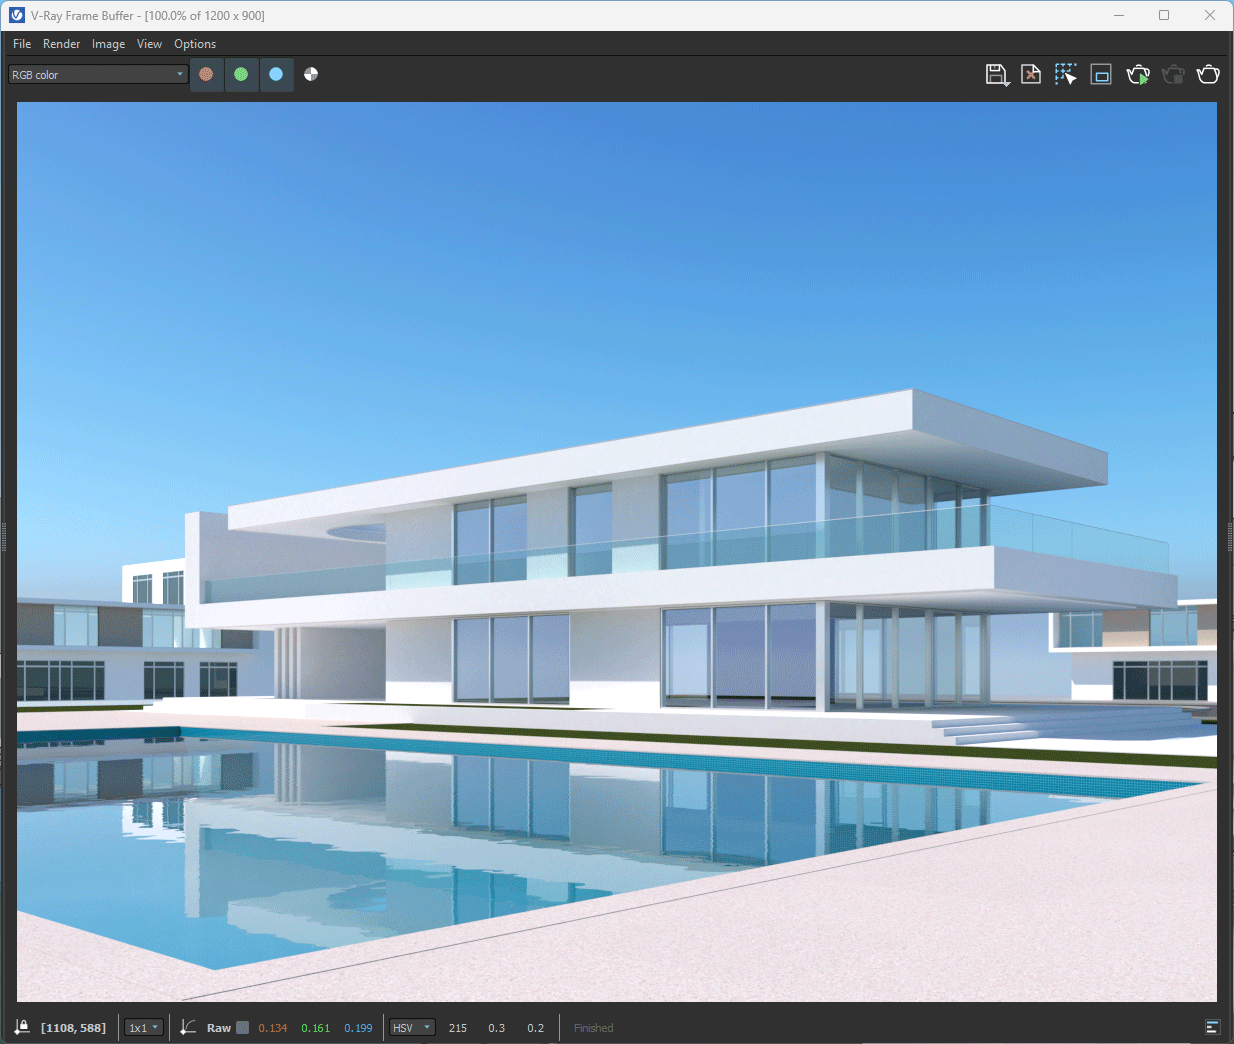
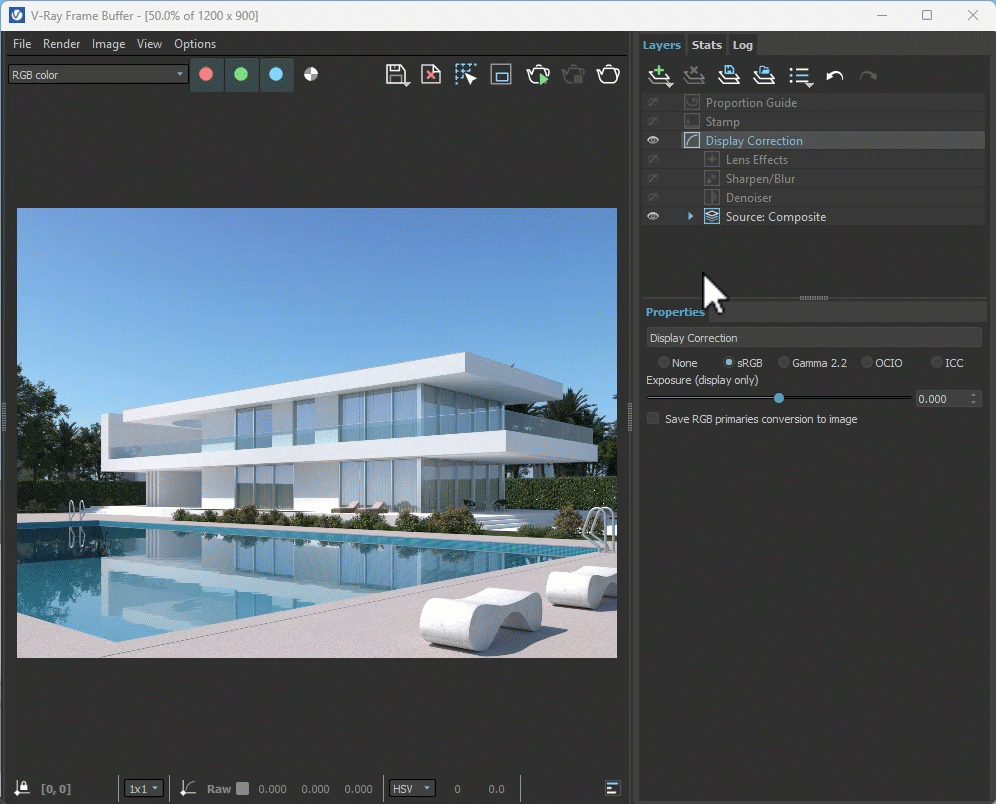
Understanding how to create an architectural rendering is the first step toward a successful career in archviz. This guide will get you up to speed in no time.
 © Škoda Design
Get the latest news, artist spotlight stories, tips and tricks delivered to your inbox.