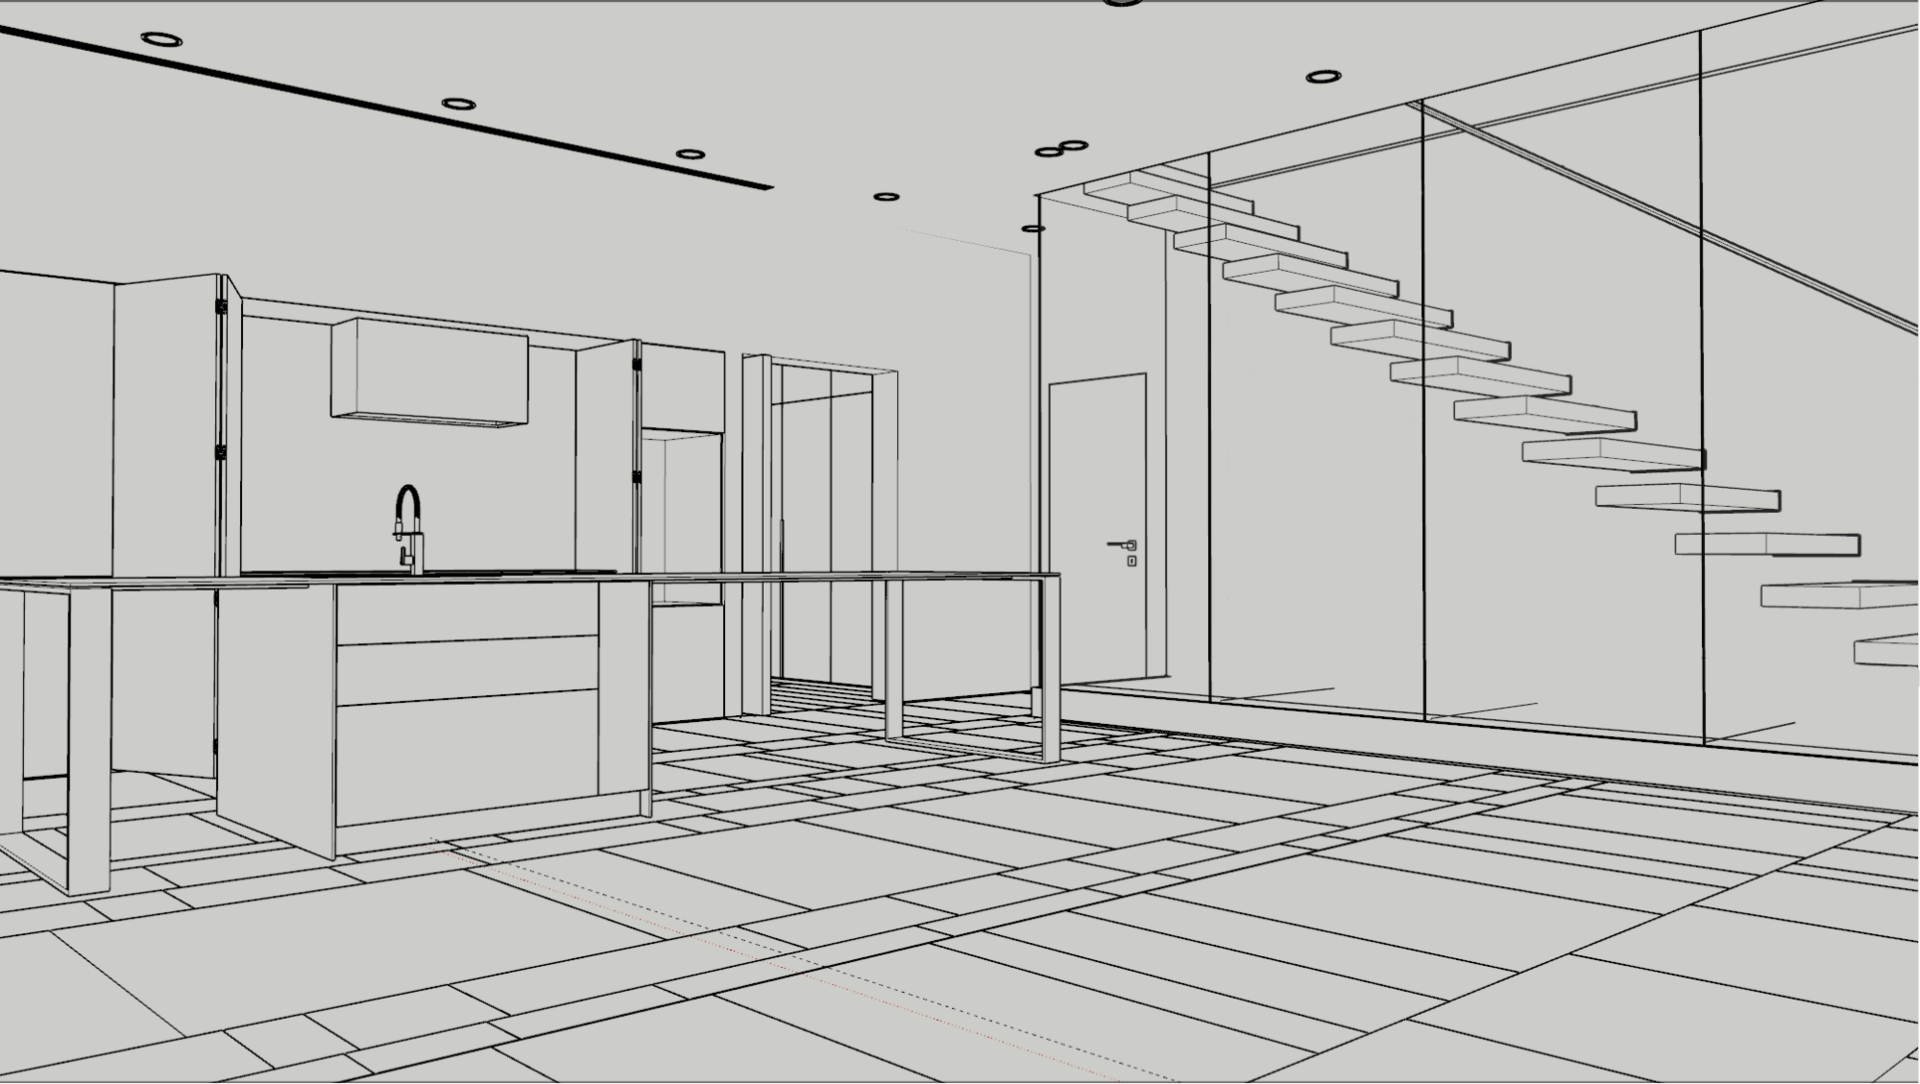
Set the cameras
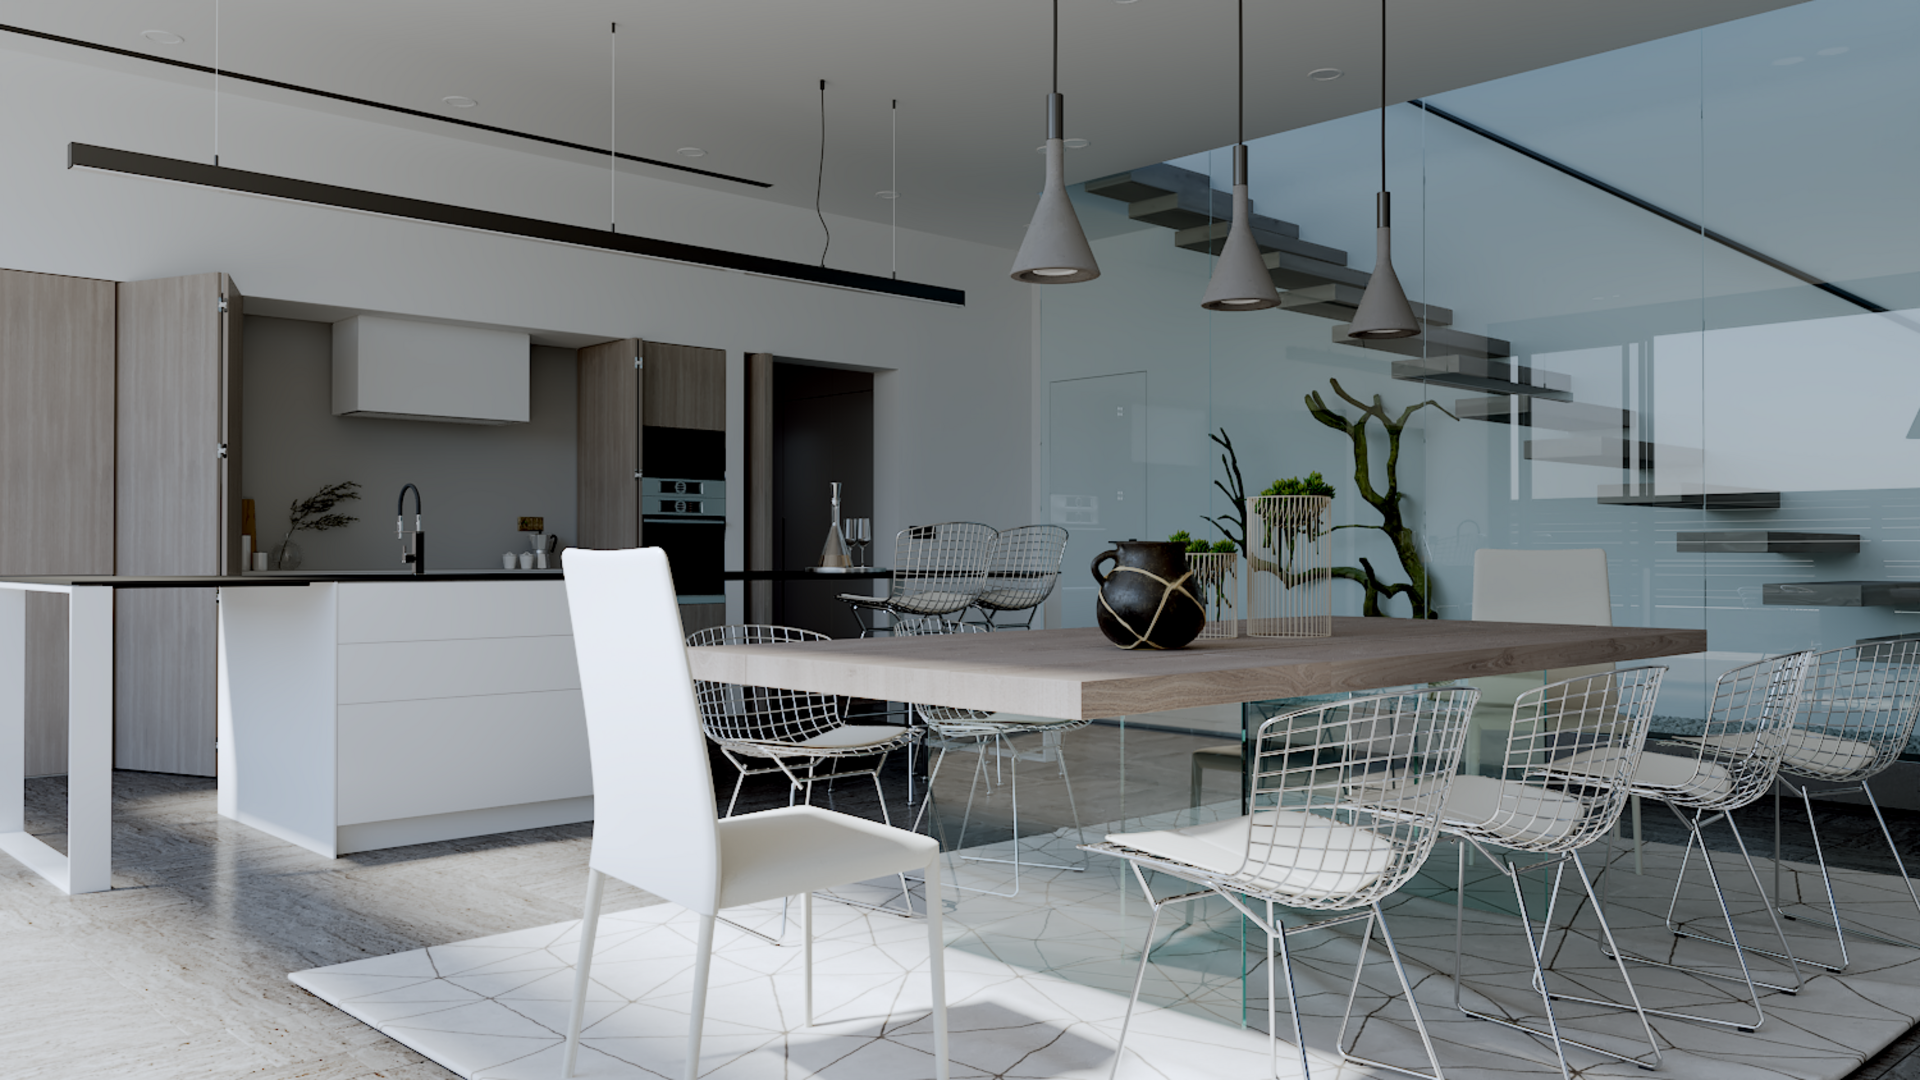
When placing our cameras indoors, sometimes the dimensions of the space will not allow us to show everything we want due to the camera's field of view.
A simple solution is to select our camera and change its lens to a smaller value (for example, from 35mm to 28mm). This will widen the field of view, but it will also slightly distort the image. Be careful not to create significant distortion that affects the interpretation scale of the space and the objects.
Finally, don’t forget to use the Composition Guides layer included in the V-Ray Frame Buffer to lay out your composition.
Lighting
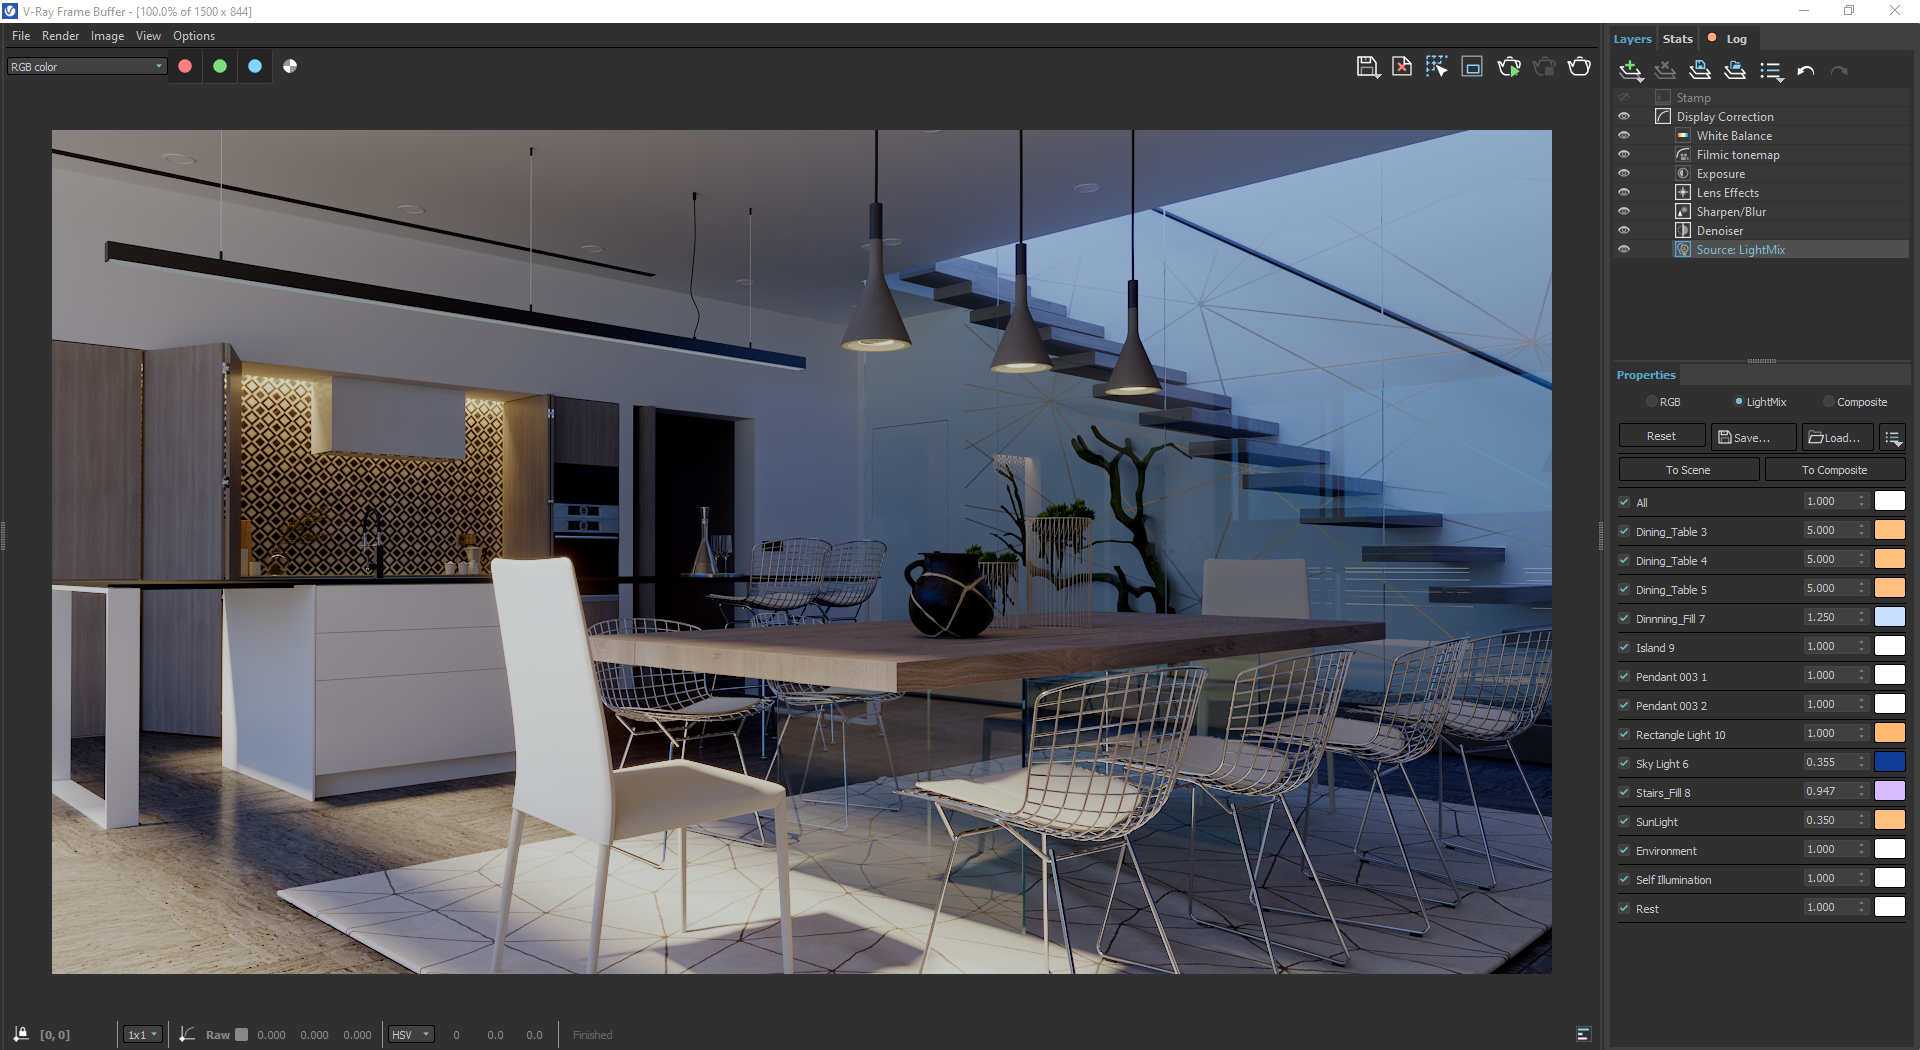
As in the first part, it is advisable to start with the most common lighting: daylight.
We create a Sun and Sky System and direct the sun to enter through the window. As the glass of the window is not visible in our render, you can hide the window geometry. This generates direct light into the interior space and consequently, this light will bounce throughout the space, creating global illumination. This process of direct and indirect light replicates the behavior of light in real life, ensuring an incredible level of realism.
The physical sky generates an ambient light that enters through the openings to the interior and gives us a more natural appearance.
To optimize all the necessary evaluations and obtain a better result, we must create a dome light and plug our Sky into the dome light texture. This is necessary in newer versions of V-Ray, and it helps speed up render times.
As in the case of exterior scenes, you can use image-based lighting with an HDRI texture. Remember to use the Chaos Cosmos library to download and try many different HDRIs.


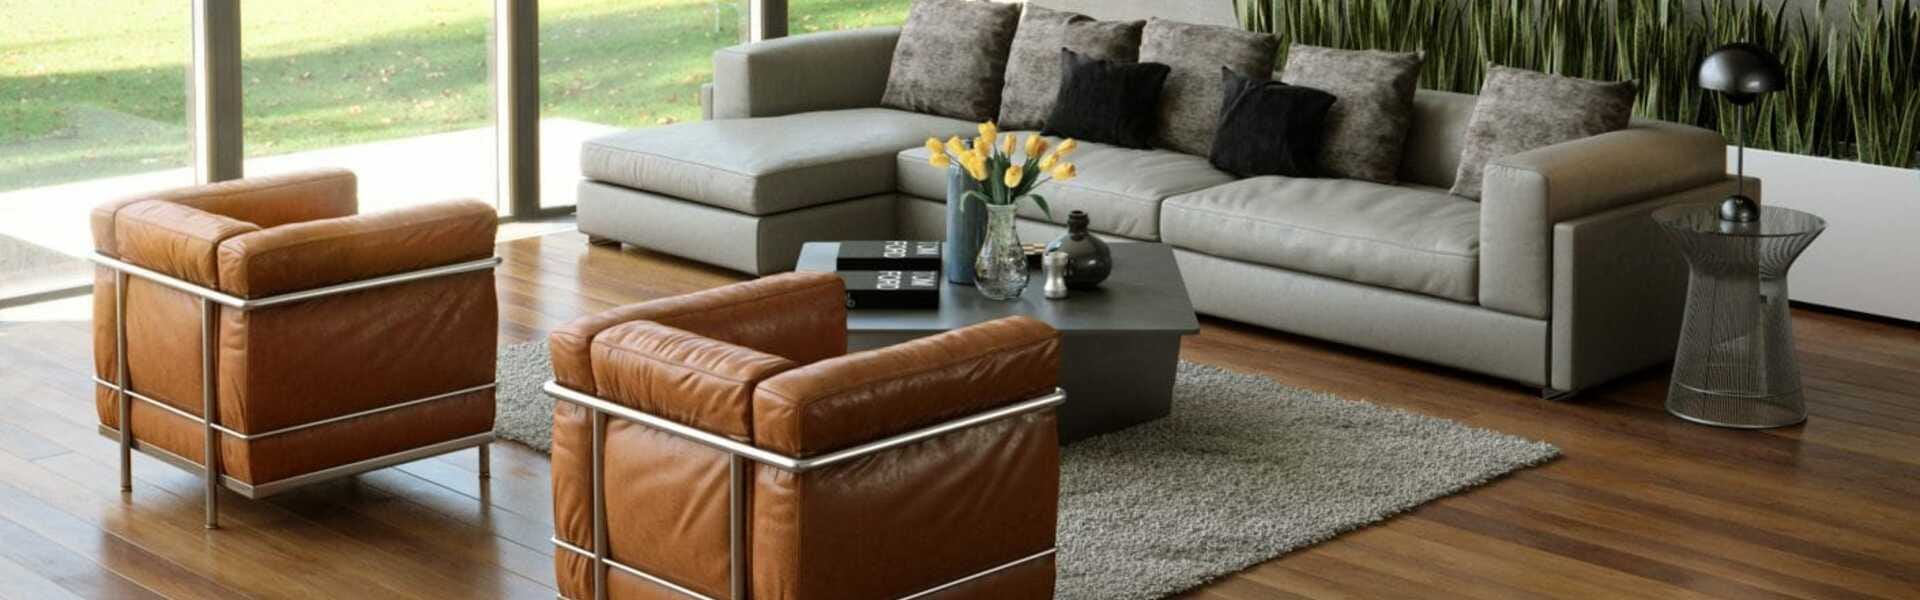 © Mihail Bendus
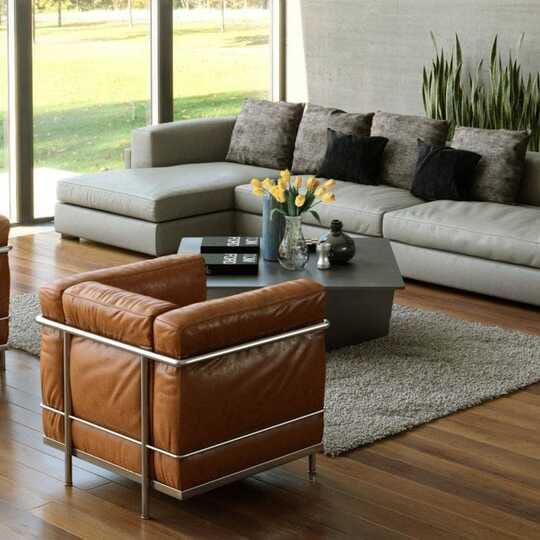 © Mihail Bendus
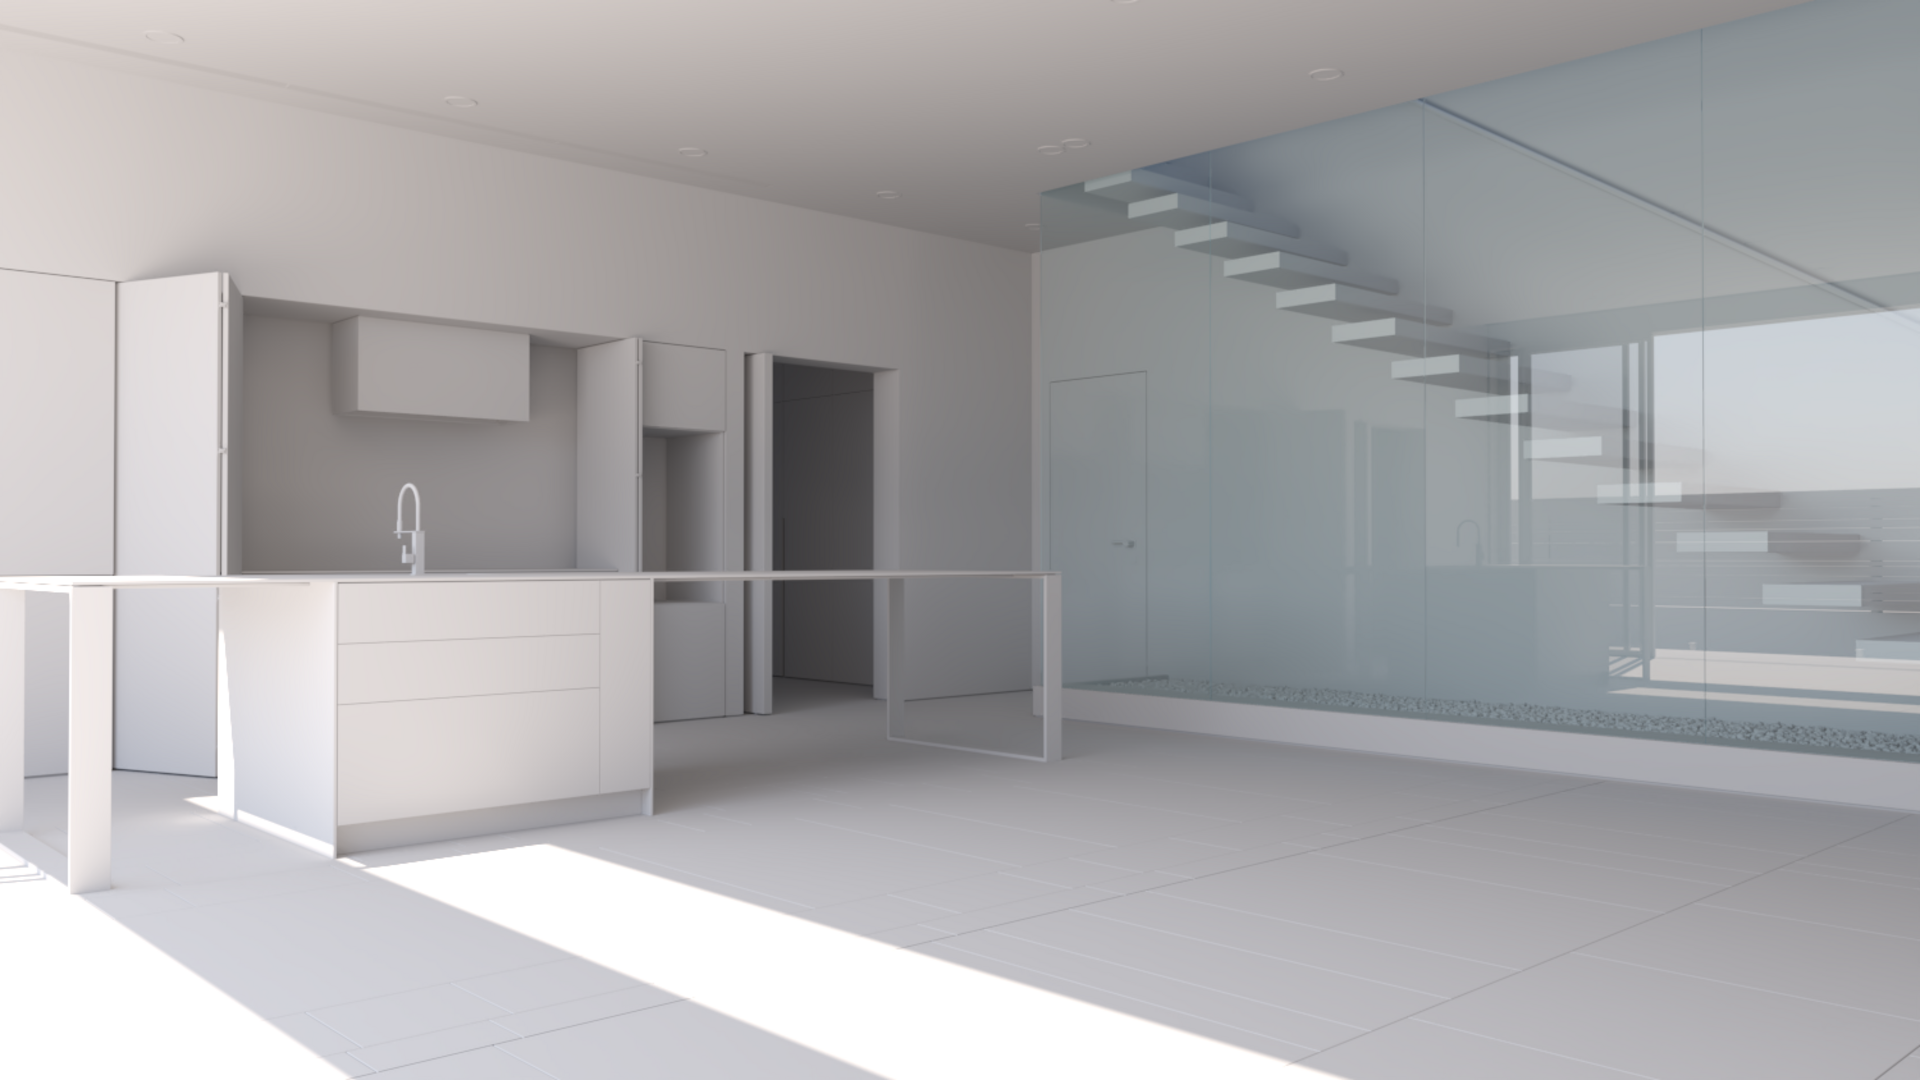

 Jason Chen
 © Škoda Design