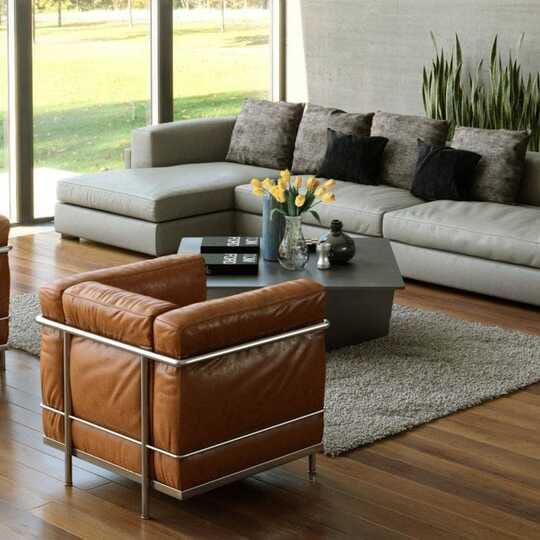
Step inside your dream space with V-Ray expert Ricardo Ortiz and discover how V-Ray’s features can generate high-quality, eye-catching photorealistic renders.
Are you an architect or interior designer looking for information on how to get started with interior rendering quickly and accurately? Then this article is for you.
Photorealistic interior renderings can be an exciting way to imagine where we live or work and examine how we light closed or semi-open spaces.
This is the second part about the basic principles of using architectural rendering software. It is a good idea to read the first installment about exteriors, as well as our back-to-basics guide on how to do an architectural render, to better understand this article. In this part, we will address the essential basic principles to work with interior rendering and complement additional aspects of the overall rendering process.
Getting started
As beginners in rendering, we must establish the conditions of our first interior render; a simple interior space with a single light input from a medium or large window.
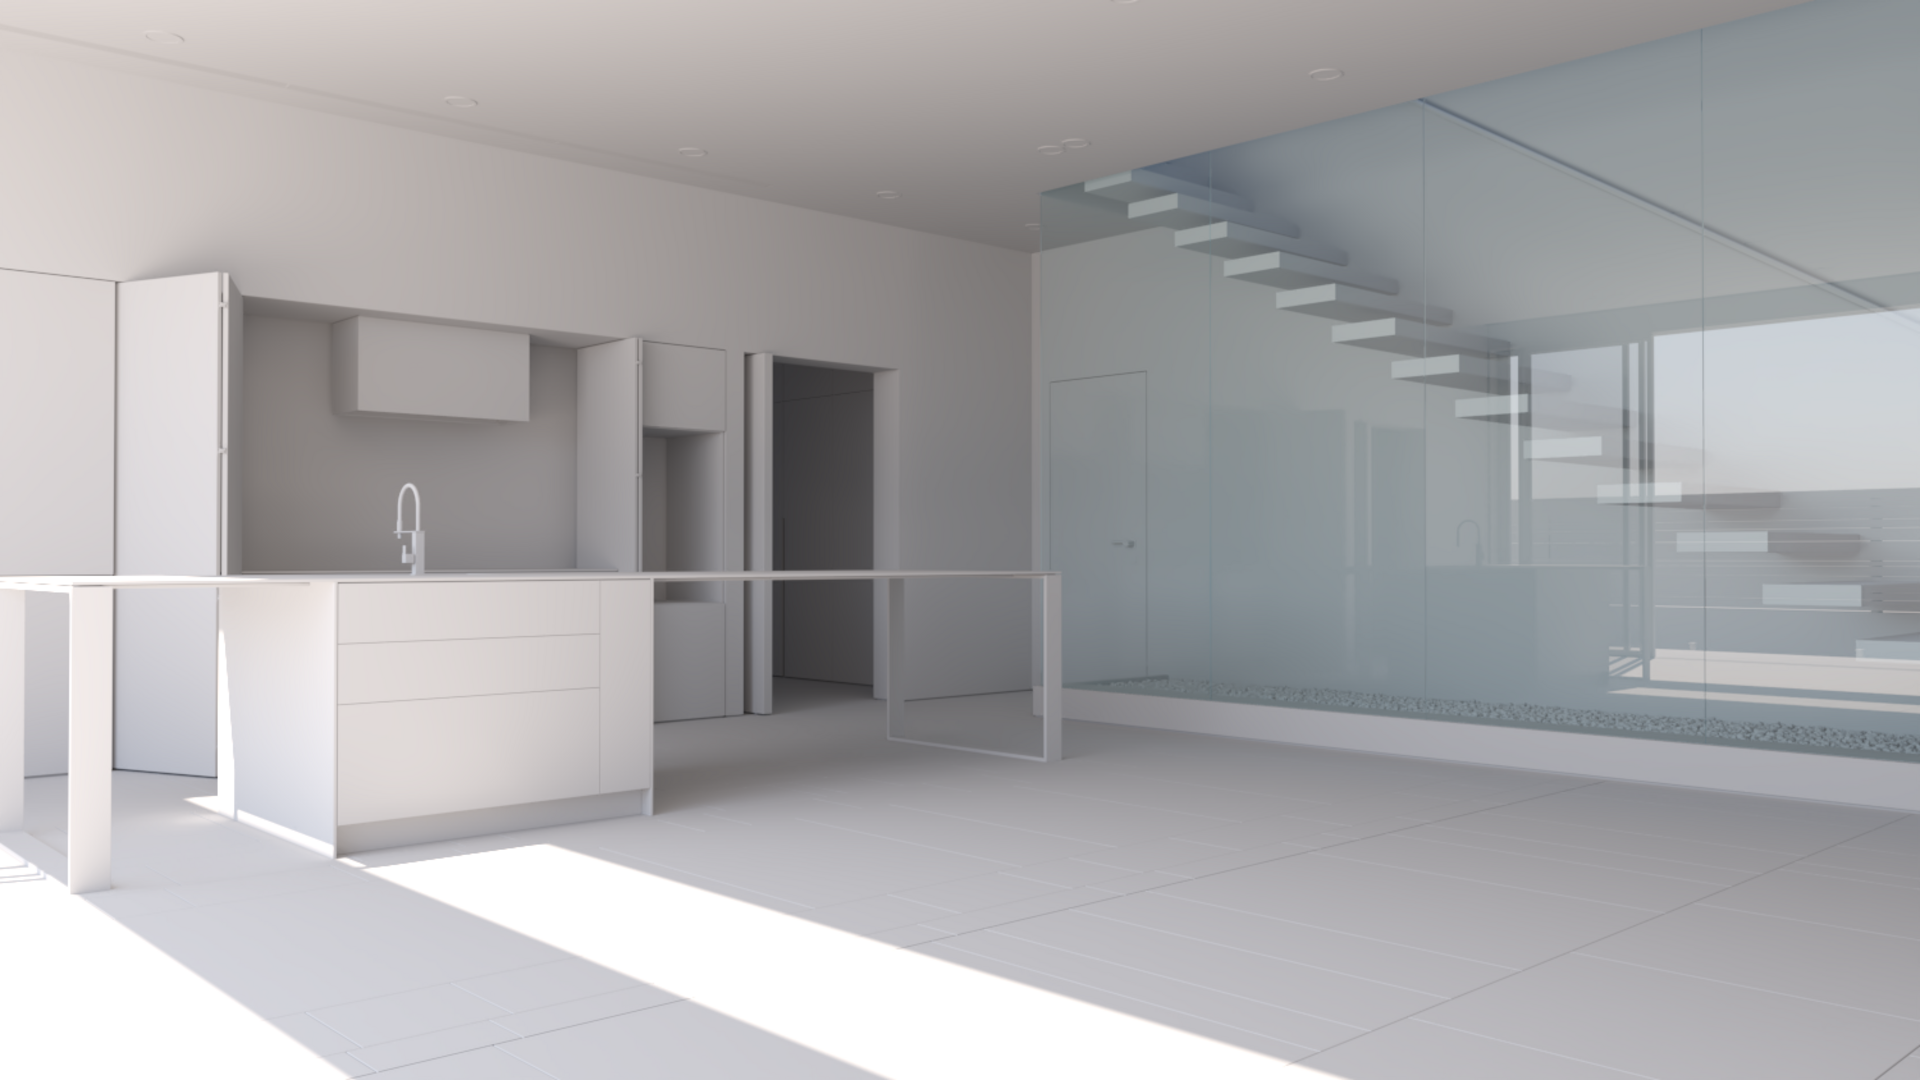
The process and steps covered in the first part with exteriors are largely similar in interior scenes, but I will cover some aspects and additional considerations that are important to consider in order to achieve great results.
3D Models for rendering
In terms of visualization, we have the flexibility to adjust the geometries however we want. Simple modeling doesn't take a lot of time. For example, if it's walls, we can create simple planes without thicknesses and it will work. However, we can also work with a complex BIM model if our piece comes from a specialized development platform such as Revit.
The most important thing in all cases is to ensure that the geometries are efficient and clean, with continuous and smooth curves. We have to make sure faces that don’t overlap and have correct normals. This last point is very important; if a wall is a simple plane its normal face must be in the direction of the camera, since many of the render engine modifiers, such as displacement or fur, work based on the normal of the polygons.
Set the cameras
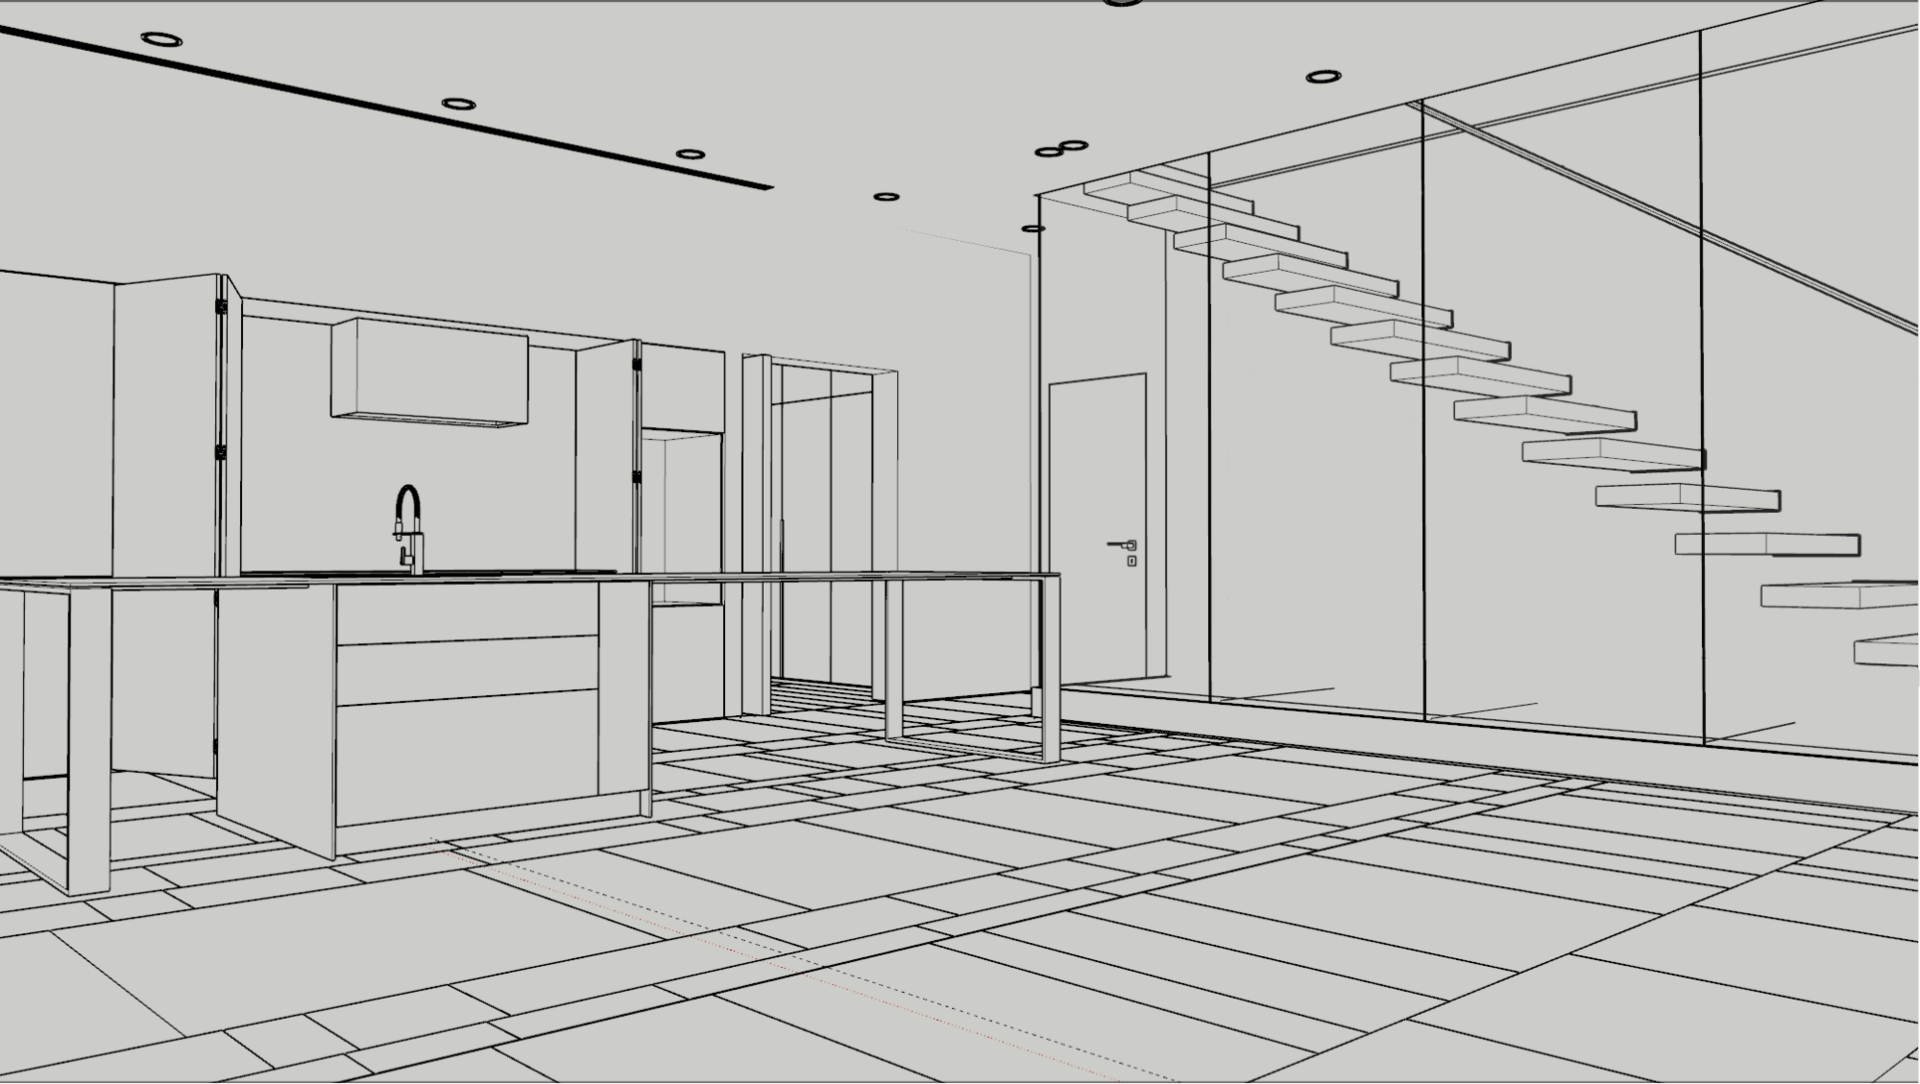
When placing our cameras indoors, sometimes the dimensions of the space will not allow us to show everything we want due to the camera's field of view.
A simple solution is to select our camera and change its lens to a smaller value (for example, from 35mm to 28mm). This will widen the field of view, but it will also slightly distort the image. Be careful not to create significant distortion that affects the interpretation scale of the space and the objects.
Finally, don’t forget to use the Composition Guides layer included in the V-Ray Frame Buffer to lay out your composition.
Lighting
As in the first part, it is advisable to start with the most common lighting: daylight.
We create a Sun and Sky System and direct the sun to enter through the window. As the glass of the window is not visible in our render, you can hide the window geometry. This generates direct light into the interior space and consequently, this light will bounce throughout the space, creating global illumination. This process of direct and indirect light replicates the behavior of light in real life, ensuring an incredible level of realism.
The physical sky generates an ambient light that enters through the openings to the interior and gives us a more natural appearance.
To optimize all the necessary evaluations and obtain a better result, we must create a dome light and plug our Sky into the dome light texture. This is necessary in newer versions of V-Ray, and it helps speed up render times.
As in the case of exterior scenes, you can use image-based lighting with an HDRI texture. Remember to use the Chaos Cosmos library to download and try many different HDRIs.
Materials and 3D assets
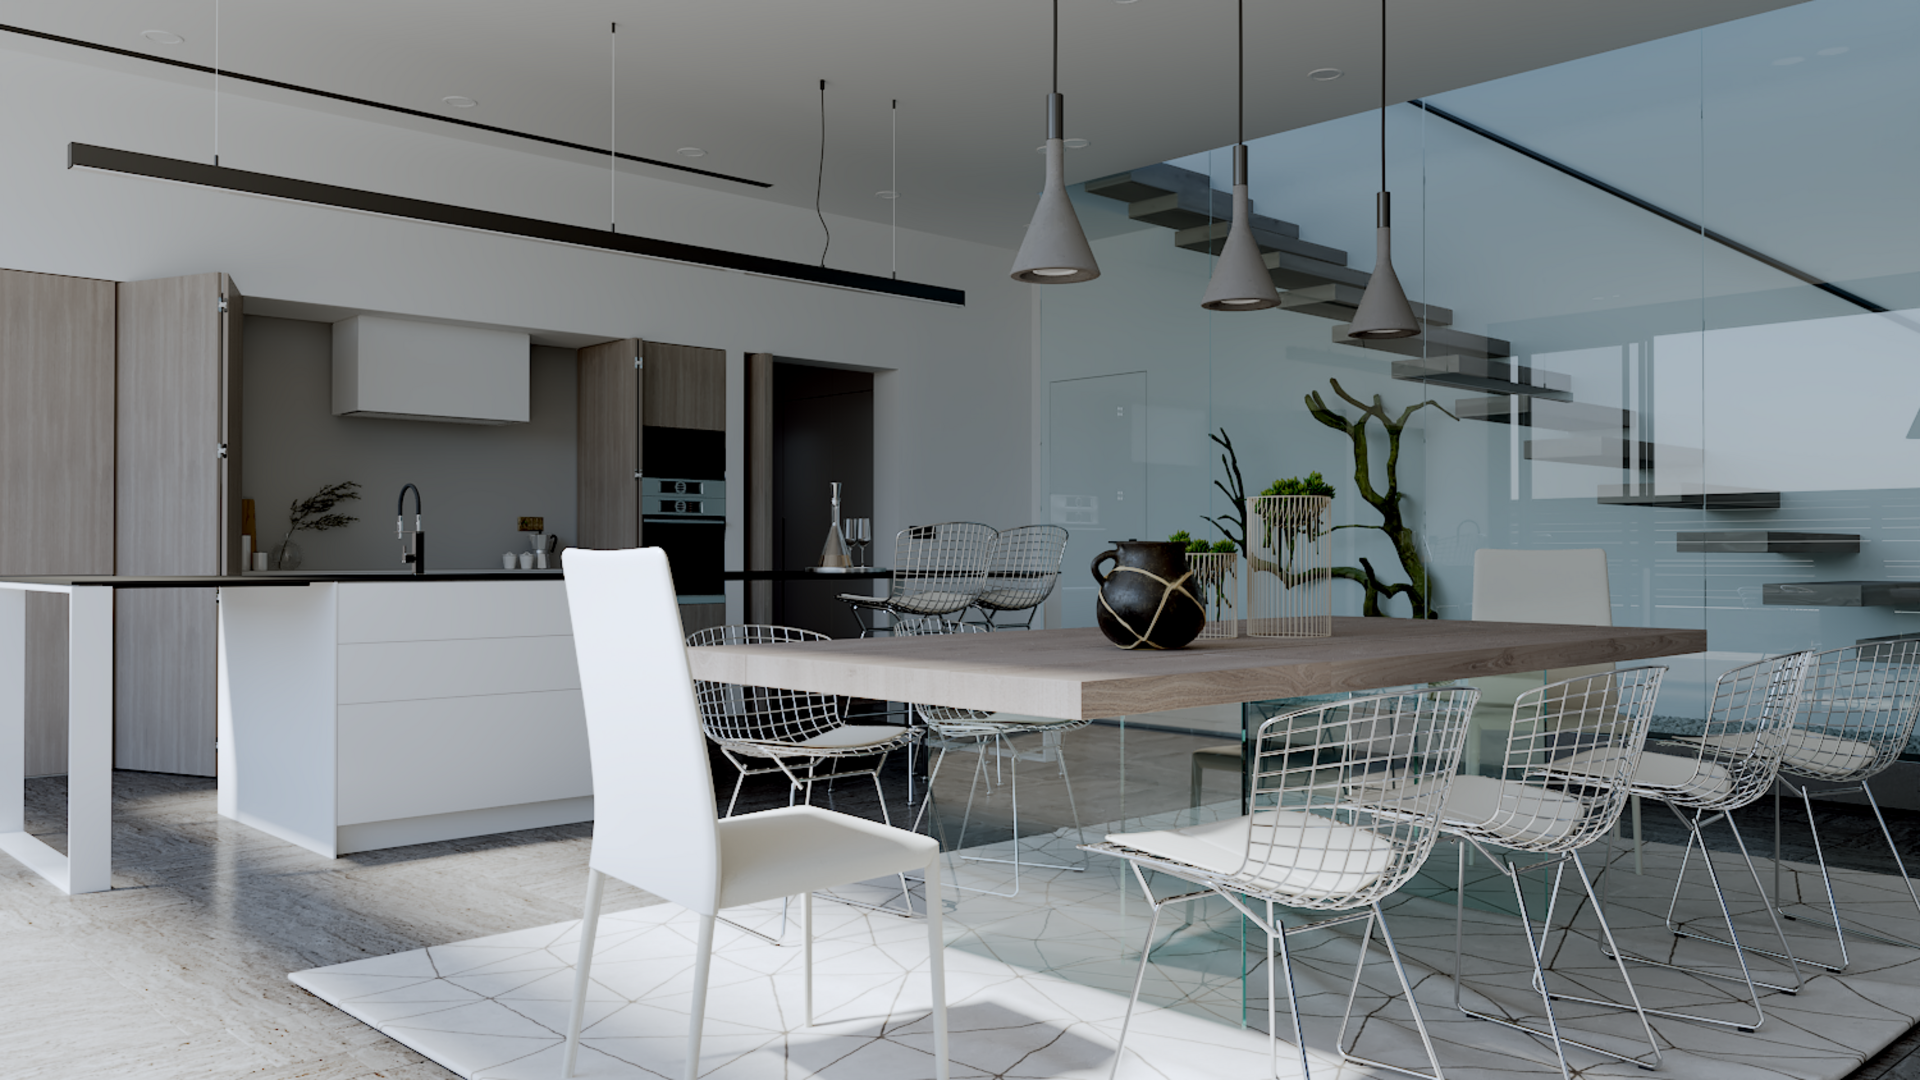
Again, we can use the Chaos Cosmos library to download materials for our project. While we’re in Cosmos, we can also choose furniture and accessories that suit our project.
Render time
The default settings in V-Ray are designed to render any scene. However, something that we must take into account is that interior renderings generally take more time due to light bounces and the level of detail in the materials.
In cases of interior renderings, it is worth considering the production modes that V-Ray offers and finding the one that best suits your hardware: CPU, GPU, or Chaos Cloud Rendering.
Today, many interior visualization artists have found the best option to speed up their render times is V-Ray GPU. Because the latest generation of graphics cards are designed to solve demanding parallel calculations, and specifically ray-tracing rendering processes, they are an excellent choice for rendering interiors. If you have an RTX graphic card, make use of it — you will not regret it.
Post-processing and composition
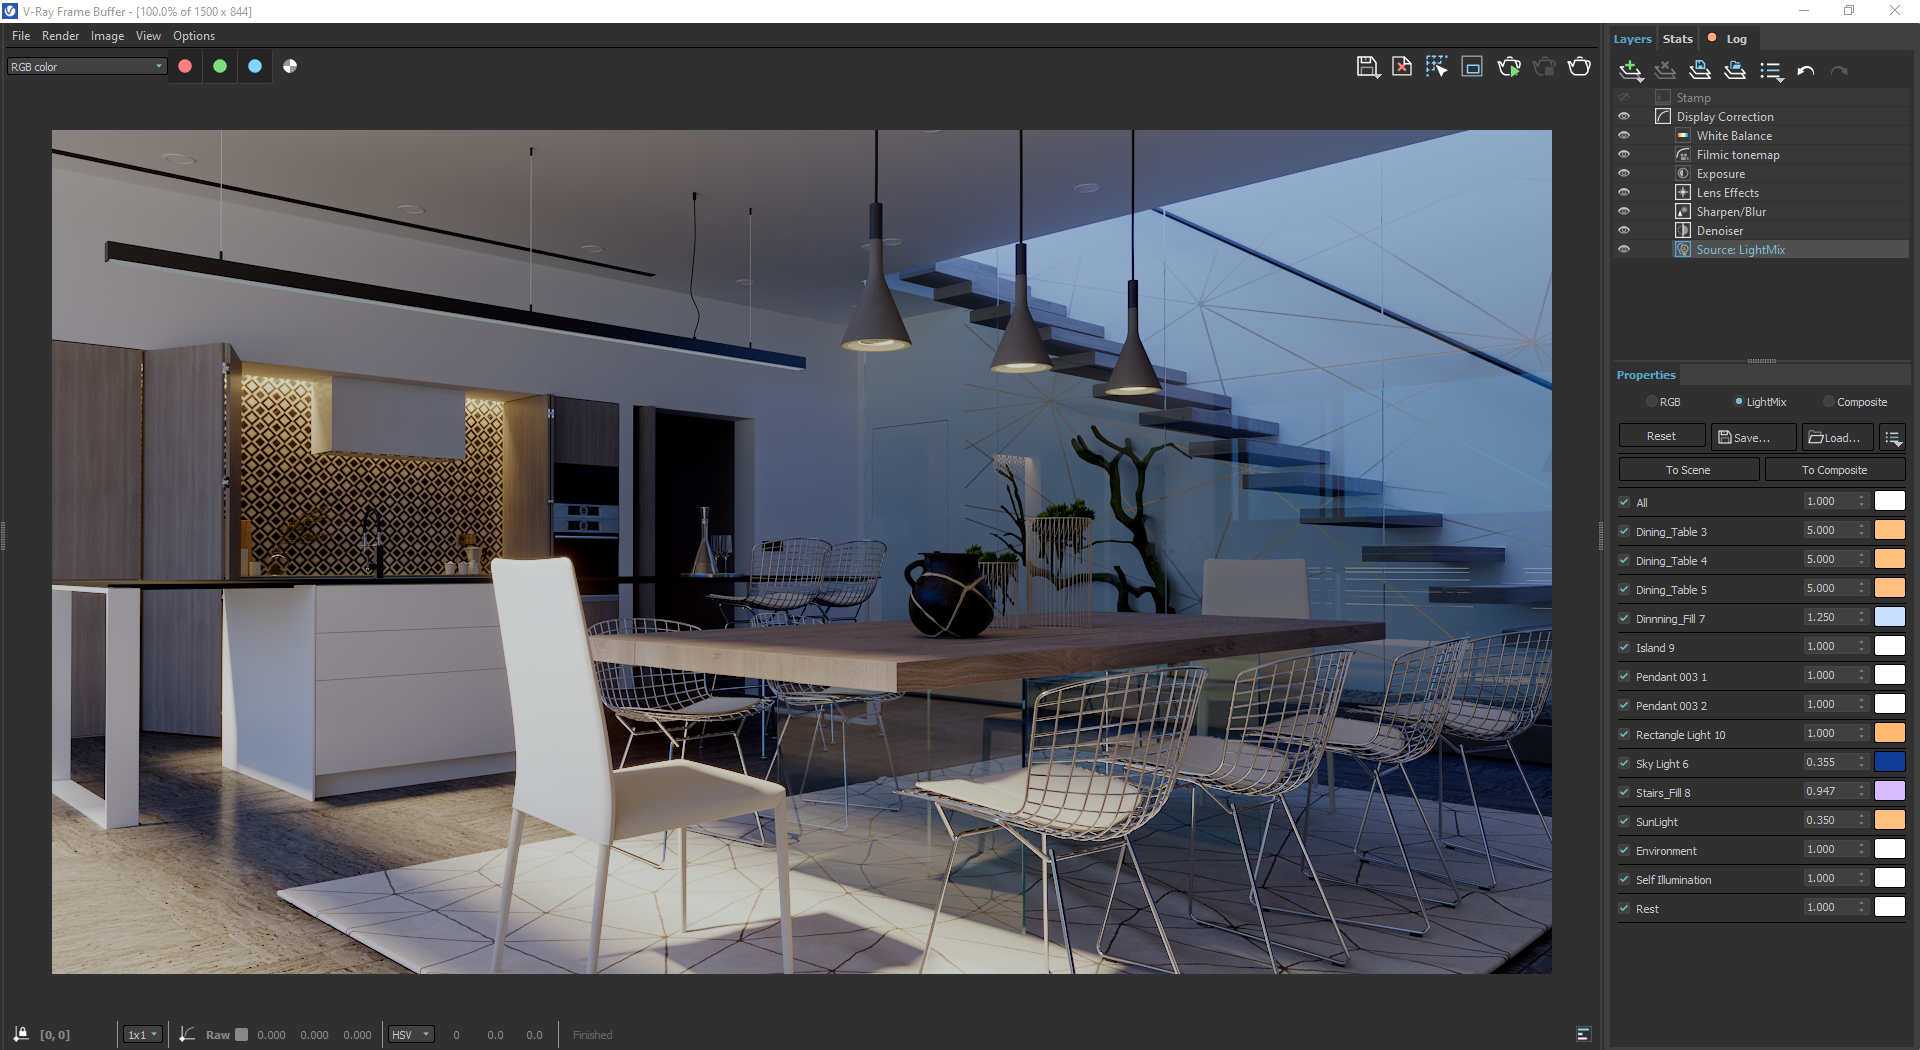
We already know about our essential render elements and tools; BackToBeauty, Cryptomatte, Denoiser, and LightMix, remember, a final image always requires those extra touches that will make it even better.
More about interior renderings
Want to know more about interior renders? I recently detailed my top 10 tips for creating wow-factor interior design renders. Check it out for a series of recommendations that will help you achieve incredible interior renderings. I'm sure it will complement your journey to rendering with V-Ray.
Let’s get to work
If you have reached the end of this second part, you will have noticed how simple it can be to create exterior and interior renderings. This smooth methodology facilitates the technical work and gives us time and creative freedom to explore architectural design and interior spaces.

