
Your cart
There are no items in your cart.


If you’ve been following our series of blog articles showing how to use rendering as a productivity enhancer, you probably noticed the beautiful images that illustrate those articles. I mean, those are gorgeous photorealistic pictures that showcase what V-Ray can do, and sometimes it’s easy to forget exactly what it takes for you and your 3D rendering software to get there. We already know that V-Ray makes it easy for anyone to create stunning renders, but what’s the first step towards a truly photorealistic rendering?
Even the most complex, detailed 3D model needs lighting to be seen, and there are literally thousands of different ways you can light your scene. So, how do you start?
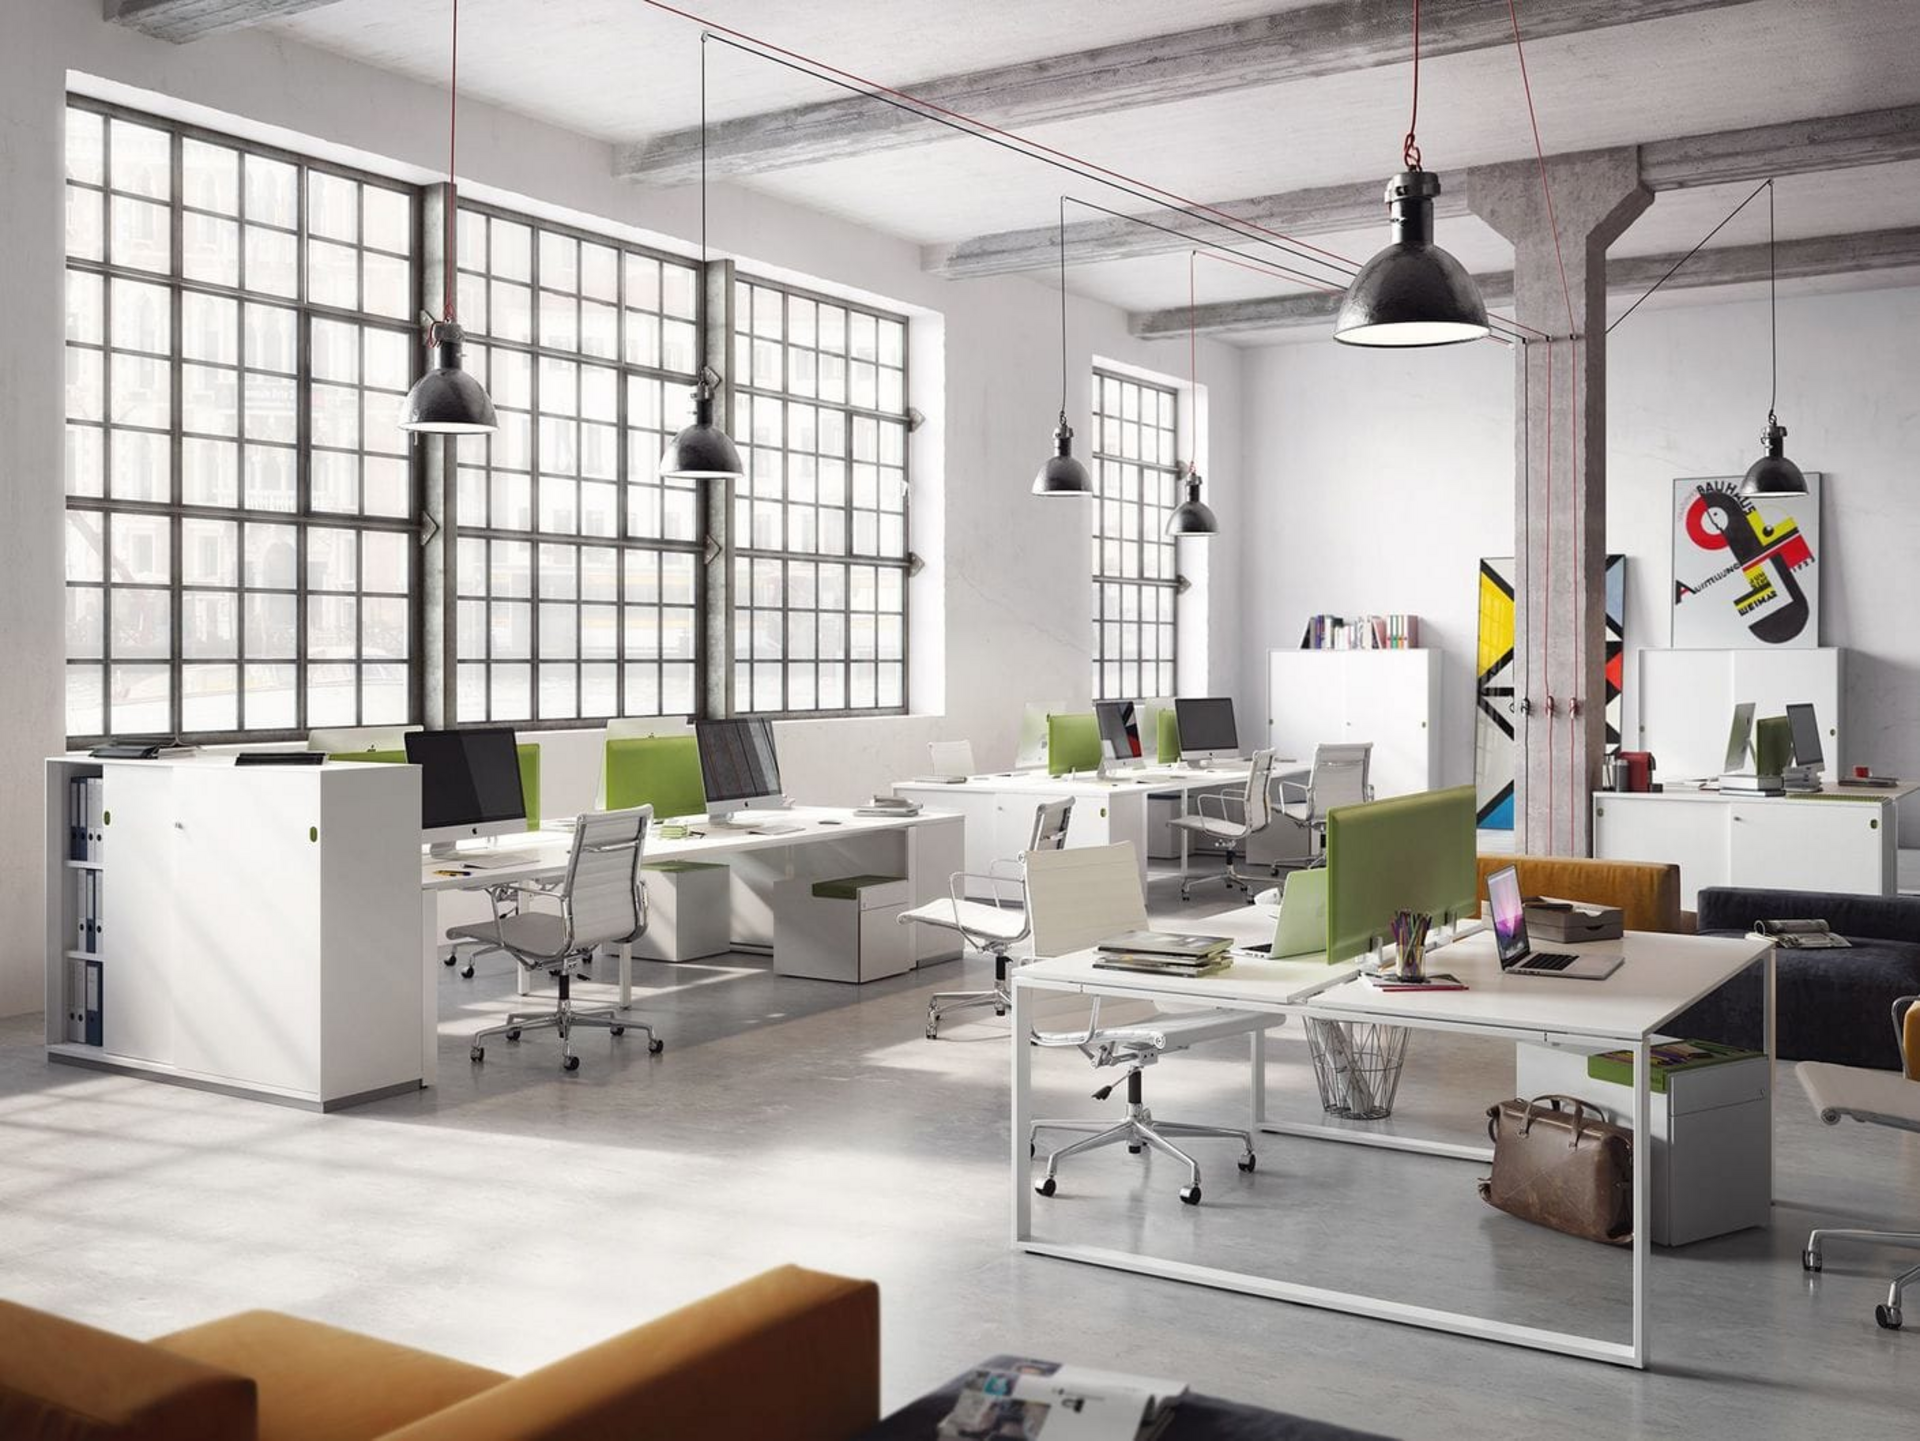
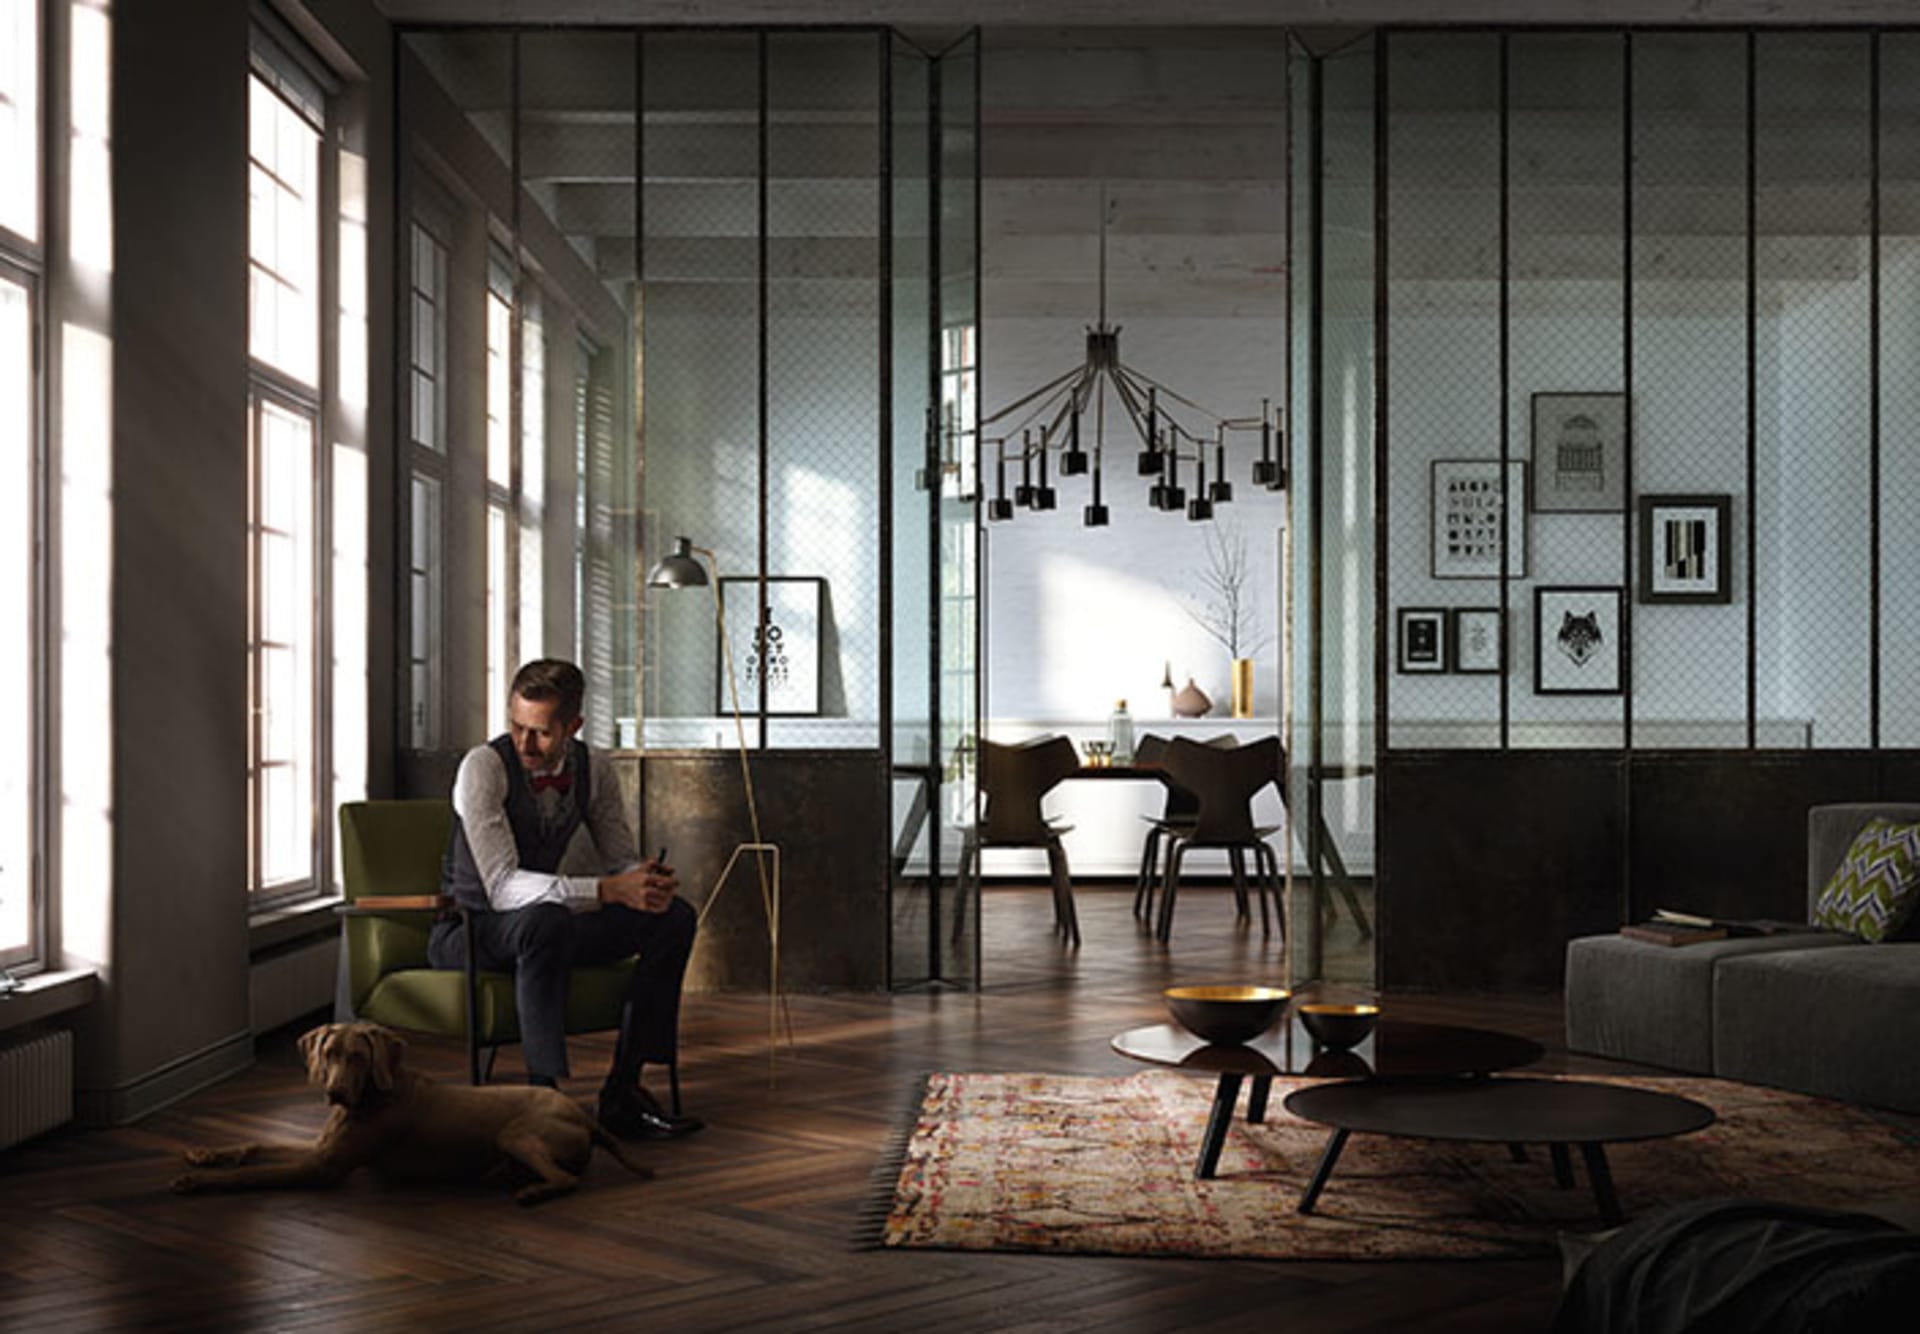
Well, first let’s determine our subject. After all, different subjects require different lighting. The key here is to plan how you want your design to look. For example, an office building can look OK during the day but stunning during sunset. Or, for an interior scene, maybe a night shot is just what you need for your client to fall in love with your design.
After deciding on the time of the day, the next step is to analyze your scene and determine the light sources, classifying them according to their importance. For example, a large window is always an important light source and can be a good starting point for your lighting as it does a tremendous job filling your scene with a nice, soft, ambient light. You can play with the light intensity as well to create various effects, ranging from a bright, sunny day to an overcast sky, add a sunlight for more realism, and so on.
We are going to focus on architectural rendering, but these steps apply to basically every field.
After you’ve decided how you want your scene to look, it’s time to shed some light on it. We all know by now that V-Ray features an array of tools to make your renderings look just like the real thing. Besides being able to always count on state-of-the-art Global Illumination to distribute the light in your scene, physical shaders with accurate reflections and refractions make sure your materials will always look correct, and, along with Chaos Cosmos material library and Chaos Scans, you know for a fact that everything will behave as it should. With this solid foundation in place, you can begin to be creative with your lighting.
To keep things real, let’s start with light sources you know must be in the scene. For example, the sun. What time is it? Does the sunlight come through an open window? If so, does it light the whole room?
Here’s the first golden tip: sunlight is not enough to light a room.
I know it sounds a bit counter-intuitive, but bear with me. If you open the window on overcast day, there’s no visible sun, but light does come through the window, right? And that happens because sunlight is scattered all around the atmosphere even if you can’t see the sun directly (it’s there, believe me).
To mimic this overcast lighting, you have two options: add a V-Ray Sun and a V-Ray Light Dome using VRaySky or a V-Ray Light Dome using a HDRI (you can find a great collection of HDRI’s on Chaos Cosmos for image based lighting). Lately, I’ve been using the V-Ray Sun/Sky duo a lot. It gives me a lot of control over the way the sunlight will look and, on V-Ray 6, you can even have procedural clouds! There’s pretty much nothing you can’t do with it and the results are amazing, giving you not only the look but also very realistic lighting as the resulting sky works as a complex light source too.
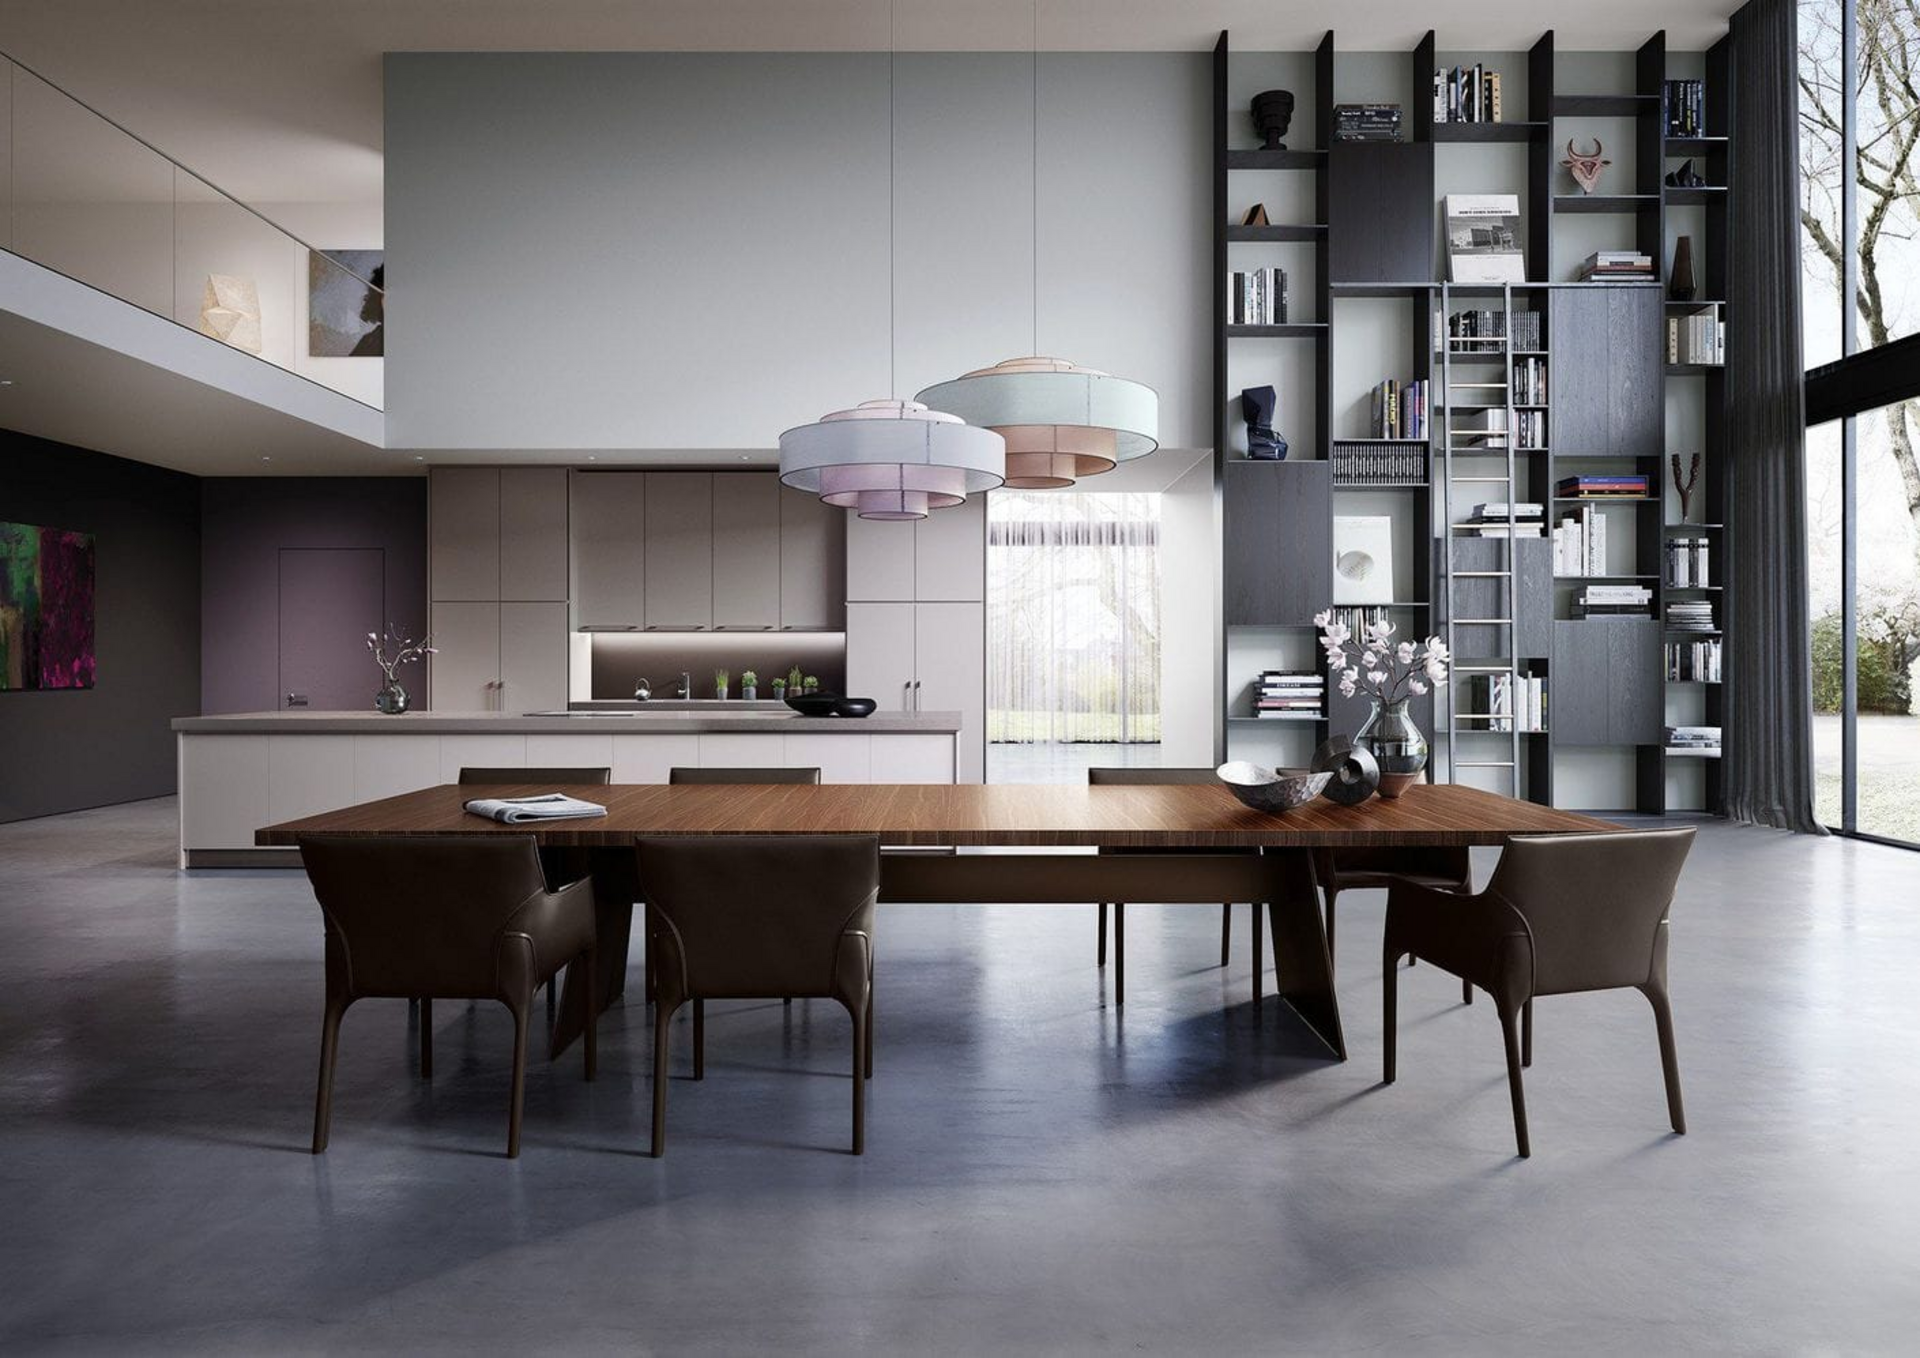
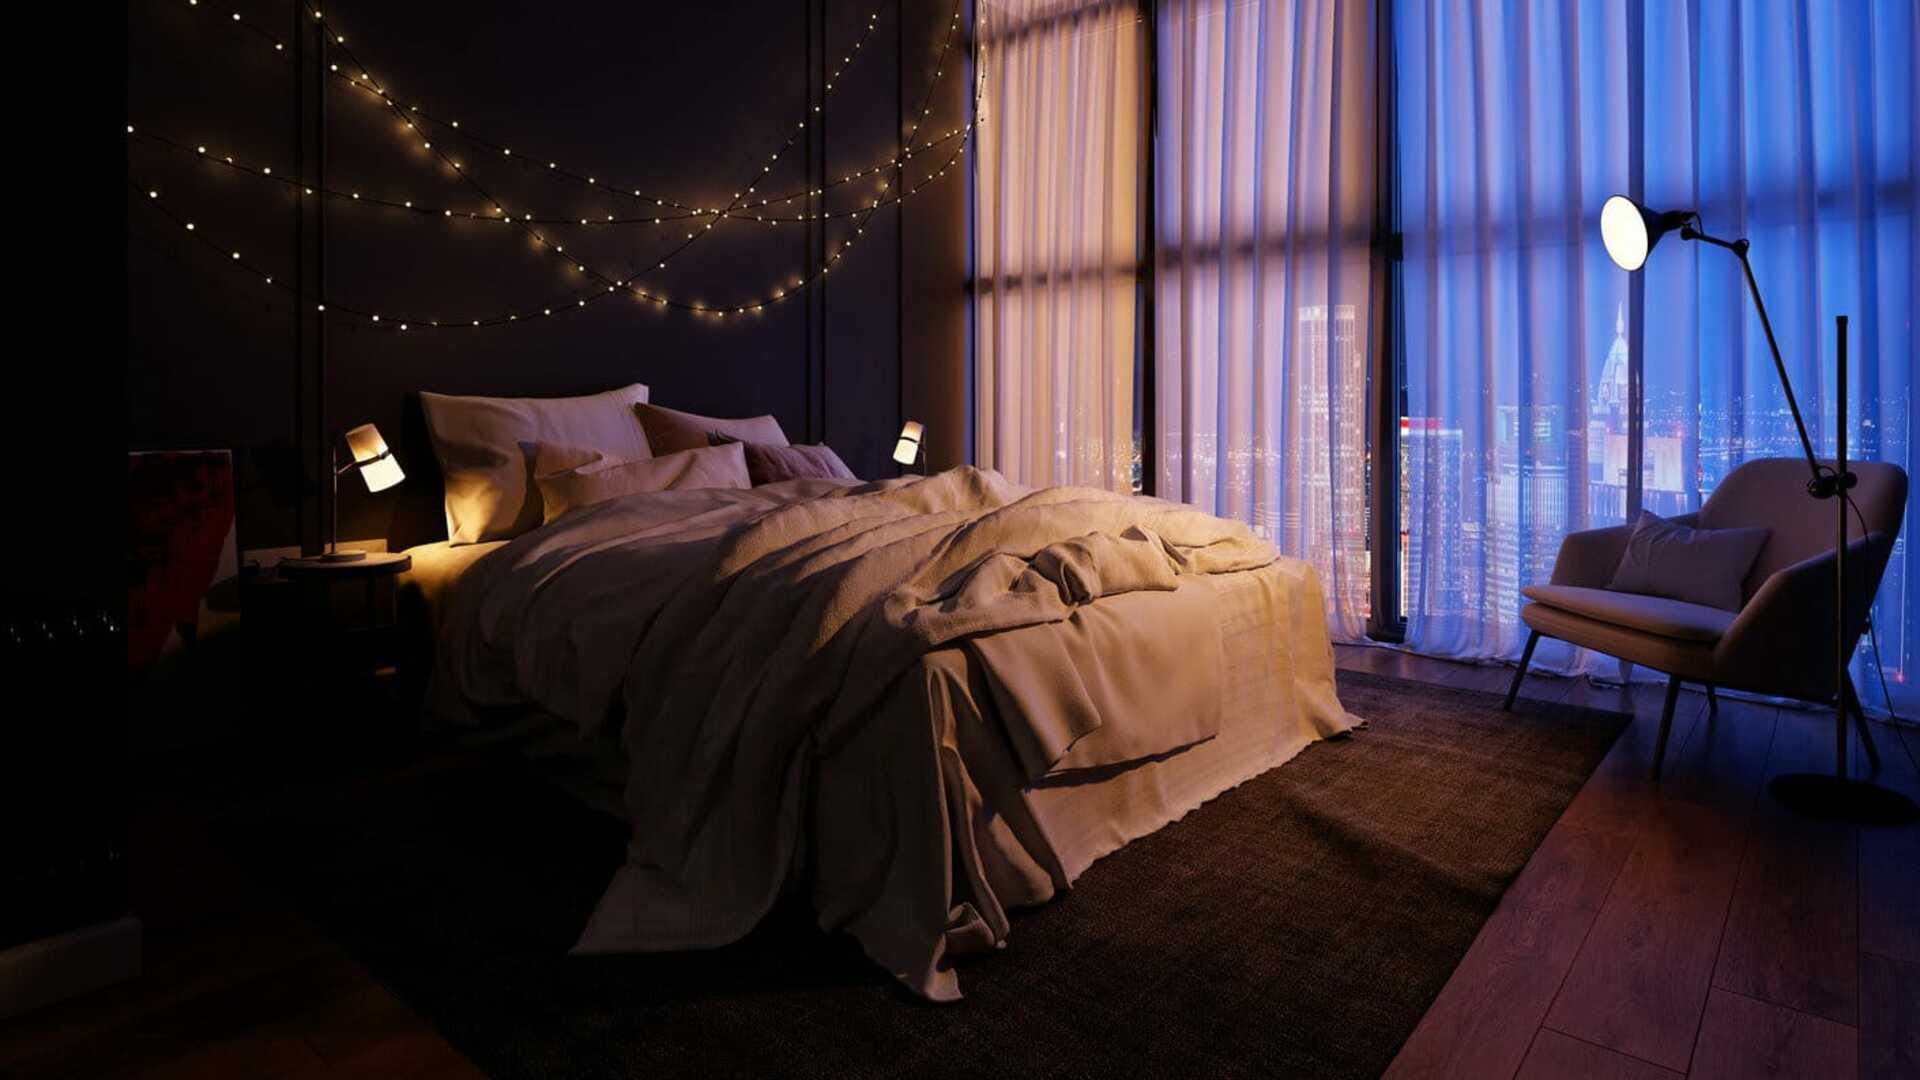
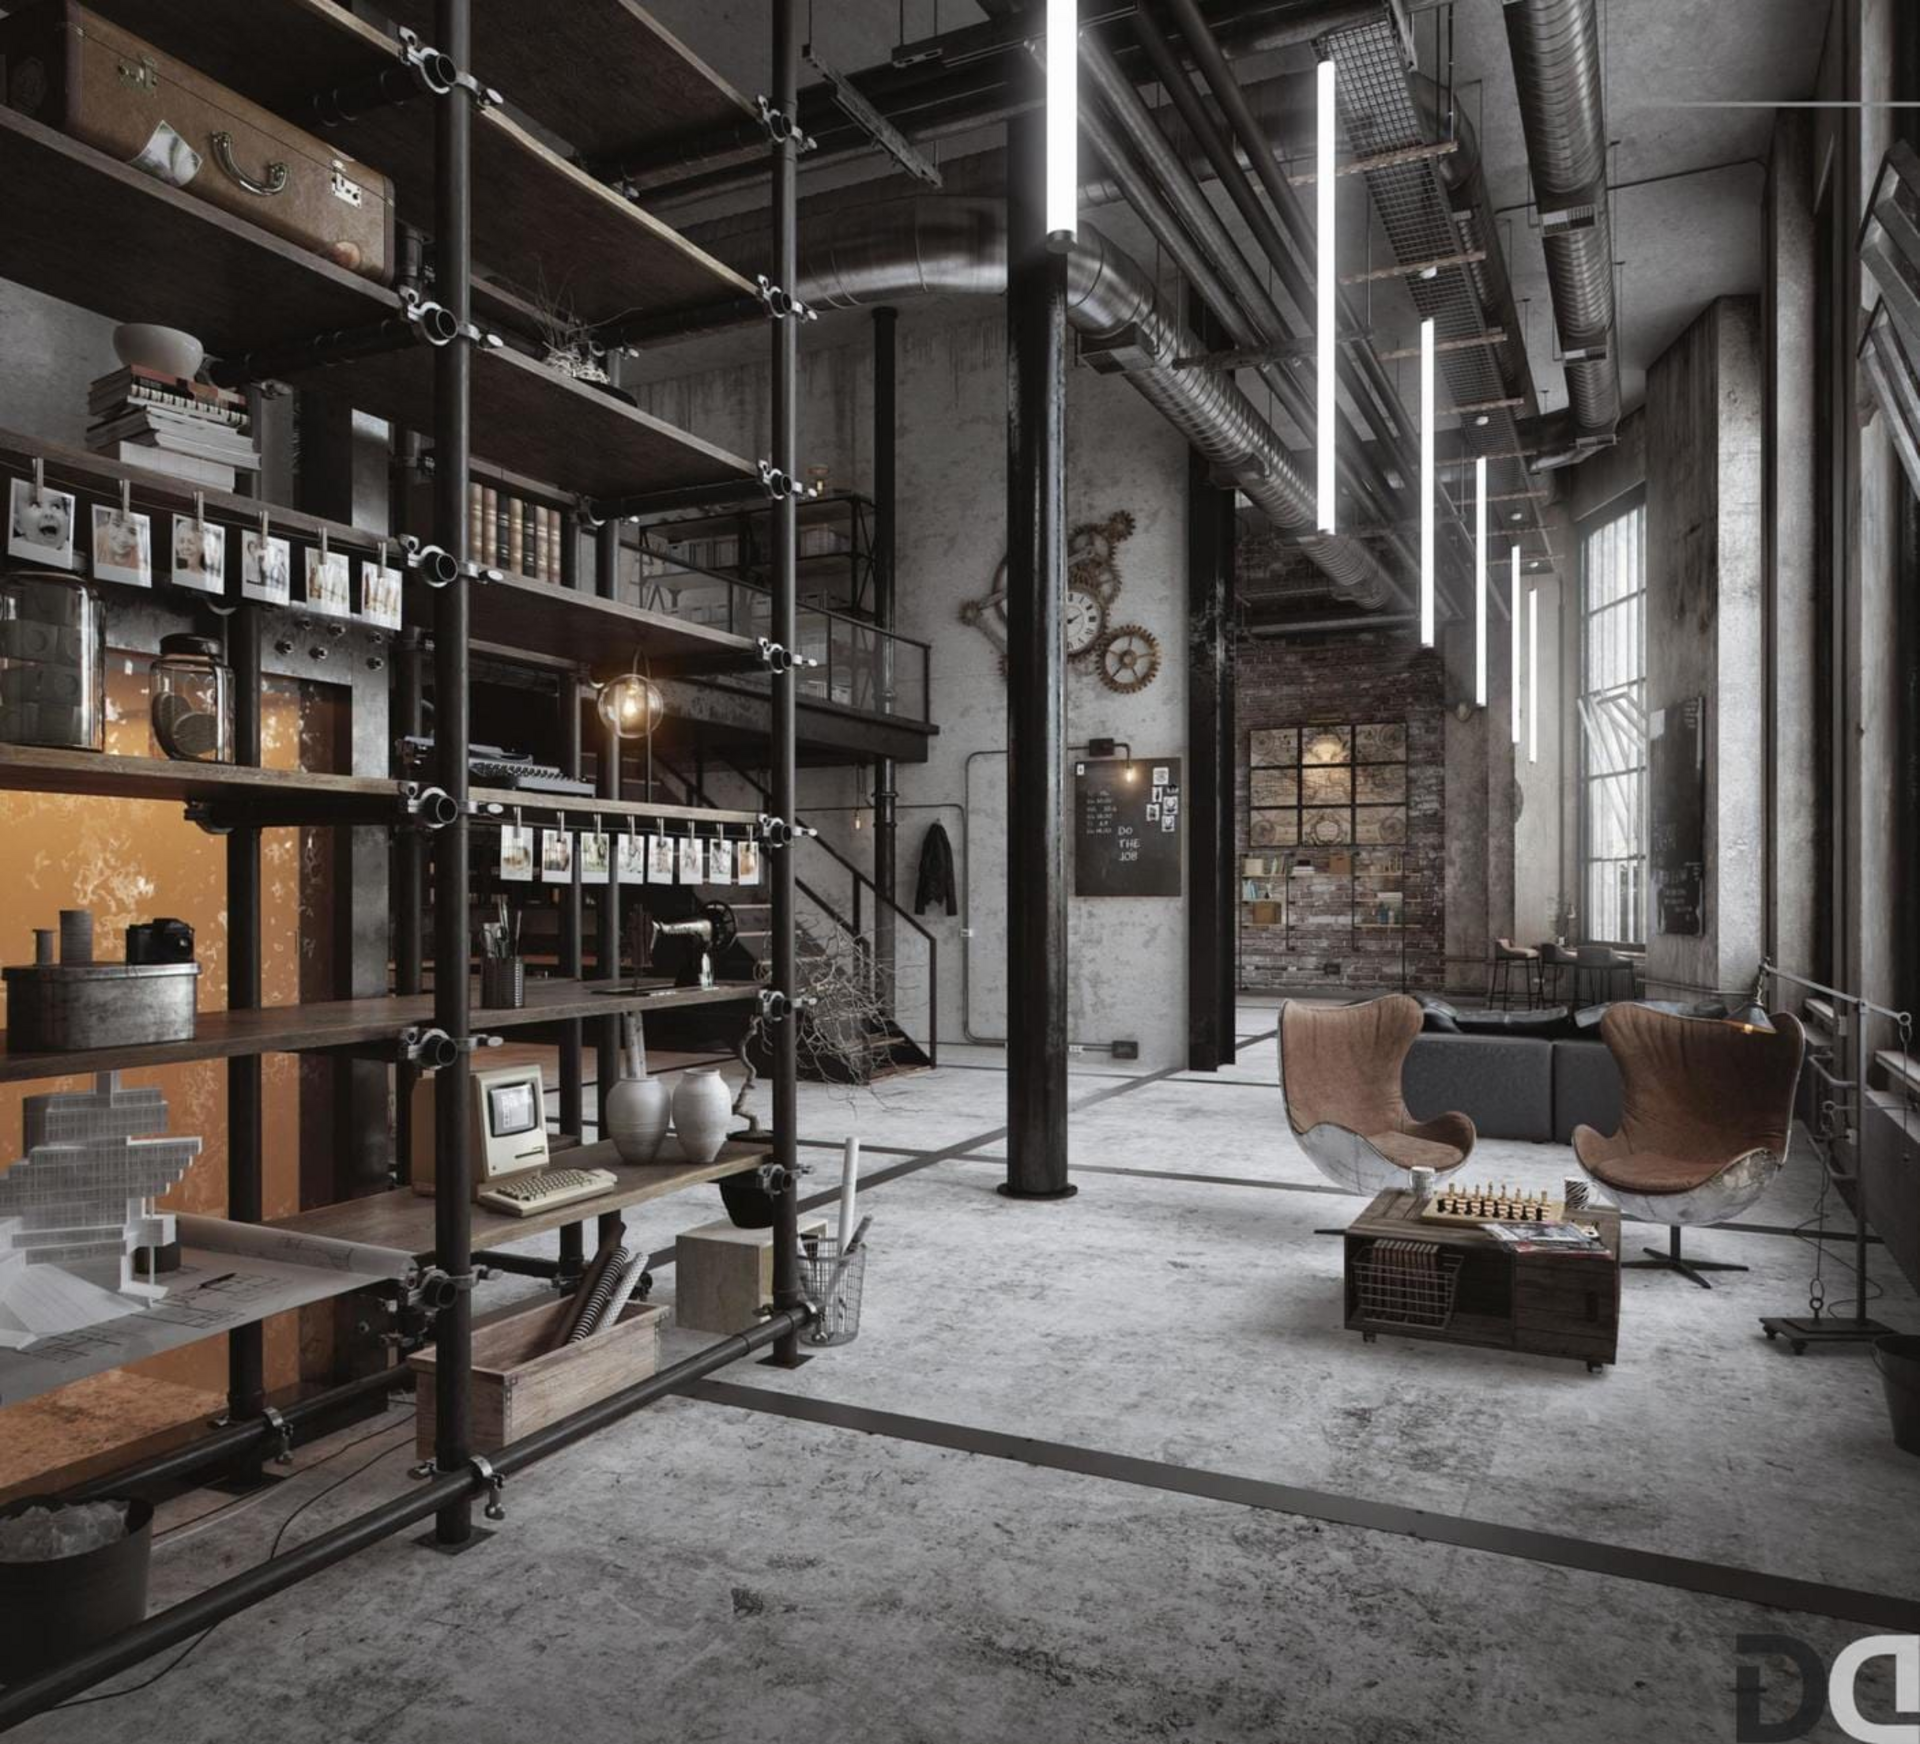
Light design is an integral part of interior design. Light can literally make or break a design, so it can’t be neglected.
As we did with the sun, we have to check all artificial light sources and see if they can contribute to our design, making it more appealing or even more dramatic, perhaps. For this task, you can choose from a variety of light types, where the V-Ray Light (that can take different shapes such as rectangle, disc, sphere and even complex geometries that act as light objects) and the photometric light are the way to go when it comes to interiors. Using a point light may not be a great idea here, as it is probably the least realistic light type available in a 3D software and the light produced by this kind of light doesn't offer the same controls you'd get with area lights, for example.
Choose the light that best approximates the actual light in the design and place it just like the real thing.
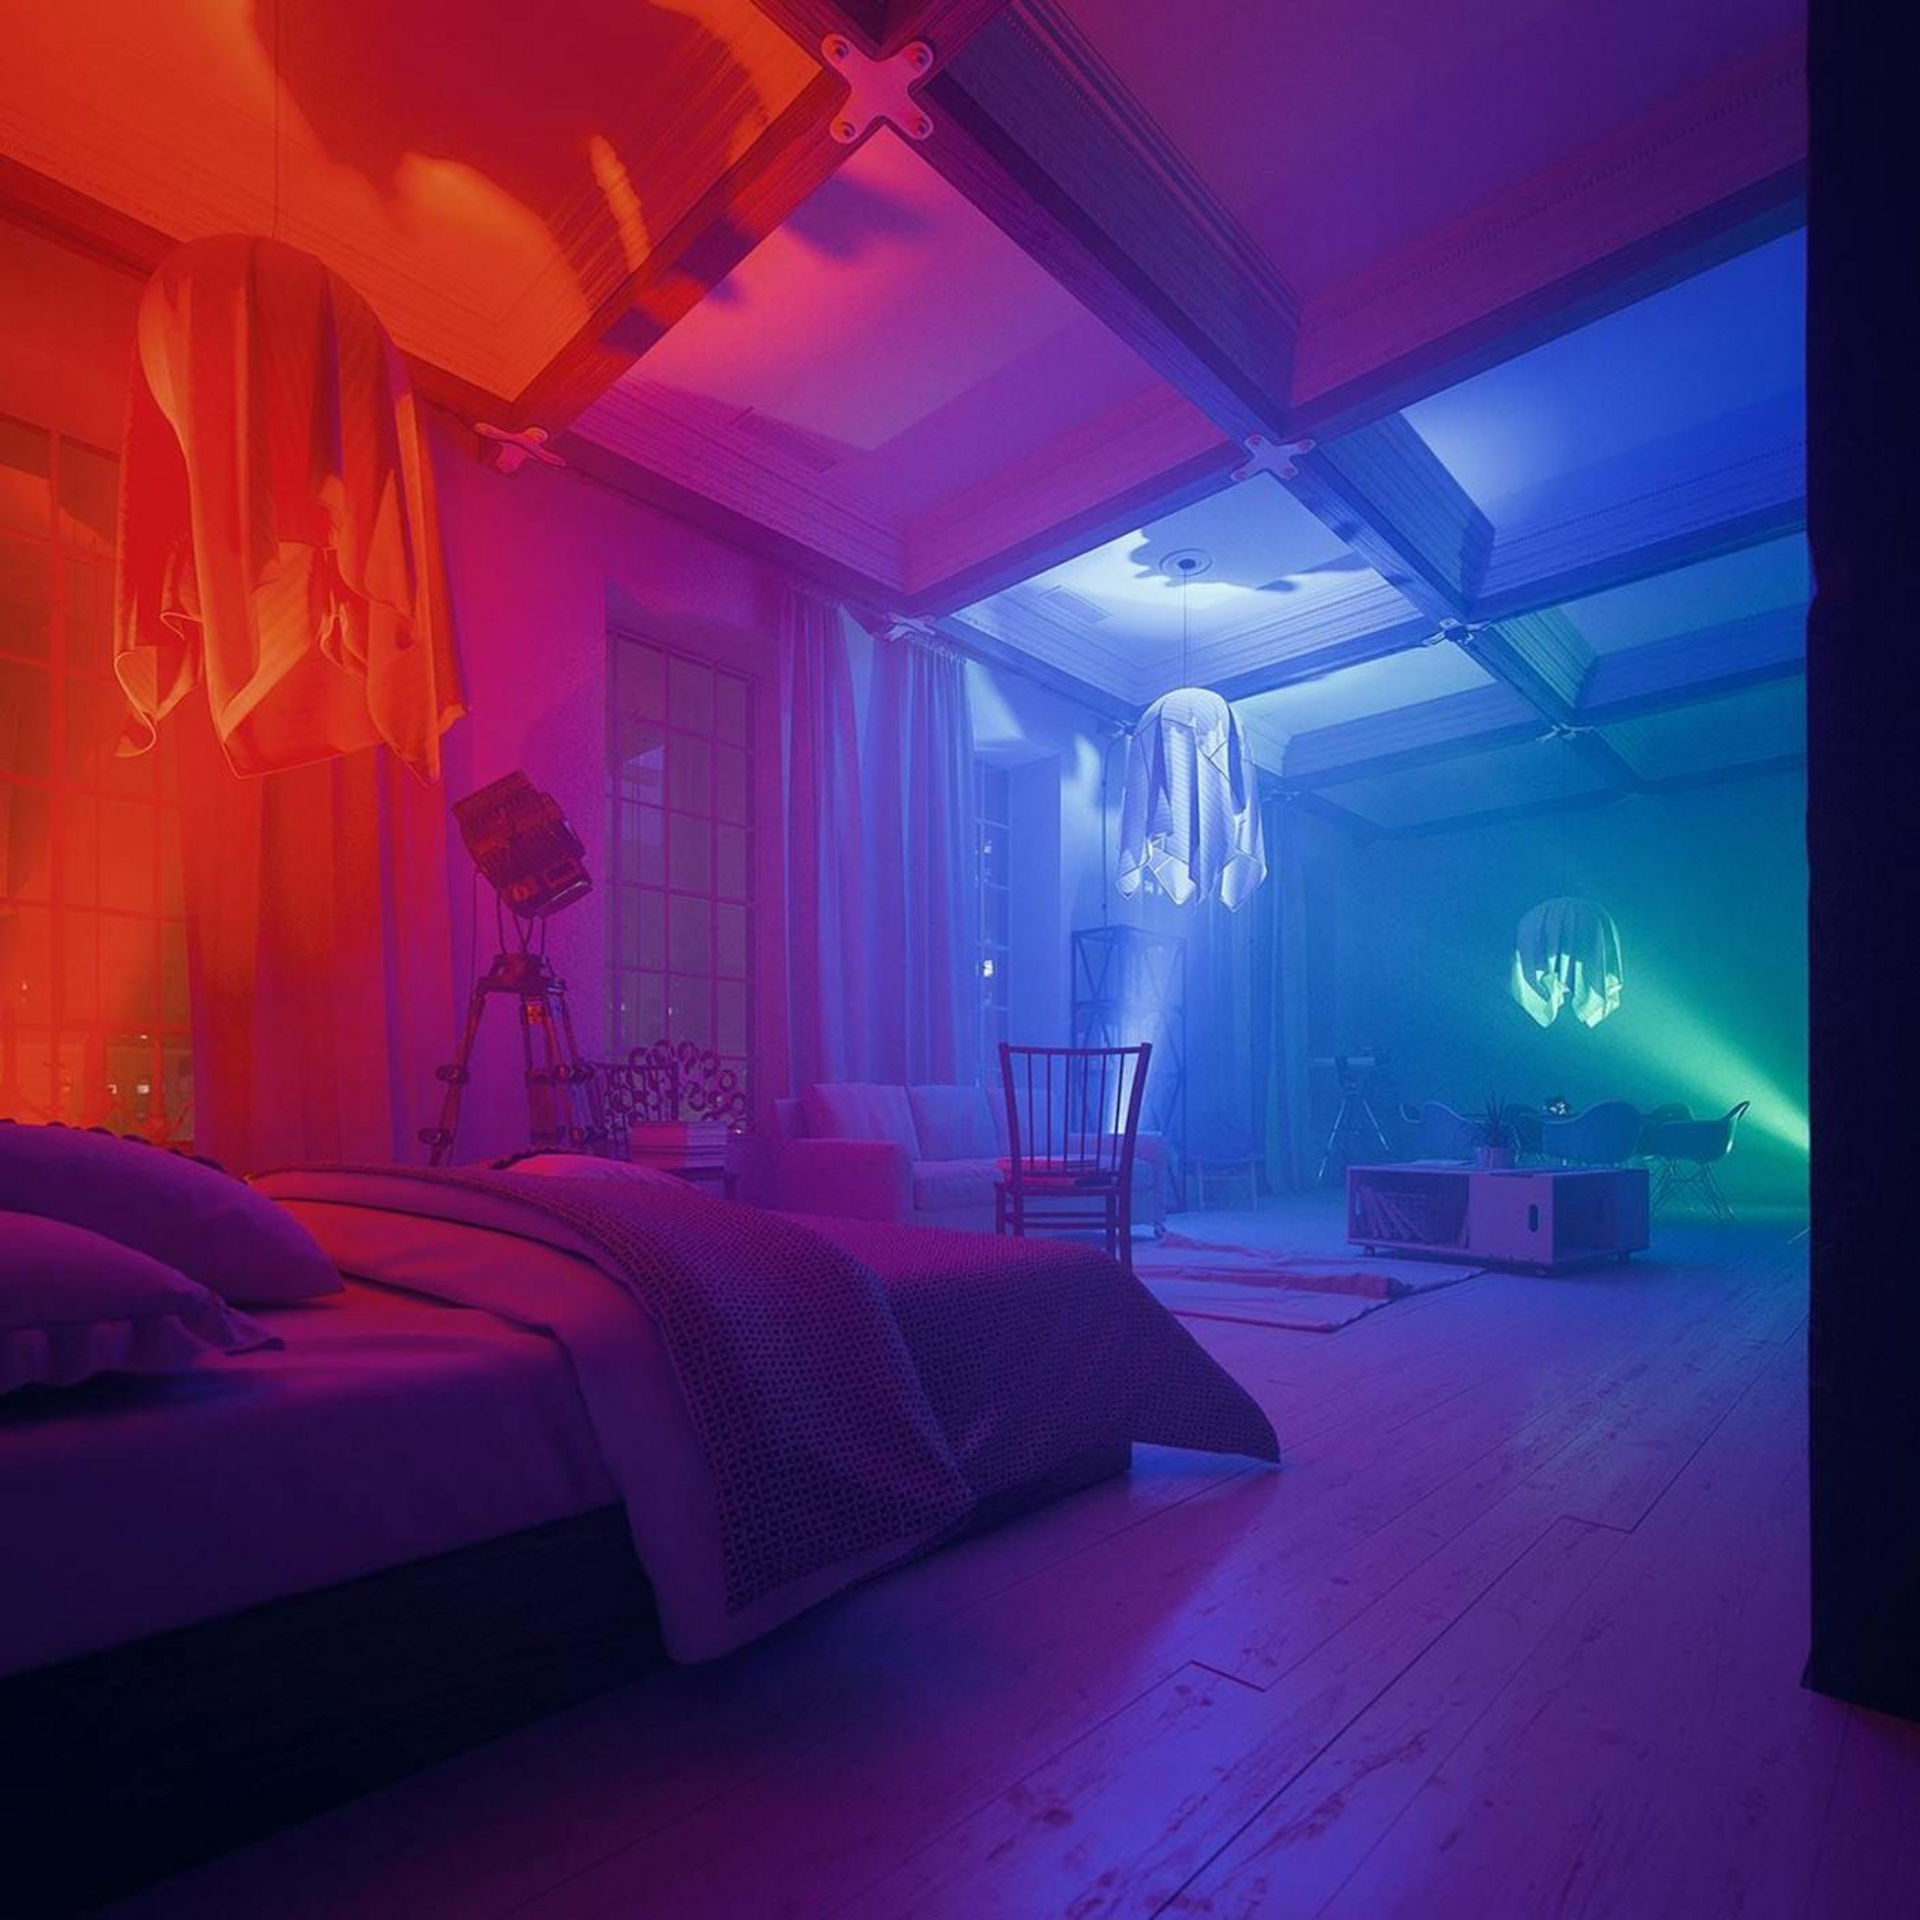
And then, we have our second tip: you don’t need to turn all the lights on. Use the artificial light to paint your scene with both light and dark and color. For example, you can balance the blue light that comes from the window with some warm light coming from a floor lamp. Play with the light, its color and intensity so you can better tell your story. For that intent, directional lights can add interesting contrasts and highlights as well.
You can also think as a real photographer and use spot lights and area lights to mimic studio lights and add some extra flavor to your lighting.
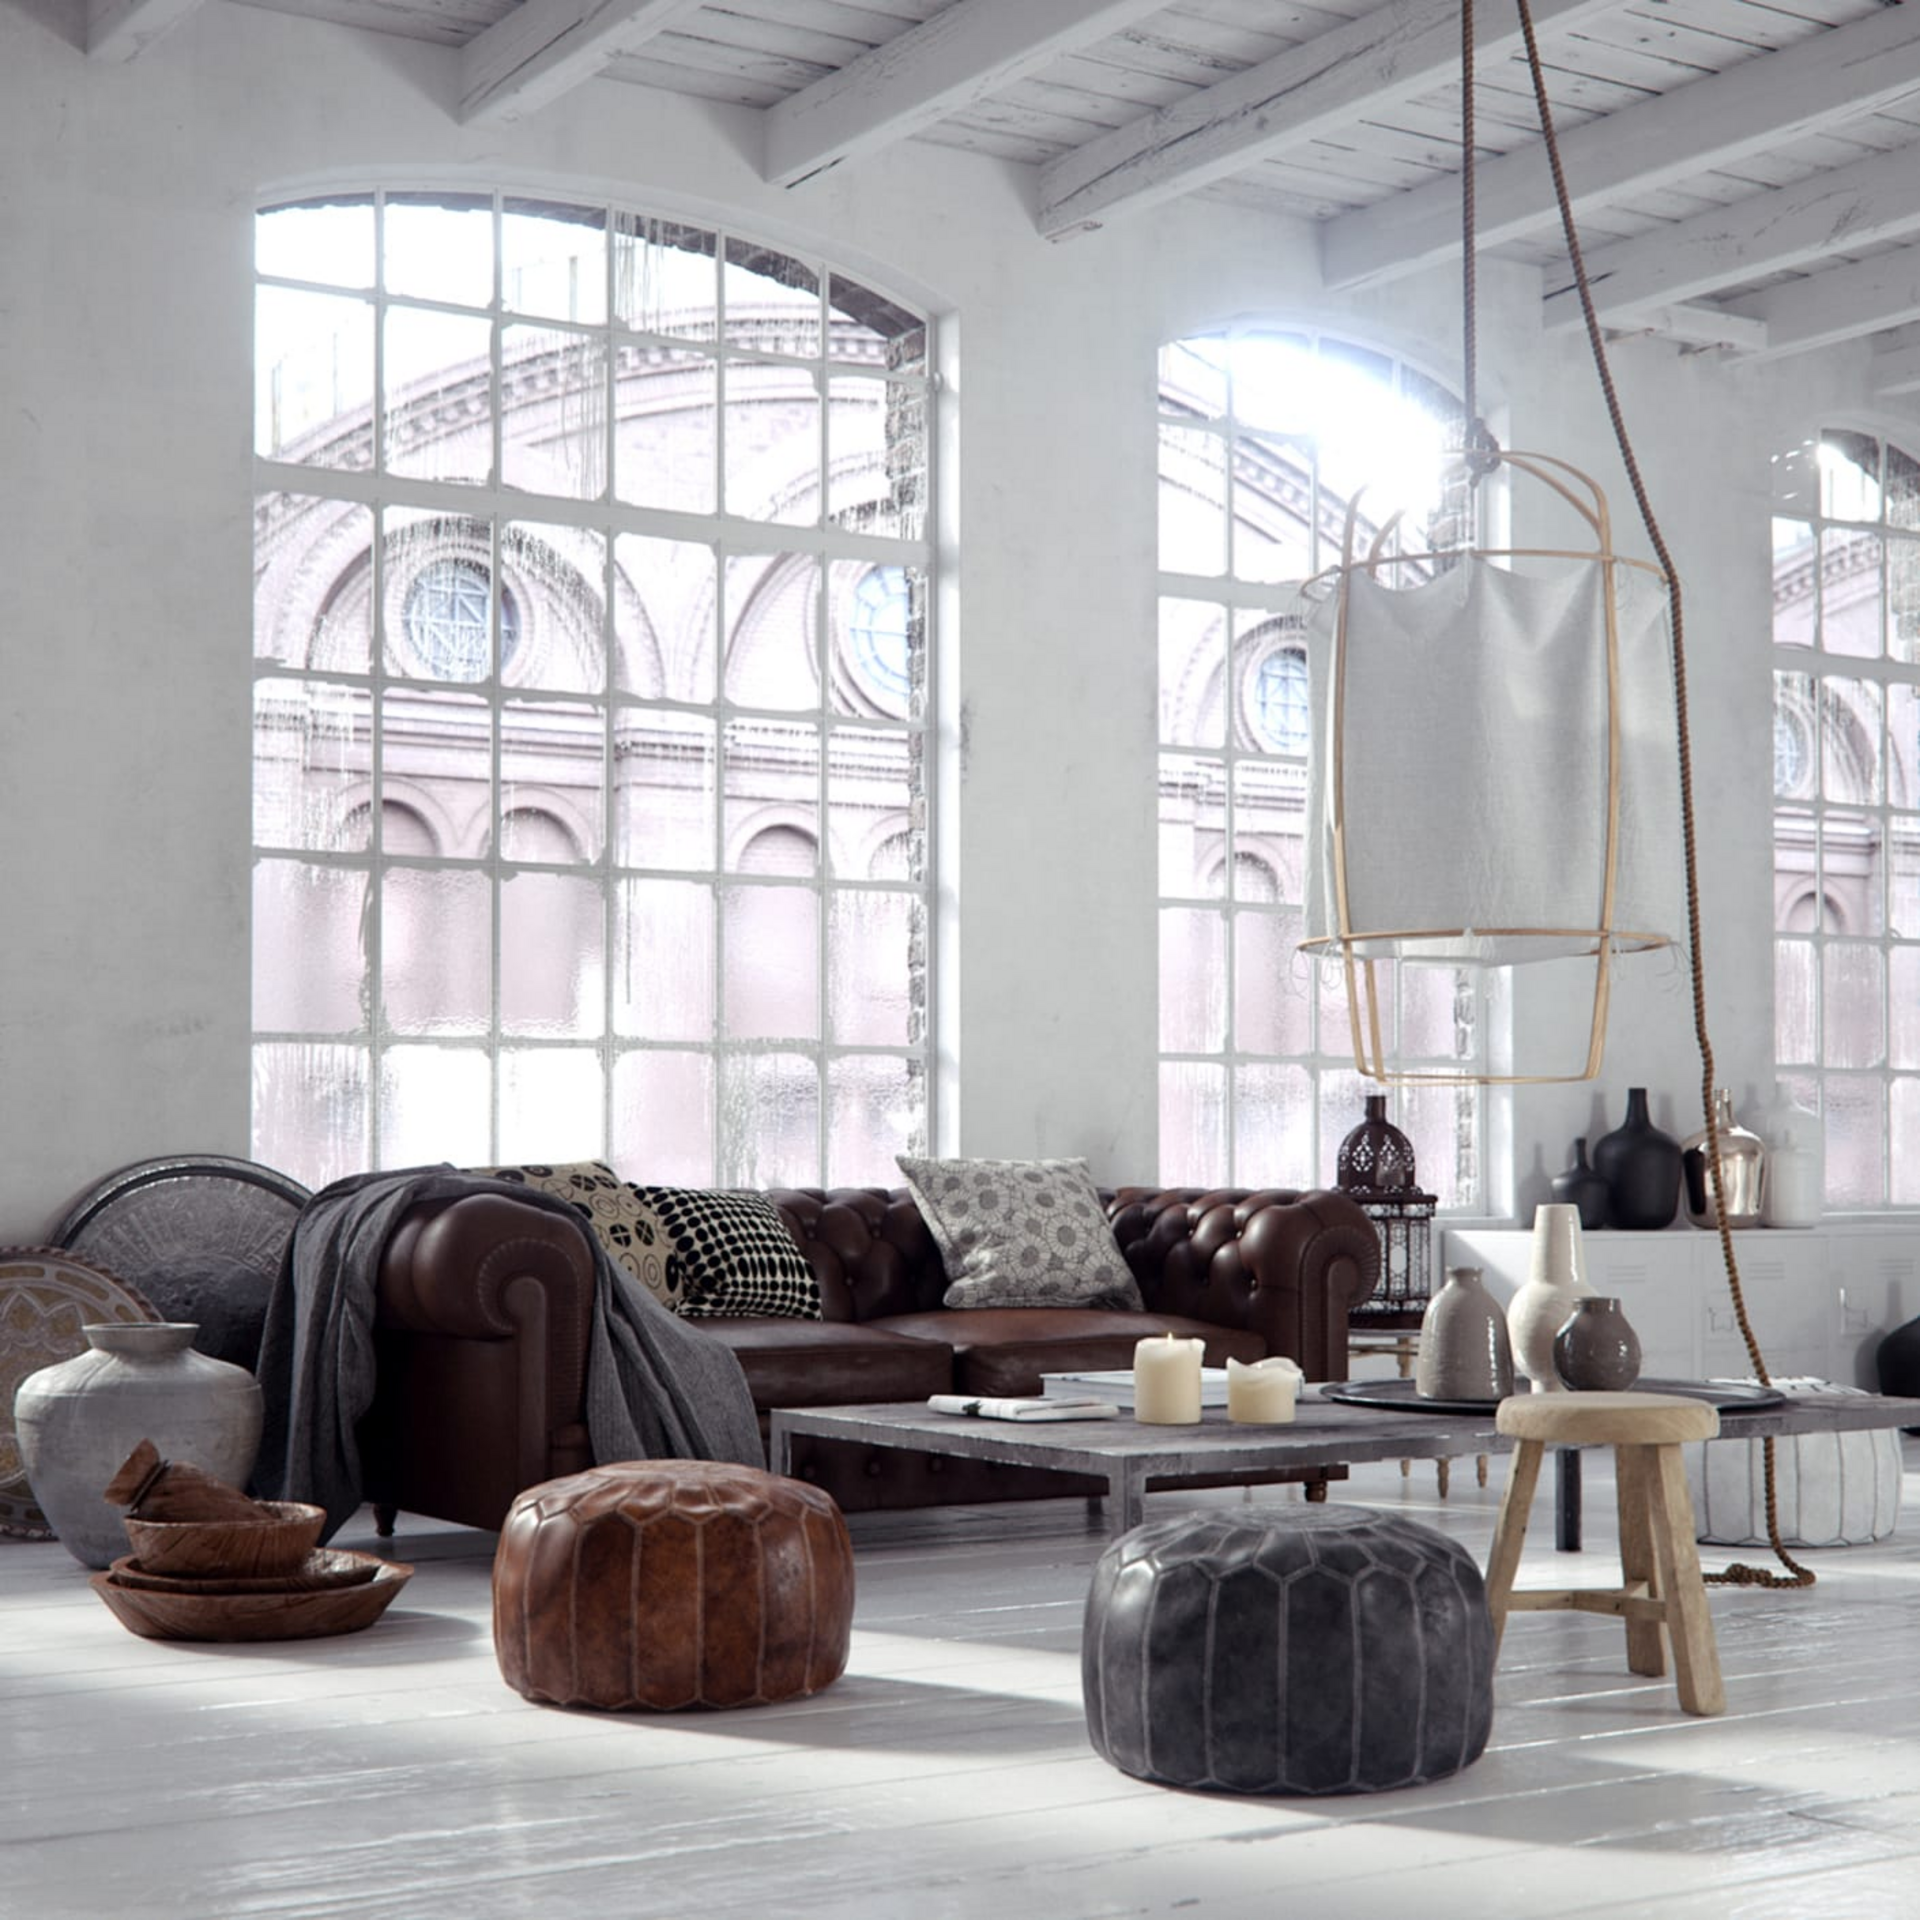
As we mentioned earlier, creating the ambient light is probably the most important step in lighting a render. Most commonly defined by the natural light that comes from openings such as doors and windows and creates some nice, soft indirect lighting, it is a powerful way to set the mood for the entire scene, and can be created using a variety of techniques.
There's more than one way to create ambient light in a scene. The easiest, most popular method is to use a light dome. As a matter of fact, using a V-Ray Dome Light is a great way to start, as it's flexible enough to allow for using different techniques, from a single solid color to complex HDR maps and V-Ray's Physical Sky with procedural clouds.
The main advantage of this approach is the level of realism and control it brings to the table. It allows you to create virtually any kind of lighting, day or night, giving you the freedom to be creative with your lighting.
Although it's arguable that using either an HDR or a Physical Sky would give you similar results, there are some key differences. Using a high dynamic range image (HDRI), often referred to as image-based lighting, can give you complex lighting with very little effort and is usually extremely realistic, while V-Ray's physically accurate sun and sky system allows for total control of your lighting, from the position and intensity of the sunlight to the appearance of the clouds in the sky. Either way, both approaches are guaranteed to give you incredible results.
Now that we have our ambient light set, it's time to let it fill the scene. As light hits the many different surfaces in a scene, it bounces in different directions, with different colors and intensities. The calculation of this indirect lighting is, in a nutshell, what we call Global illumination (GI).
As you might imagine, this can be quite an intensive calculation. There are literally countless possibilities here, and trying to calculate all light rays and their bounces would take a very, very long time, to the extent it becomes impractical. That's why rendering engines feature different ways to approximate these calculations, and the quality of these approximations is crucial to the realism of the image. That's what we call "biased rendering" and is the most effective way to render a scene with both speed and realism.
V-Ray's GI engine is fast and very accurate, requiring minimal tweaking to achieve very realistic lighting. Of course, you still have full control over each and every aspect of the GI calculations if you want to, giving you the perfect balance between quality and speed.
Carl Jung once poignantly observed, "There is no light without shadow," and this rings especially true for rendering photorealistic images.
A common misconception in lighting is the belief that "good" lighting equates to "a lot" of lighting. However, this couldn't be further from the truth. Shadows play a crucial role in imparting depth and contrast to your scene. Without them, the realism and aesthetics of the image can be significantly compromised. Shadows are not just the absence of light; they are an essential element that complements and enhances the lighting, providing a sense of space and dimensionality.
It's important to recognize that different light sources cast different kinds of shadows. For instance, a directional light, a spotlight, or overhead light bulbs will typically cast sharper, more defined shadows. In contrast, a bright window or an area light will produce softer, more diffuse shadows, aptly named "area shadows." These variations in shadow quality, resulting from the diverse light sources, introduce the complexity and nuance found in real-world settings. This diversity is key to achieving the high level of realism that is the hallmark of expertly rendered scenes.
Shadows are not just a byproduct of lighting; they are an integral component that enriches the scene, and literally every light will cast shadows. Understanding and skillfully manipulating shadows is essential in achieving the desired level of photorealism in 3D imagery.
We've discussed how light in a scene bounces and changes its color and intensity, but why does this happen? The answer depends not only on the light's color, position, and intensity but also significantly on the materials present in the scene. Different materials react to light in unique ways, influenced by their color, glossiness, reflection, transparency - essentially, their physical properties.
While textures used to represent concrete, stone, plastic, etc., are crucial, they form only part of the equation. The real key to achieving great-looking materials is understanding how they react to light in the real world. Remarkably, the appearance of a material can shift between marble, glass, or metal by altering just a single parameter. This highlights the importance of carefully setting a material’s properties.
The V-Ray Material is equipped with everything you might need to create the most realistic materials. It gives you complete control over a material's appearance and its interaction with lighting. The basic material presets offer a variety of starting points, allowing you to tweak your material's look efficiently while ensuring physical correctness from the outset.
Moreover, you can utilize and even modify materials from Chaos Cosmos. These come complete with all the necessary physical properties and textures, facilitating faster and more accurate work.
In the old days, one of the main reasons it was difficult to achieve a photorealist image was the time it took to test it out. Test renders often took hours, so people ended up keeping things simple.
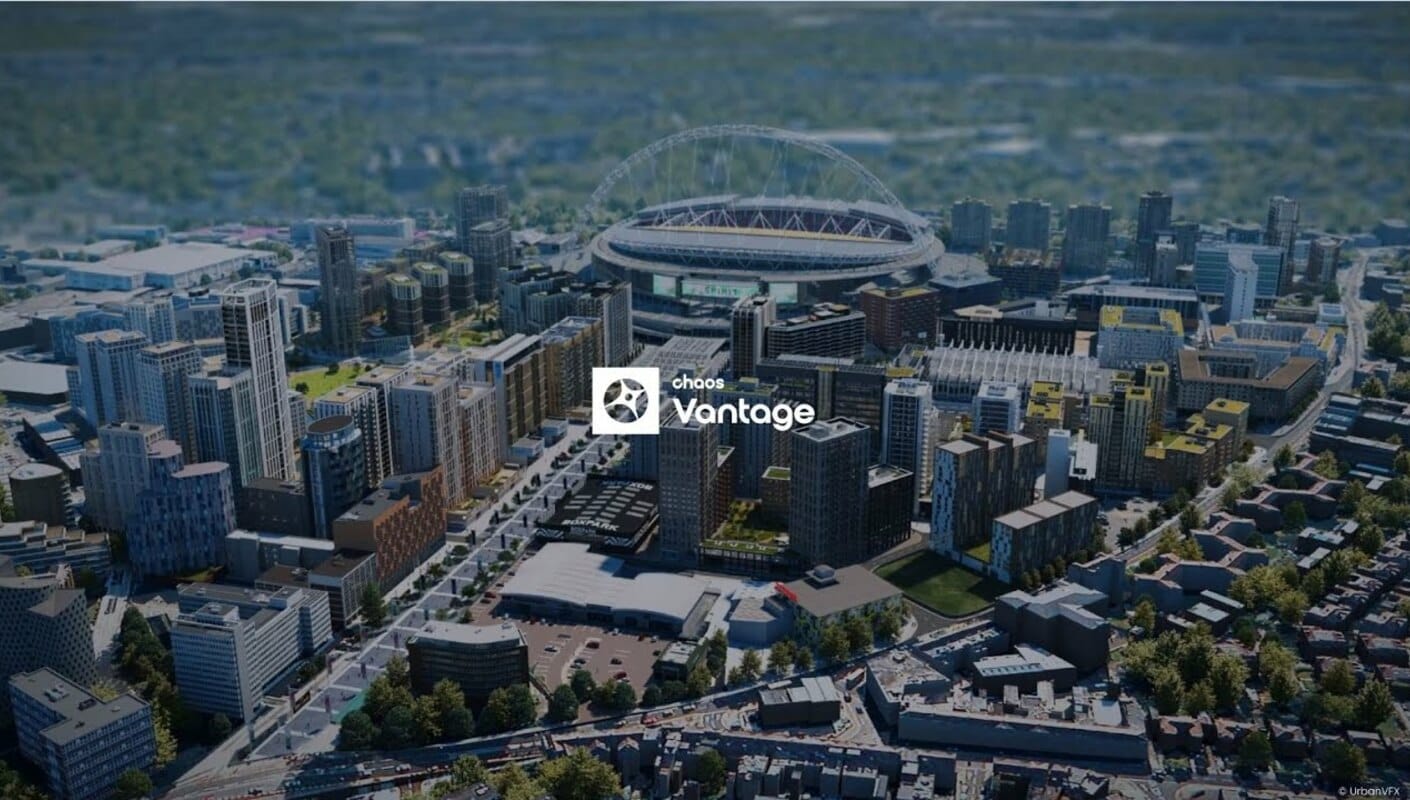
But that was in the old days. Now, we can leverage V-Ray's real-time rendering capabilities to exhaustively test lighting, materials, and more without wasting time. I personally rely heavily on V-Ray’s IPR to do dozens of tests on the fly (you can also use V-Ray Vision, available for V-Ray for SketchUp, V-Ray for Rhino, and V-Ray for Revit), and also love sending my scenes over to Chaos Vantage so I can use real-time ray tracing to instantly see how the scene is coming together, and take everything to the next level.
So, our third tip is: test your lighting as much as possible.

I know we’re talking about lights, but oddly enough, lights are just part of the equation when it comes to photorealism. Your camera does a lot of work here, and knowing how to use it is extremely important to achieve the results you're looking for. That means our fourth tip is: know your camera.
The way light is captured by the camera is a big part of the way it looks (we’ve all taken bad pictures with our smartphones before, right?). That’s why V-Ray features a physical camera that is simply as real as it gets. Real-world camera controls let you work like a photographer, rendering images with detailed depth of field and cinematic motion blur that take realism to the next level. Add lens effects such as bloom and glare to bring that extra touch of authenticity, and you’re all set.
We mentioned that light scatters through the atmosphere, causing that blueish light on an overcast day. But what happens when it’s not only overcast but actually foggy?
Well, that leads us to our final tip: the environment plays a role in your lighting.
That means that under certain circumstances, you can actually see the rays of light coming out of its source (the sun, a lamp, a spotlight in the ceiling), which adds a whole other layer of realism to your lighting. It’s one of those things that people don’t really expect to see but makes so much sense when it’s there that it just makes the whole image that much more believable.
In order to create that effect in your scenes, V-Ray features Environment Fog, which allows you to create atmospheric effects that add depth and complexity to any scene, making for a much more realistic render.
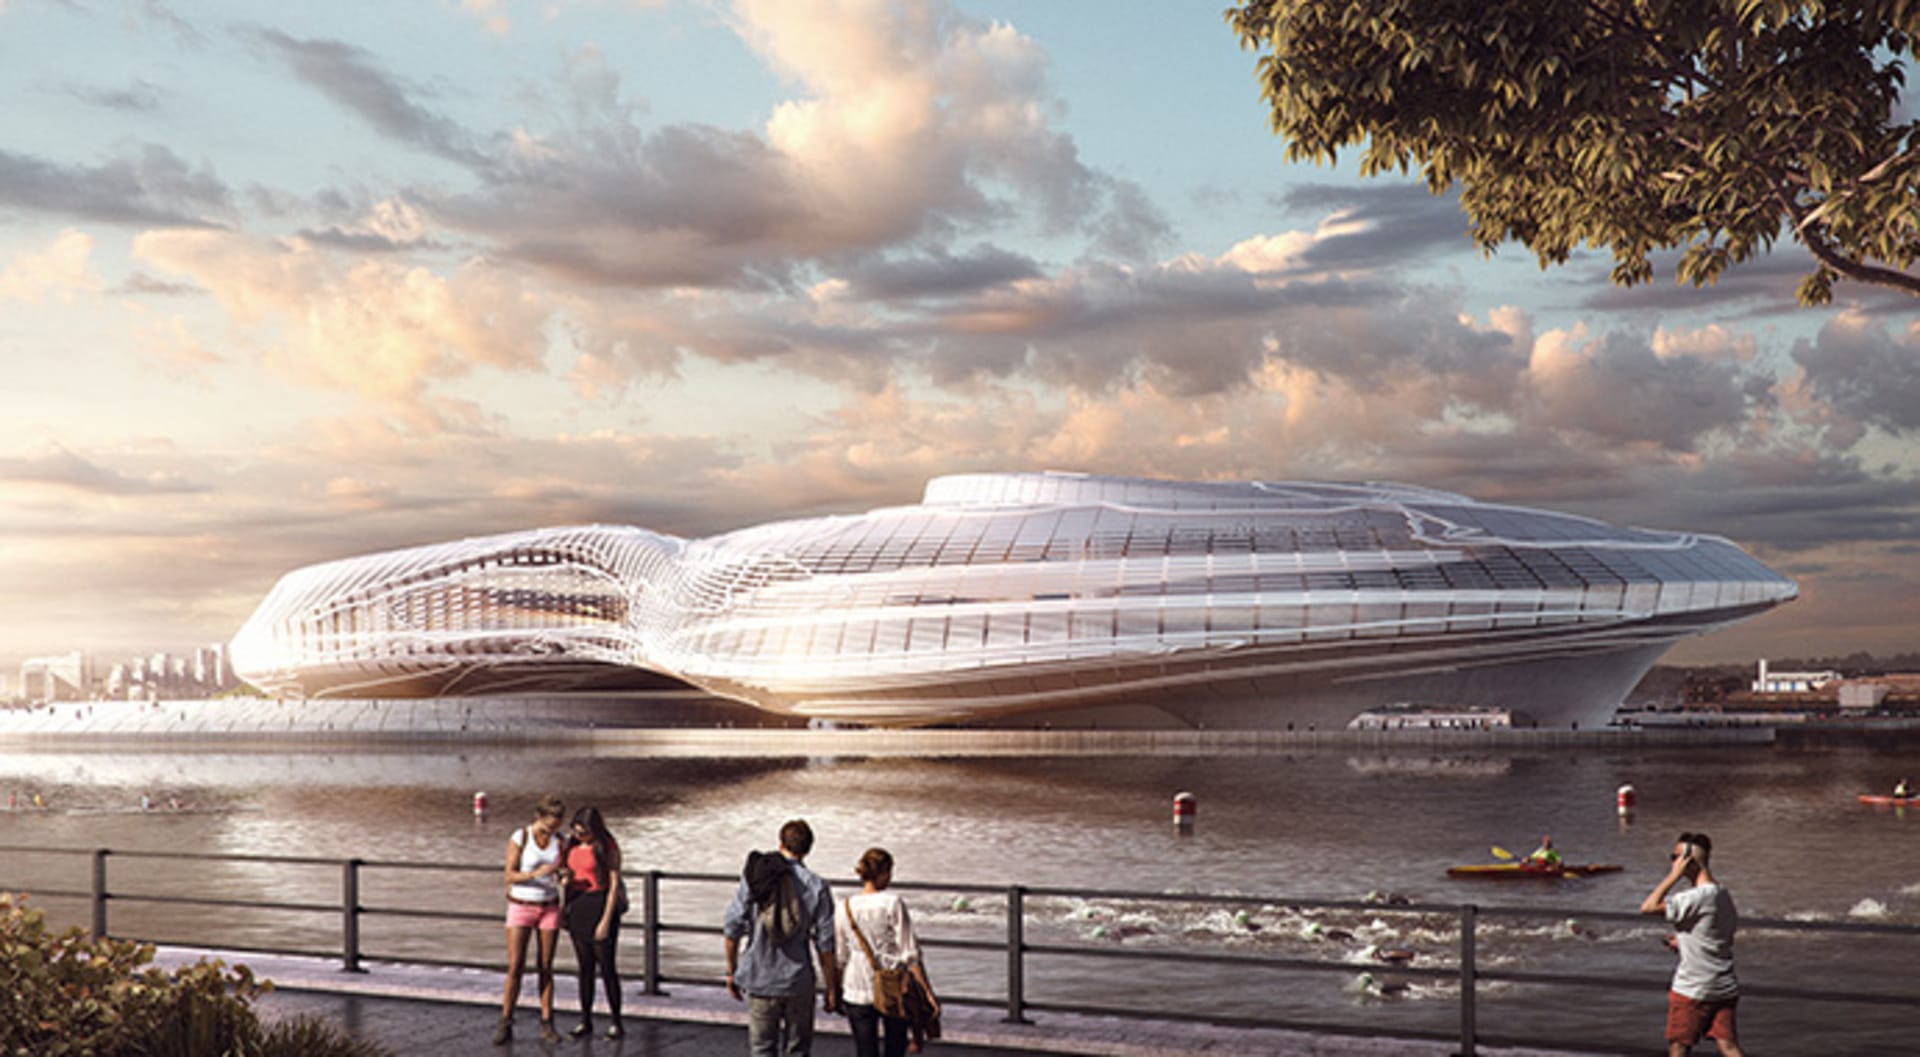
Rendering an outdoor scene might sound more straightforward than interior ones, but it often presents unique challenges. While indoor scenes typically benefit from multiple light sources, outdoor scenes rely on fewer, natural sources of light. This limitation means there are fewer opportunities to "trick" the viewer into perceiving realism, making it crucial to not only use the right tools but also apply them skillfully.
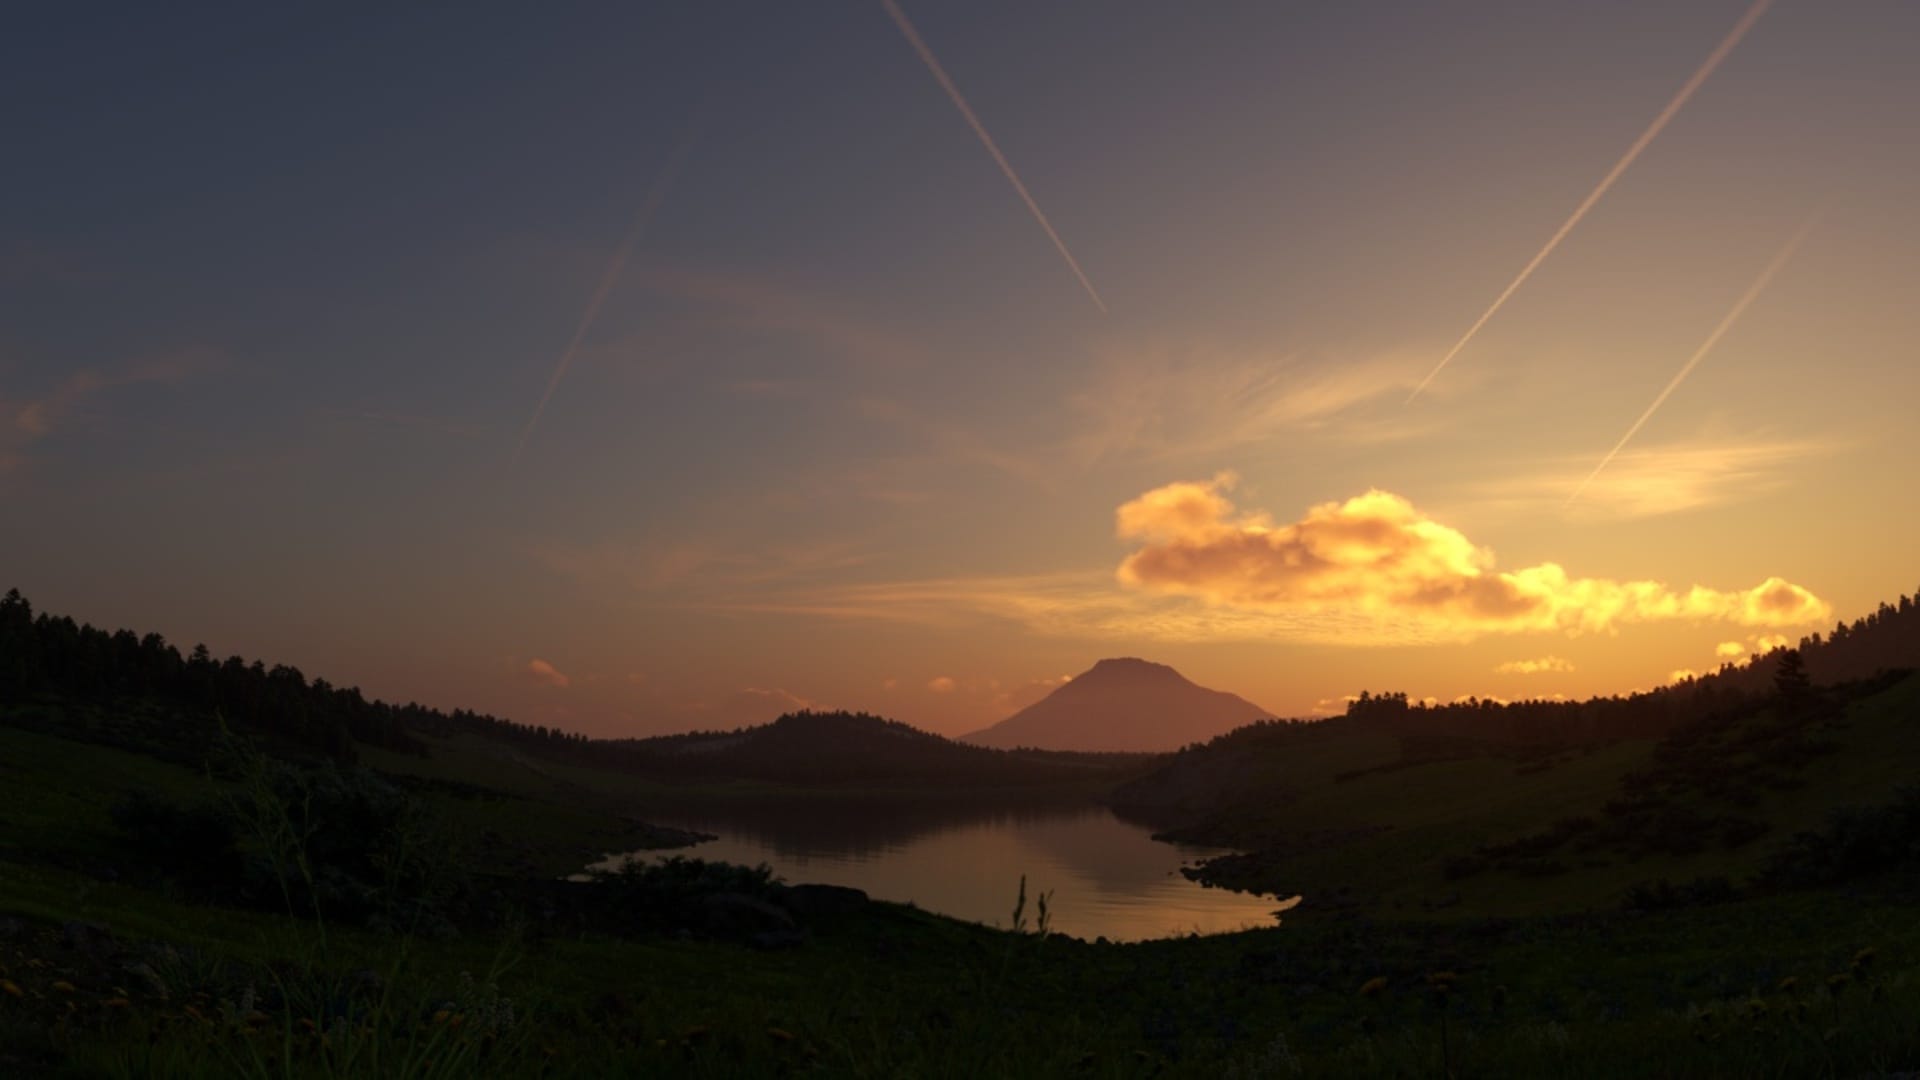
Firstly, we introduce a V-Ray Light Dome to simulate skylight, accompanied by a V-Ray Sun. This combination is particularly powerful, capable of creating realistic skies complete with clouds, contrails, and light dispersion. These elements contribute to the overall lighting, enhancing the believability of the sky while offering comprehensive control of the final outcome. For a detailed guide on utilizing this setup, check out this tutorial:
A pro tip is to leverage V-Ray IPR for iterative adjustments to the sky's appearance. The real-time feedback provided by IPR, coupled with the creative latitude afforded by the V-Ray Sun/Sky system, forms an ideal toolkit for achieving unparalleled realism in outdoor scenes.
Gone are the days when achieving photorealistic lighting was a daunting task. V-Ray gives you the tools to light your scenes in the most realistic way possible without having to worry about complicated settings or long render times. Instead, you can focus on being creative and let V-Ray do the rest.
Now, how about trying it yourself? You can download a 30-day free trial right now and see why V-Ray is used by thousands of architectural visualization artists and VFX studios every day.

Master subsurface scattering in V-Ray—understand it, use it, and optimize it for breathtakingly realistic renders.

Our latest Chaos Campus show explores what a boutique visualization and creative studio wishes every young artist knew about creativity, business, and turning passion into success.

Explore how the Chaos Corona community fosters collaboration between creatives and enriches architectural visualization with shared knowledge and expert insights.
 © Škoda Design
Get the latest news, artist spotlight stories, tips and tricks delivered to your inbox.