
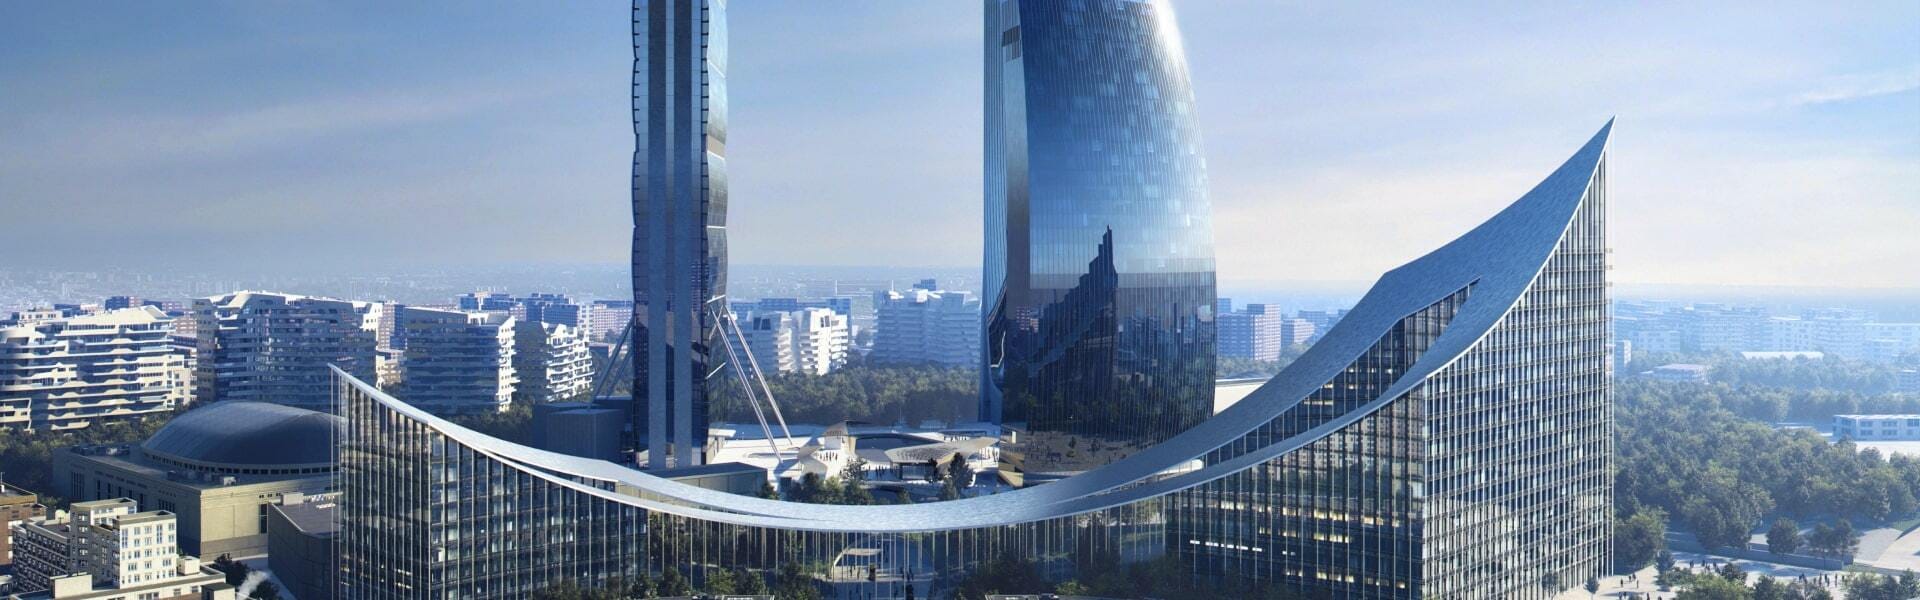
 BIG © Beauty and the Bit
 BIG © Beauty and the Bit


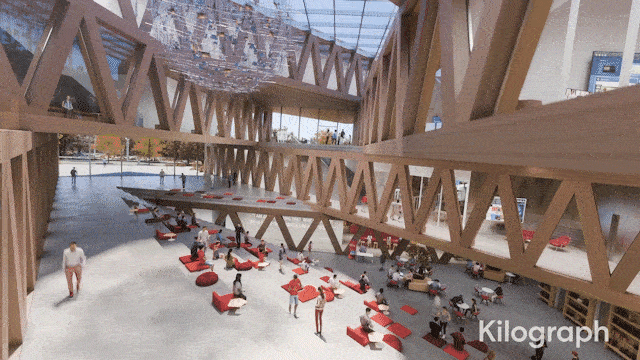
Timelapse animation is a powerful tool for visualizing the potential of an architectural space.
For example, by showing a space come to life with 3D people, timelapse allows viewers to see how a space would be used throughout the day. This also creates a sense of activity and energy that makes animation more engaging than traditional still renderings.
In addition, timelapse animation can be used to show how a space changes over time, such as during construction or renovation.
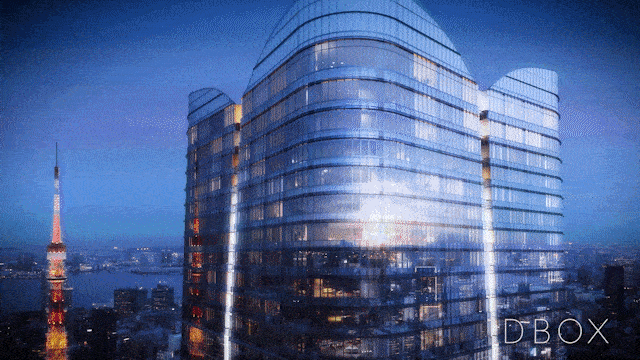
Timelapse lighting is a type of animation that shows how a building or space looks at different times of day. It's an excellent way to depict time passing, often transitioning from day to night. This type of animation can be used to show the changing seasons, the passage of time, or the changes that occur in a space over the course of a day.
Timelapse lighting can also be used to create a sense of atmosphere or mood. By playing with light and shadow, animators can create a feeling of harmony, romance, or excitement. When used effectively, timelapse lighting animation can be a powerful tool for telling a story.
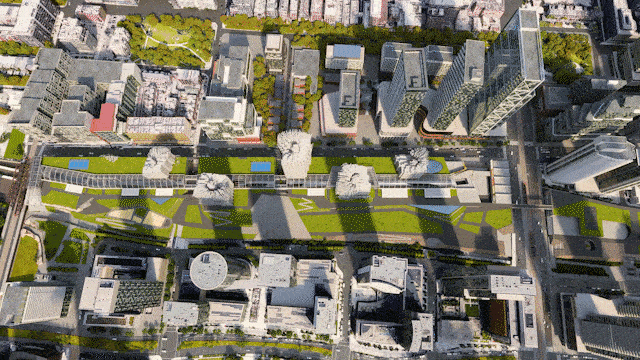
A build animation is a type of 3D architectural visualization that shows the building being constructed and taking shape.
Build animations can be literal construction sequences or more whimsical approaches that show an unbuilt project coming together. Either way, build animations create a sense of excitement as the viewer anticipates the moment when the project becomes whole.
A transformation animation can be a dynamic way to show how a building is renovated to its new condition. Often, this involves a teardown of the existing structure, removing the old building components and animating the new ones coming in.
The process can create a powerful effect, illustrating the changes in a way that is both visually appealing and informative. A transformation animation can show the before-and-after state of a building, allowing viewers to see the changes that will be made, and building excitement for the project.
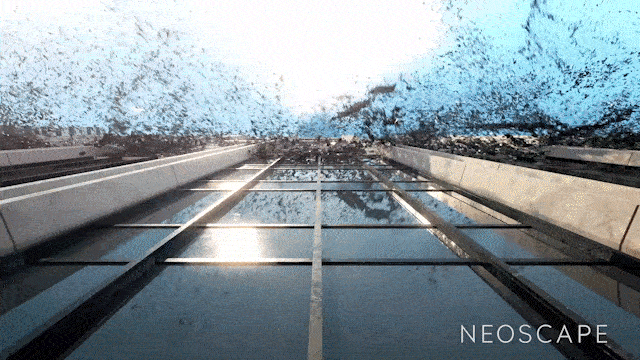
One of the most exciting and innovative ways to show off unbuilt architecture is to seamlessly insert it into drone and helicopter footage of its site and surrounding area. To do this, a 3D model of the project is tracked and animated to match the moving camera. Then the scene is lit, rendered, and seamlessly composited into the footage to show how the future project will look in its real context and environment.
While this technique is typically associated with visual effects for film and TV, it's become a staple for today’s architectural animations.
Fast photoreal CPU & GPU rendering for artists and designers in architecture, games, VFX and VR.
The quick, easy-to-use secret for bringing SketchUp projects to life with exceptional realism.
The essential rendering software for architecture, automotive and product design workflows.
Professional 3D rendering software for Cinema 4D artists and designers.
The fastest way to bring V-Ray scenes into real-time and render ray-traced images directly from Unreal.
Create interactive experiences in real-time — in a 100% raytraced environment.
A professional image sequence player, designed for fast and smooth playback.
Extend your rendering power and speed up design reviews in the Cloud.
