
Your cart
There are no items in your cart.

 © aTng
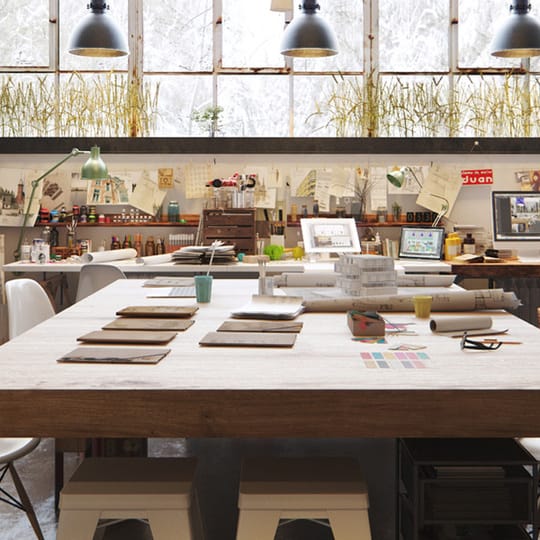 © aTng
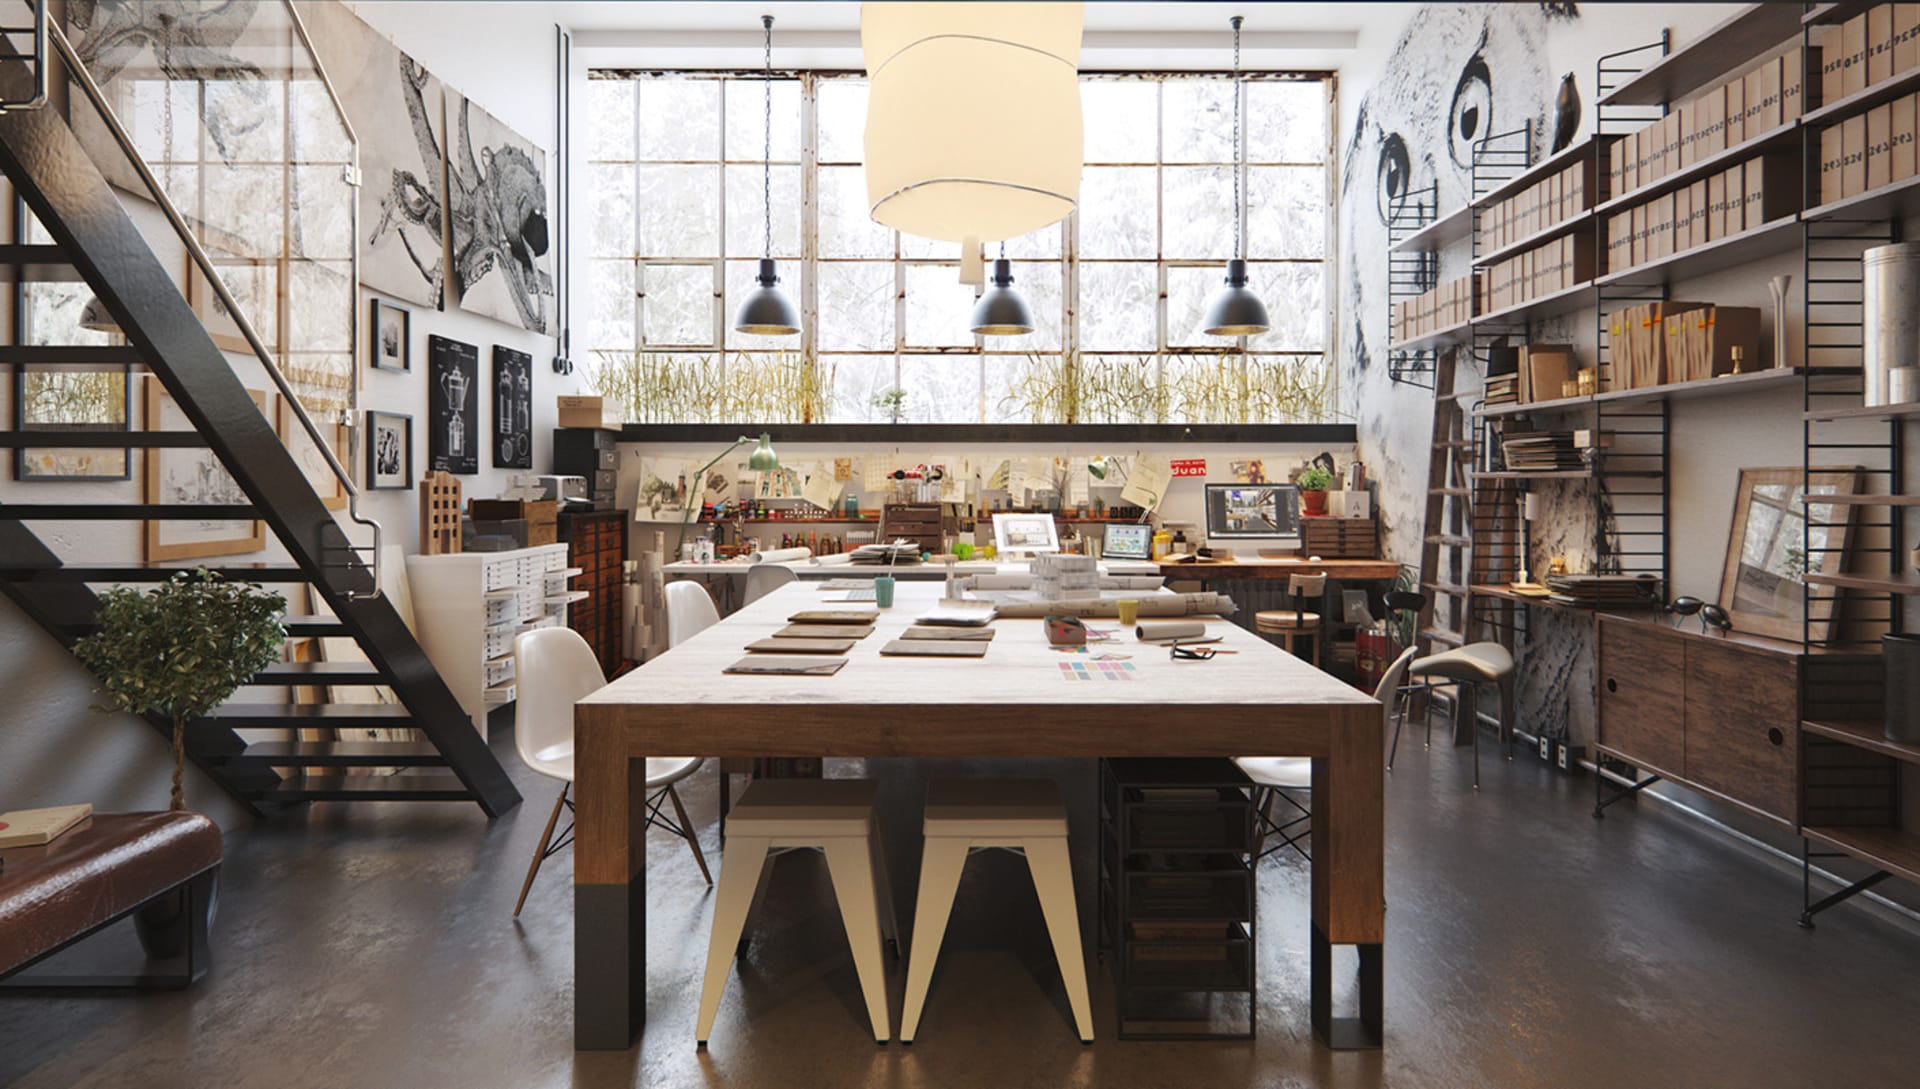


Lighting techniques can make a good render look great. Expert Ricardo Eloy shares tips to bring your scenes to life with natural and artificial illumination.
 © Hau Nguyen Dinh
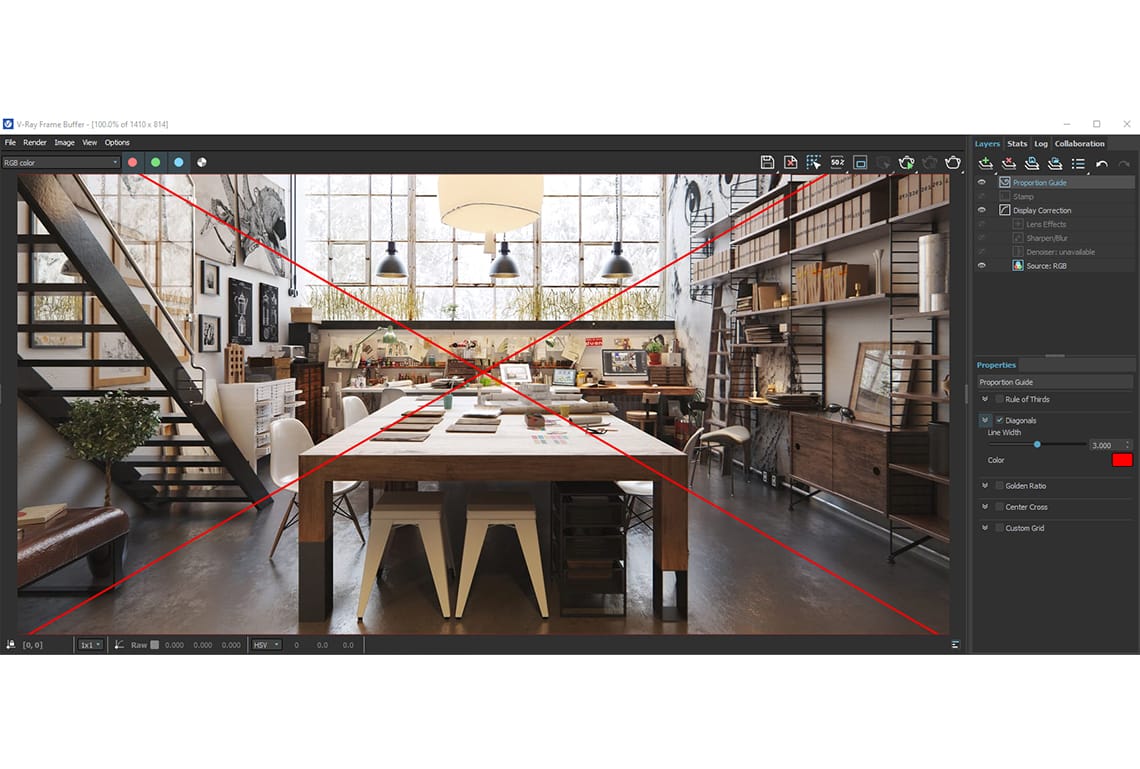
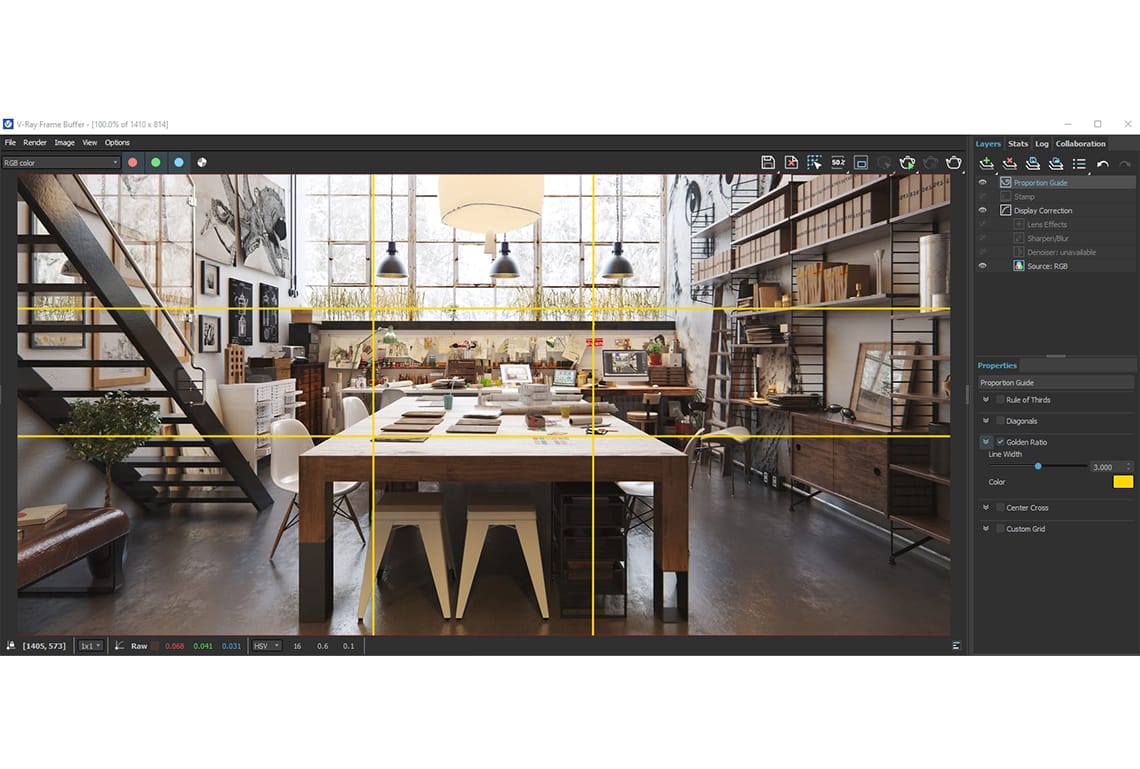
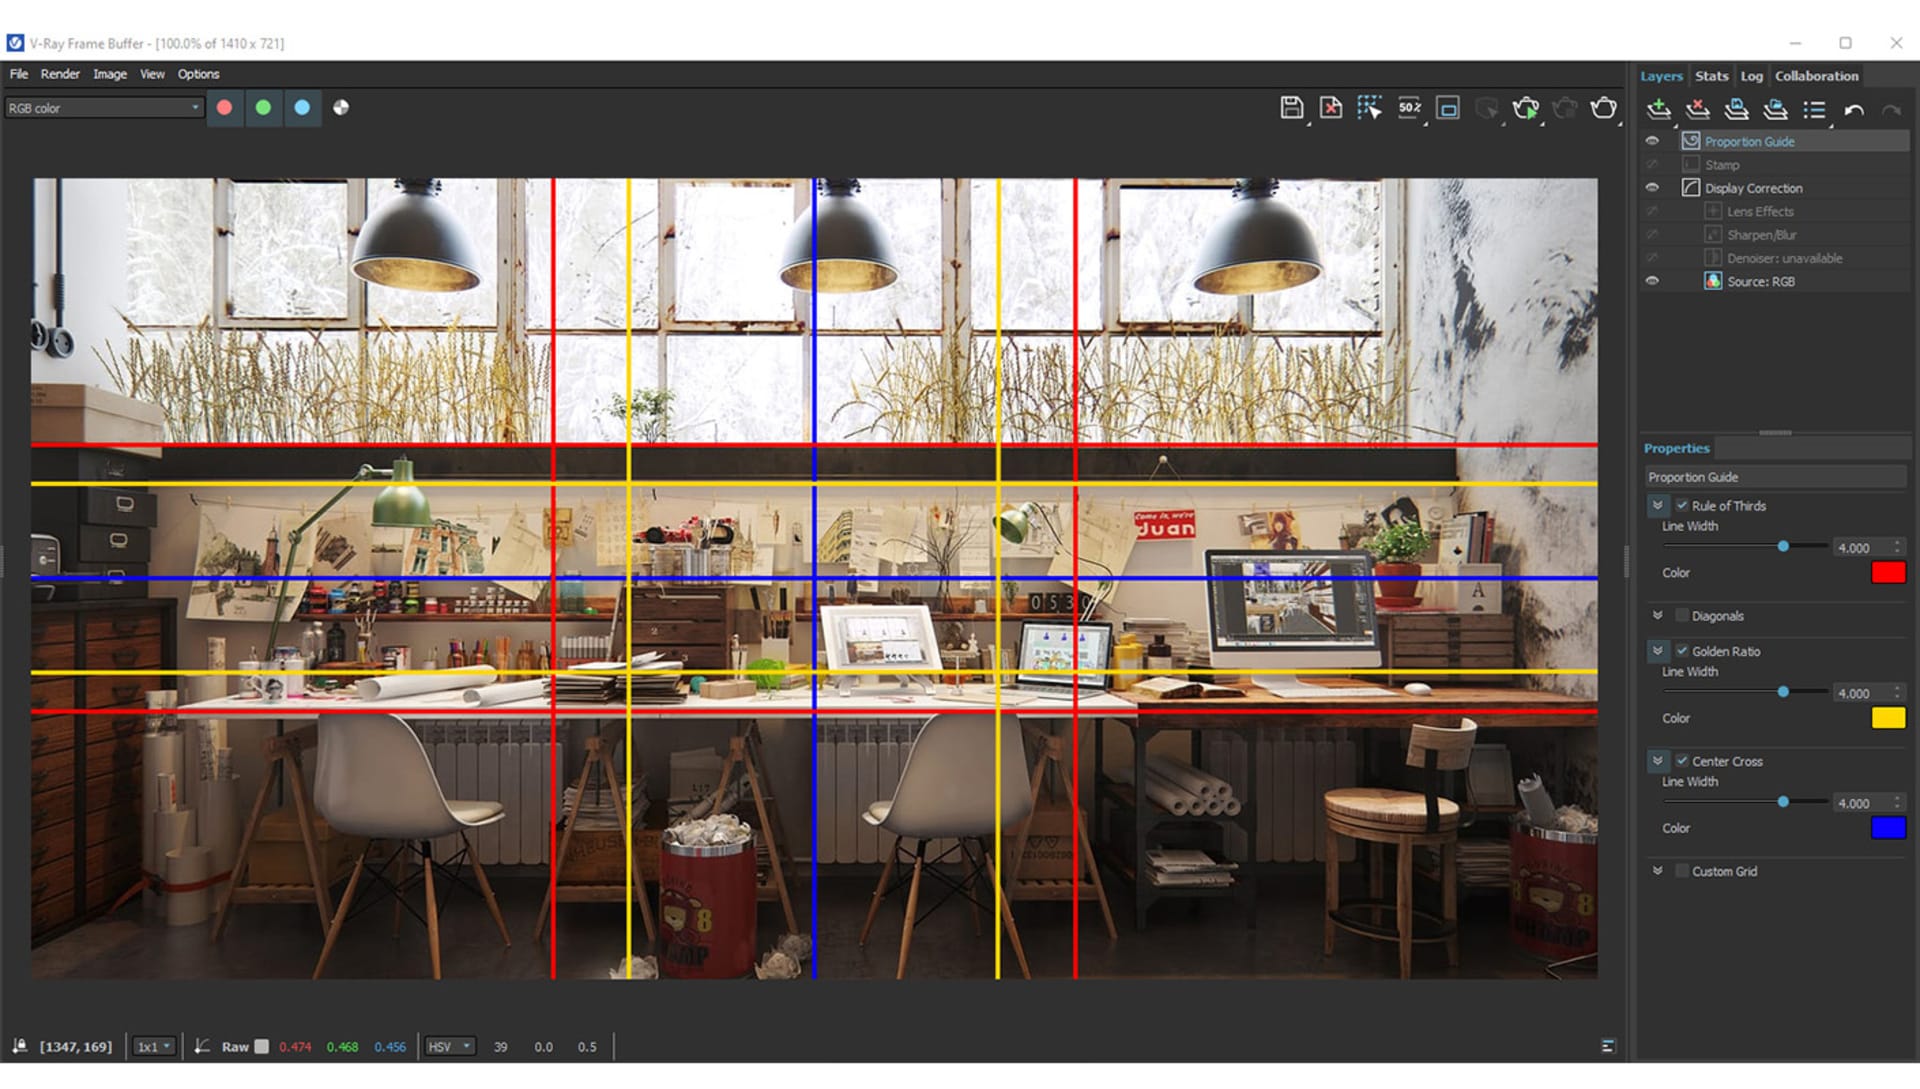
Almost ready to hit the render button? Make sure you take a look at Shusen Zhao’s list of render tips to smooth out your workflow and avoid potential pitfalls.
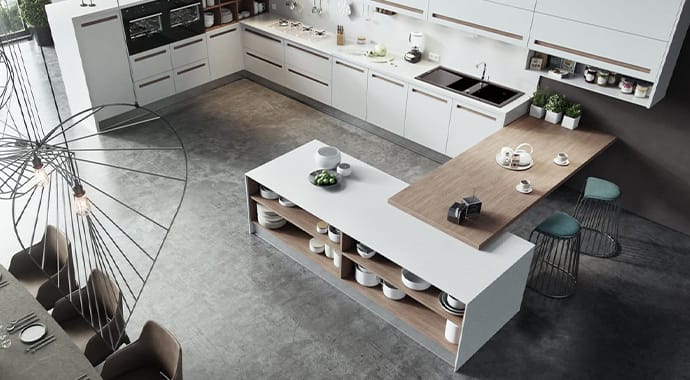 © Rimi Neo kitchen by Viarde
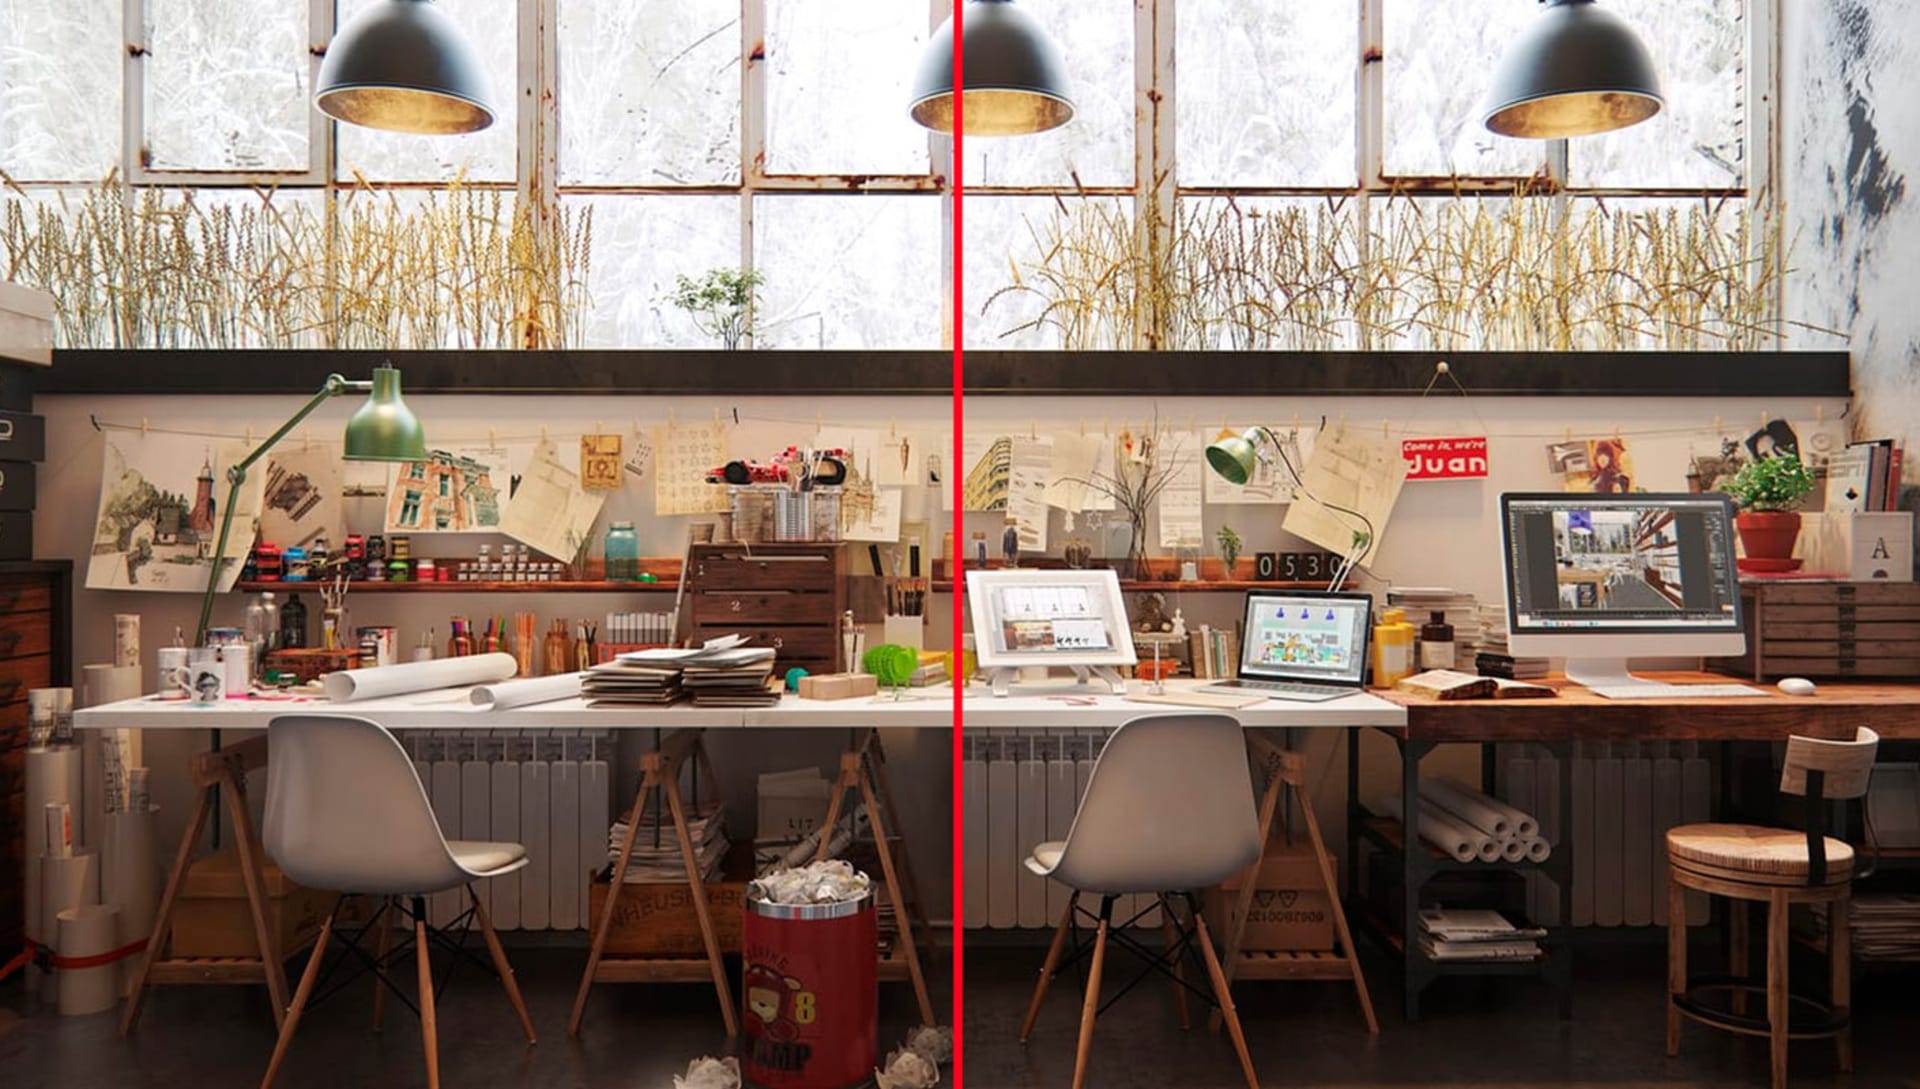
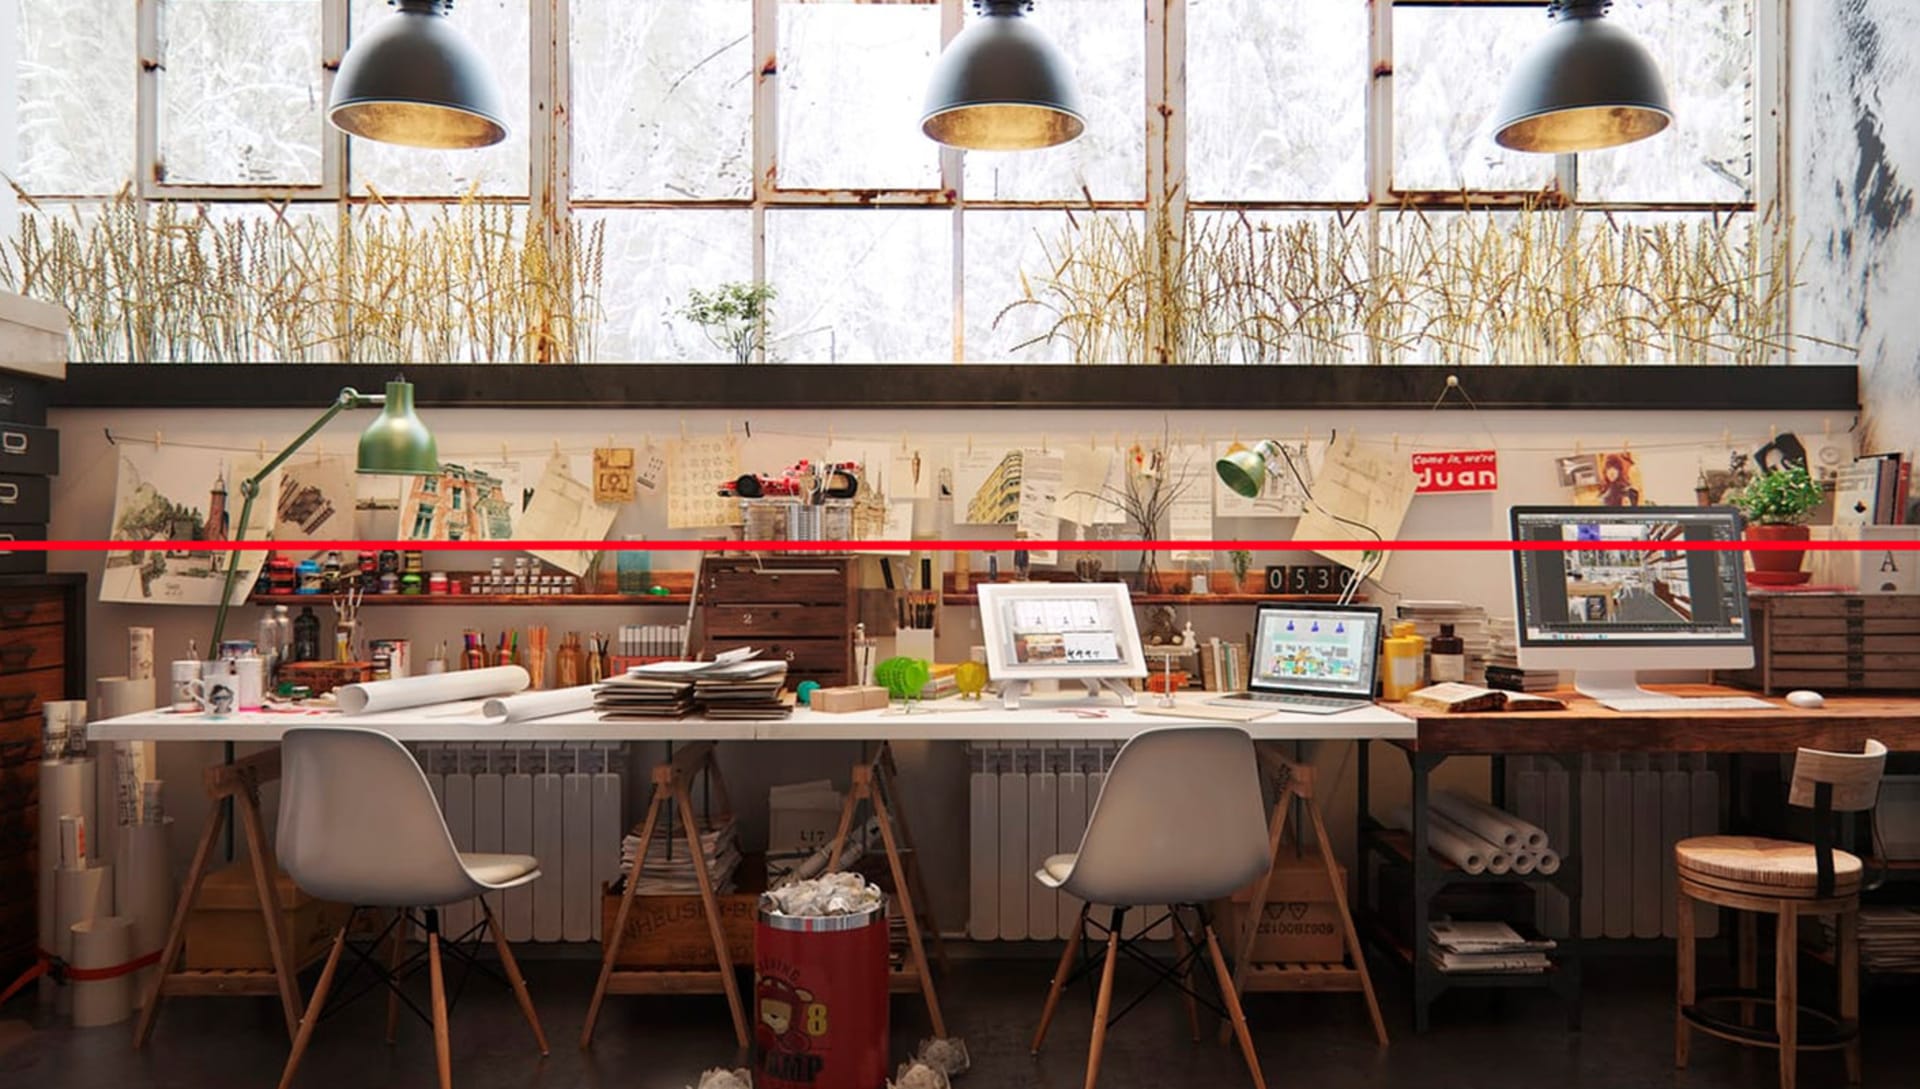
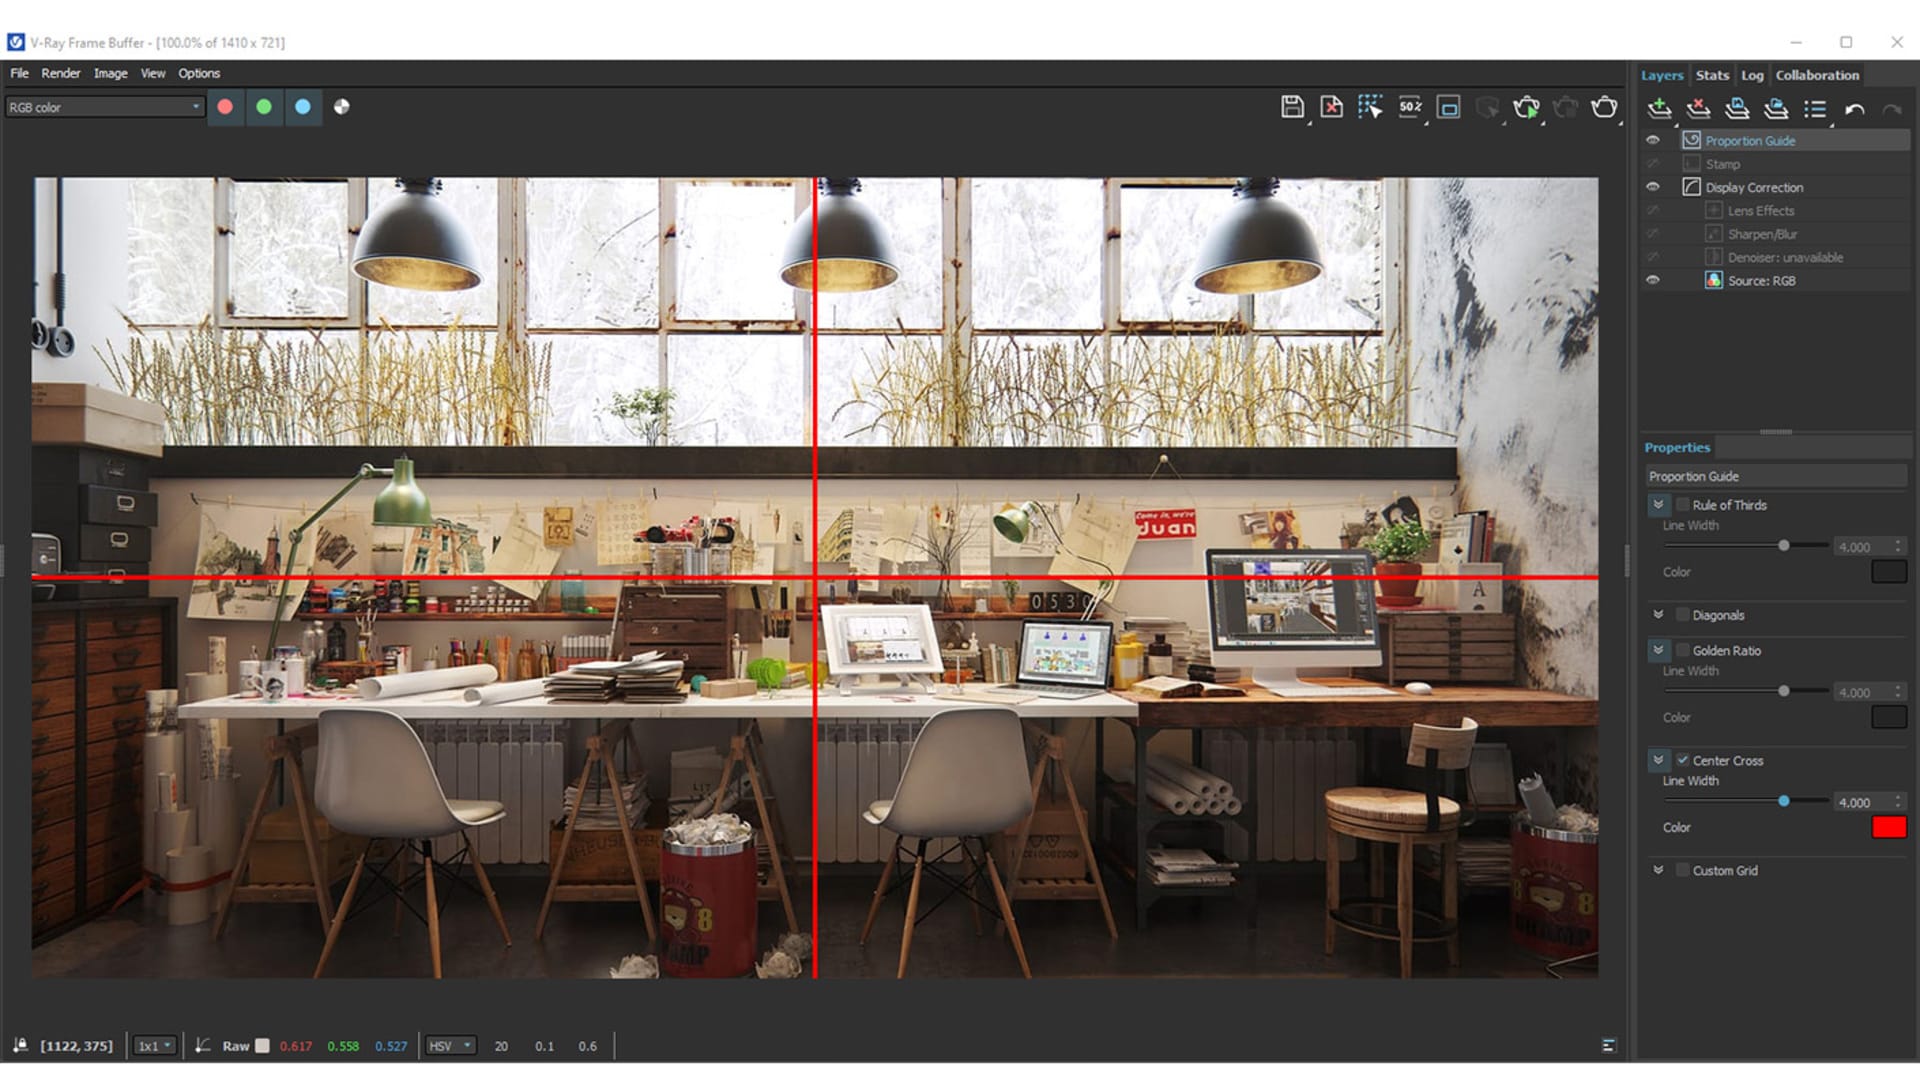
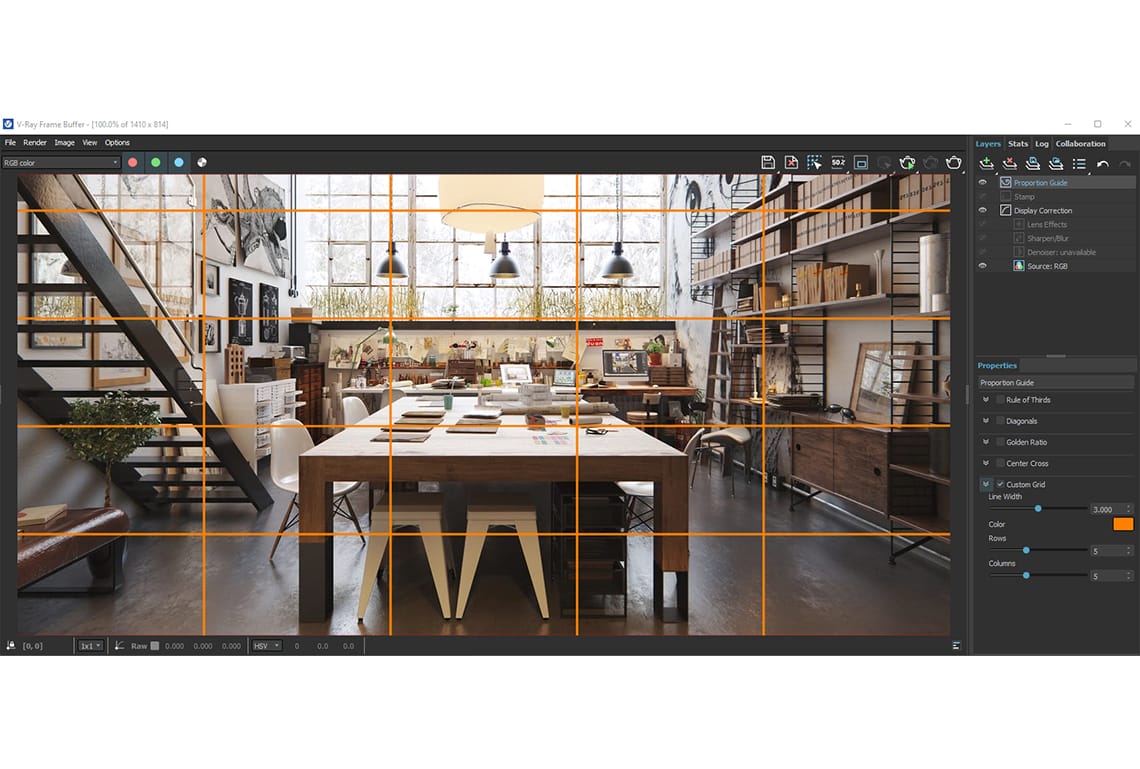
Want to take your 3D interior design rendering workflow to the next level? Apply these helpful tips in your next project and thank me later.
 © Škoda Design
Get the latest news, artist spotlight stories, tips and tricks delivered to your inbox.