
Your cart
There are no items in your cart.

 PX Group © Robin Wood
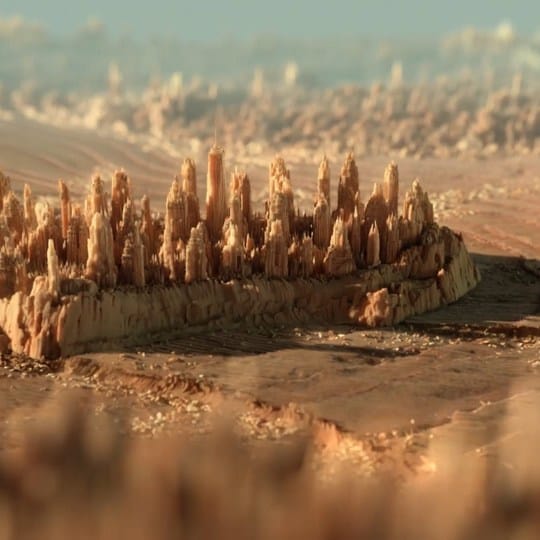 PX Group © Robin Wood
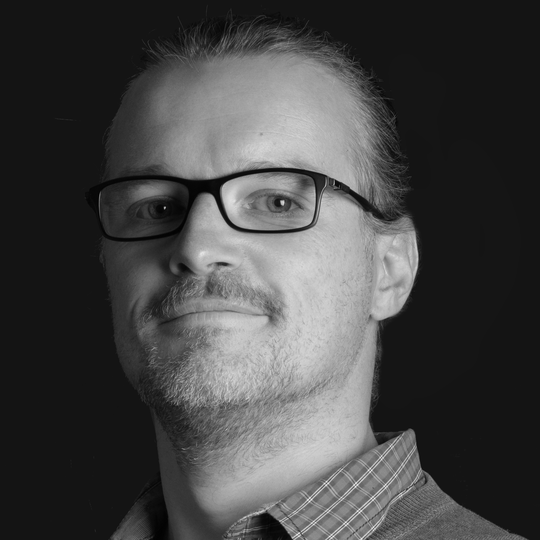
Christian is a Hamburg-based 3D artist. He’s worked with 3ds Max since 2005 and V-Ray for 3ds Max since 2010. Before working in advertising at PX Group, he made game trailers and motion graphics as part of a small team. Currently, his professional focus is on product shots and automotive renderings. As a generalist, he works in all disciplines of 3D, but his main passion lies in visual storytelling.
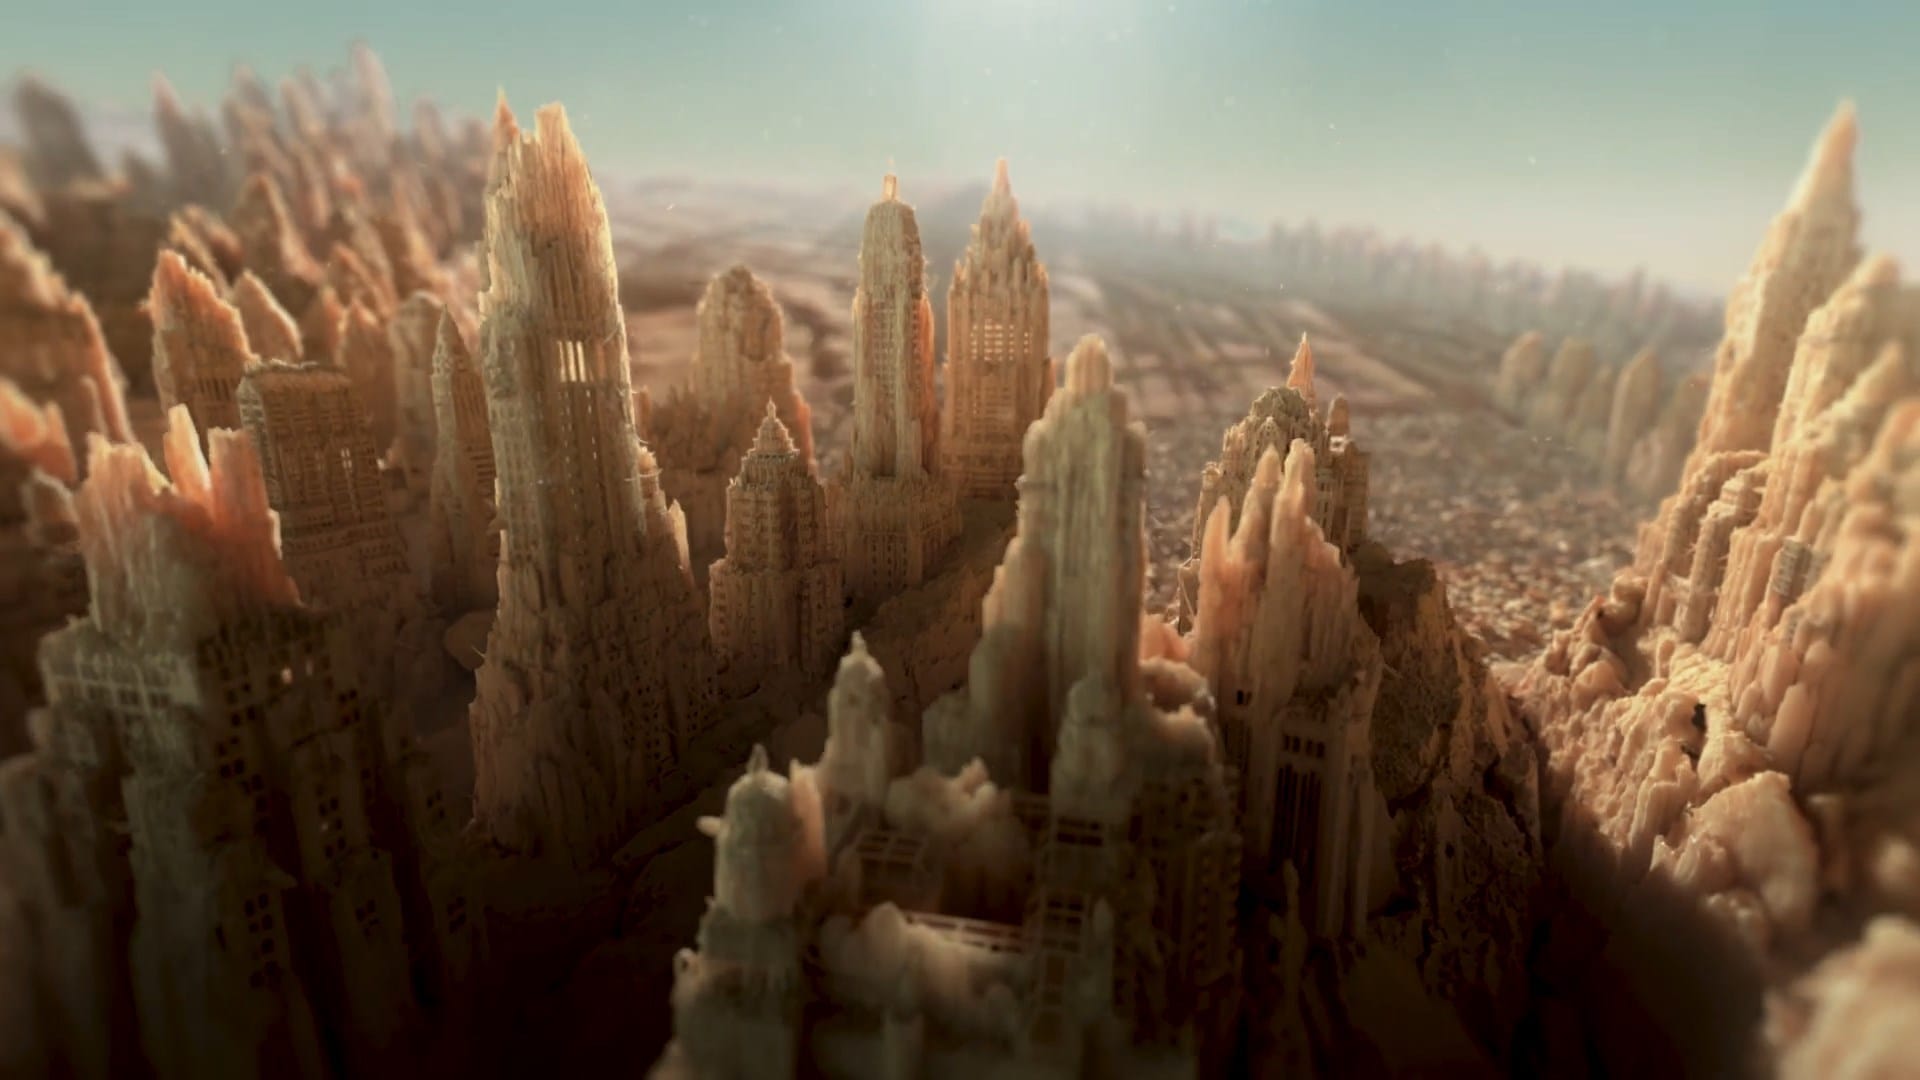
The potential amount of V-Ray proxies the [V-Ray] engine could handle seemed almost limitless.

Master subsurface scattering in V-Ray—understand it, use it, and optimize it for breathtakingly realistic renders.

Our latest Chaos Campus show explores what a boutique visualization and creative studio wishes every young artist knew about creativity, business, and turning passion into success.

Explore how the Chaos Corona community fosters collaboration between creatives and enriches architectural visualization with shared knowledge and expert insights.
 © Škoda Design
Get the latest news, artist spotlight stories, tips and tricks delivered to your inbox.