Chaos
Architecture

Industry solutions

Explore our ecosystem

Products

Media & Entertainment

Industry solutions

Explore our ecosystem

Products

Product & E-Commerce

Industry solutions

Explore our ecosystem

Products

Education & Community
The State of AI in Architecture.

New insights from 1,200+ architects.

Help

Chaos Help Center


What are you looking for?

PhoenixBasics_pt.1_header_thumb.jpg

The complete guide to Chaos Phoenix, Part 1 — Getting to know dynamics simulation


Join Phoenix expert Cory Holm for the first part of our guide to Chaos’ liquid, fire, and smoke simulator, and find out how to make the most of its features.

Welcome to Phoenix! With Chaos’ dynamics simulator, available for 3ds Max and Maya, you can create all sorts of satisfying liquid and gas simulations that interact with the environment and objects just like the real thing. For example, you can create liquids such as water, coffee, and honey, as well as fountains, vast oceans, and even lava. For fire and smoke, you can create effects like explosions, burning fuel, and large-scale smoke such as from volcanoes, as well as dust, tornadoes, clouds, galactic nebulae, and more, all with Chaos Phoenix.

Phoenix can also make a ship, ice cubes, or other objects float in water, and even simulate waves that can carry them around or wash them away, with its built-in support for Rigid Body Dynamics using Active Bodies

In this guide, we’ll introduce you to the basic concepts of Chaos Phoenix and how you can use it to create and control simulations in 3ds Max and Maya. Want to get straight into Phoenix’s more advanced features? Take a look at part two of this guide.

Your shortcut to great simulations

phxMax2022_49001_phxToolbar128.png

Phoenix comes with a handy toolbar that offers presets for common setups, such as a large-scale ocean simulation or gasoline explosion, as well as small-scale setups including coffee, delicious beer, candles, and so forth. The presets offer base simulation settings that you can use right out of the box and analyze to see how they work, and they can be further customized and modified to fit your needs. 

PhoenixBasics_pt.1_header_thumb.jpg

Simulation

The workflow with Phoenix fluids and Active Bodies is split into two main parts: simulating and rendering. 

The Phoenix Simulator is a 3D box inside which simulations of fluids are performed. The box is divided into small cells, called voxels, which is why the box is referred to as a simulation grid. The voxels inside the grid can be filled with just about any type of gas or liquid. 

When you press the simulate button, Phoenix looks at each voxel and calculates whether there is any fluid there, based on the settings you give the Phoenix sim. The simulator will also account for obstacles, such as geometry, as well as participating forces in the scene, and so forth. 

The simulator outputs this information in a sequence of files called caches. The caches contain raw simulation data, consisting of grids and particles, which describe the fluid’s behavior for each timeline frame. 

PhoenixBasics_pt.1_01.jpgPhoenixBasics_pt.1_01.jpg

Fire/Smoke vs Liquid Sims

Phoenix Simulators are divided into two types: Fire/Smoke, or Liquids.

Fire/Smoke simulators can produce gaseous effects like fire, smoke, and explosions, as well as create sparks or embers. These types of simulations are grid-based, meaning they consist of voxels that contain the fluid's properties at a position and given time, such as the fluid’s temperature, its velocity, its color, and so forth.  

PhoenixBasics_pt.1_02.jpgPhoenixBasics_pt.1_02.jpg

Meanwhile, the situation is a bit different for Liquid simulations, which can create pouring or flowing liquids, or any simulation that needs foam or mist. Liquid simulations use a hybrid solution under the hood, which combines grid-based simulation with particles, in order to take advantage of the benefits of both. Phoenix generates particles for liquids because they are useful for representing the characteristics and behavior of a fluid, and as a result look more natural when rendering liquids, especially when generated in very large amounts.

PhoenixBasics_pt.1_03.jpgPhoenixBasics_pt.1_03.jpg

Emitters & Sources

An Emitter is what actually emits the fluid inside the simulation grid, and it can be geometry and/or particles. Aside from a few exceptions, you generally always need an Emitter for a simulator to be filled with fluid. This is so that the simulator knows where in 3D space the fluid should be born.

You also need a Source to tell the Simulator which geometry or particles will be emitters. 

The Source can also determine things like how much fluid is emitted, and what exactly is emitted. It has its own parameters that affect the emission of fluid, which are separate from the simulator’s own settings.

For example, with a Fire/Smoke Source, you can emit a high temperature or fuel to ignite a fire, or emit smoke, or emit Drag particles that can simulate effects like embers, wispy cigarette smoke, dust, or sand. Meanwhile, there is a Liquid Source that can be used to emit Liquid particles, as well as other particle types like Splashes, Foam and Mist.

PhoenixBasics_pt.1_04.jpgPhoenixBasics_pt.1_04.jpg

Viewport Preview 

Chaos Phoenix also offers a Viewport Preview that can give you a detailed visualization of what the fluid is doing before you decide to start rendering. The raw simulation cache data is displayed in a way that can help you make sense of whether the sim is going the way you envisioned, or needs tweaking. 

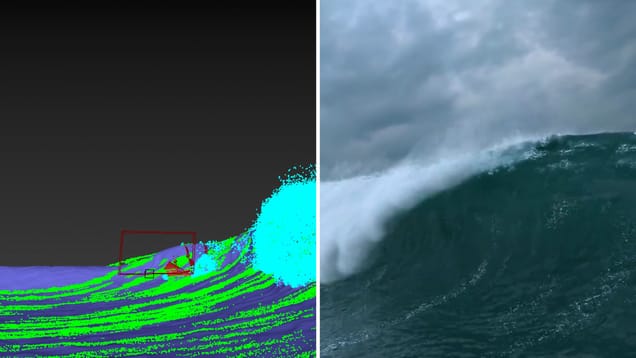
For example, if you run a liquid simulation, by default you will see a particle preview in the viewport that you can playback in the timeline to see how the liquid behaves in the sim. You can also change the settings to view the liquid sim as a mesh, control the visibility of different particle types in the sim, such as Splash and Foam, or even change their color to easily distinguish them. 

Note that since the Viewport Preview is also almost completely independent from rendering, you can customize different aspects of the preview without affecting the render settings.

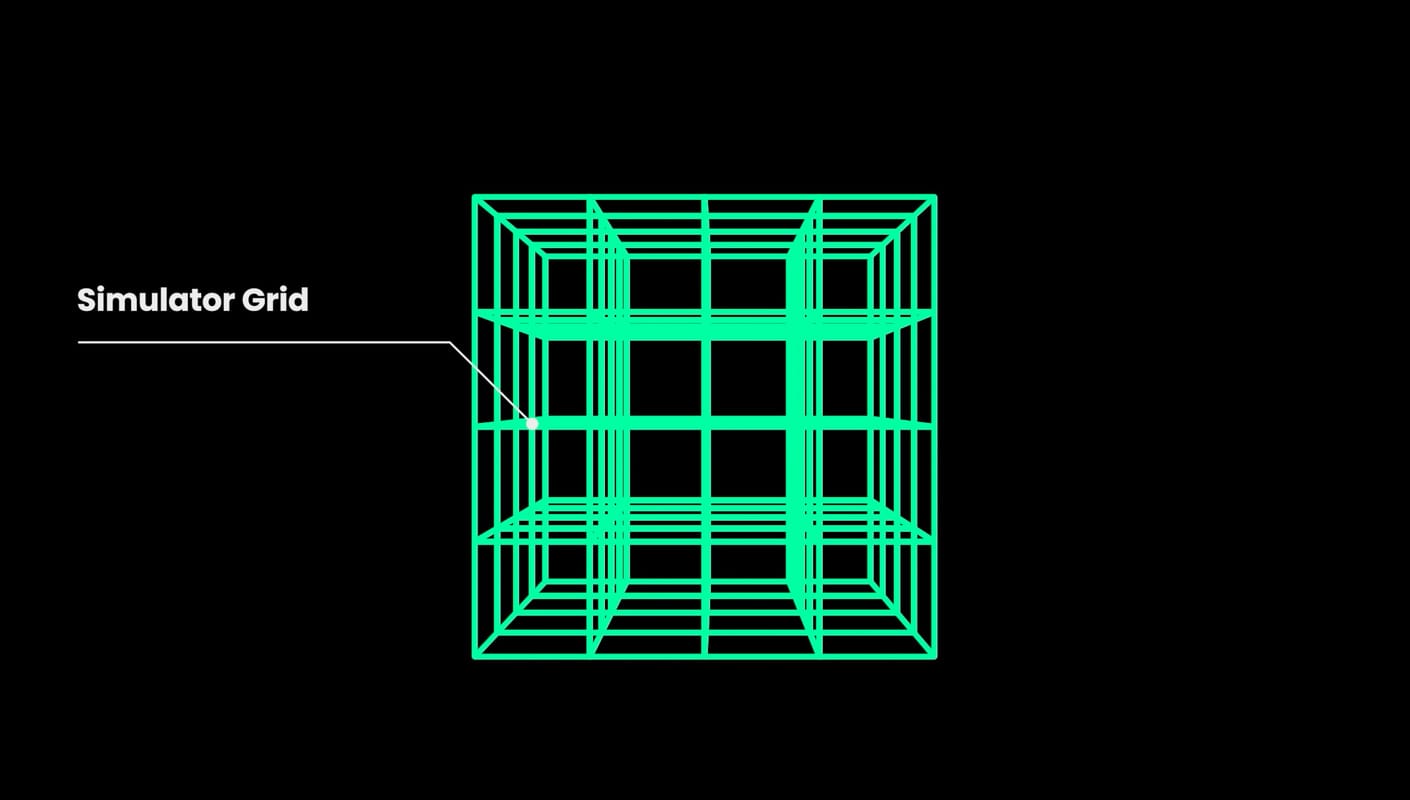
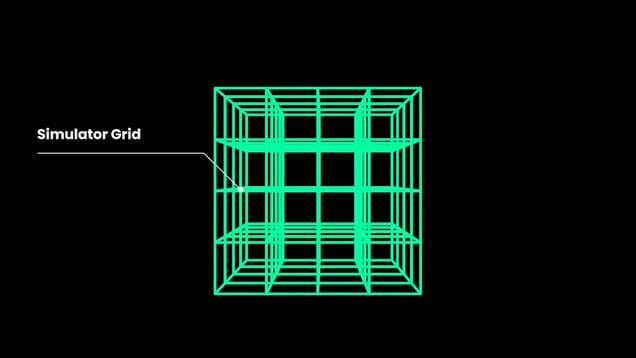
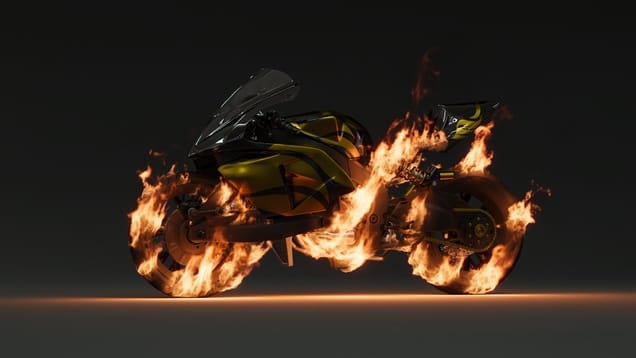
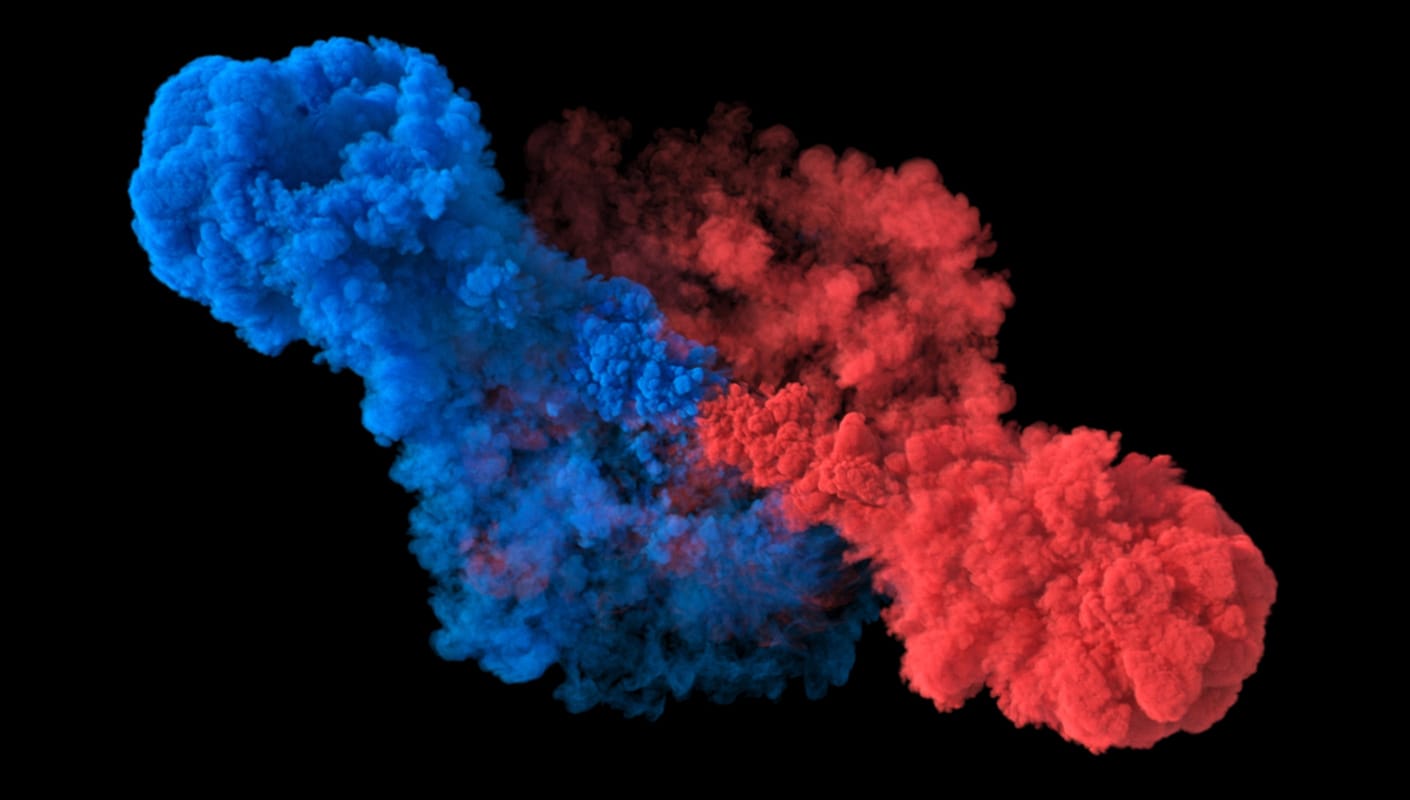
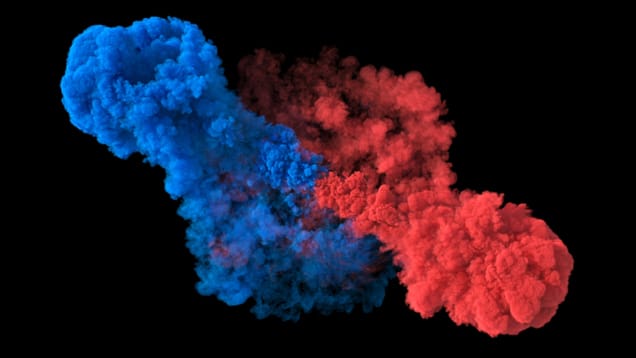
There is also a Voxel preview, which uses 2D triangles to emulate the shape of a volume, and is typically used to display Fire/Smoke simulations. It also allows you to select specific properties of the simulation to preview, such as only the Temperature or Smoke. 

Finally, the Phoenix GPU Preview mode is a detailed real-time Viewport Preview for Fire/Smoke simulations that shades the simulator directly inside the viewport. With the GPU Preview enabled, you can make changes to the Volumetric Render Settings and get a quick preview of their effect on the simulation’s appearance, without having to render.
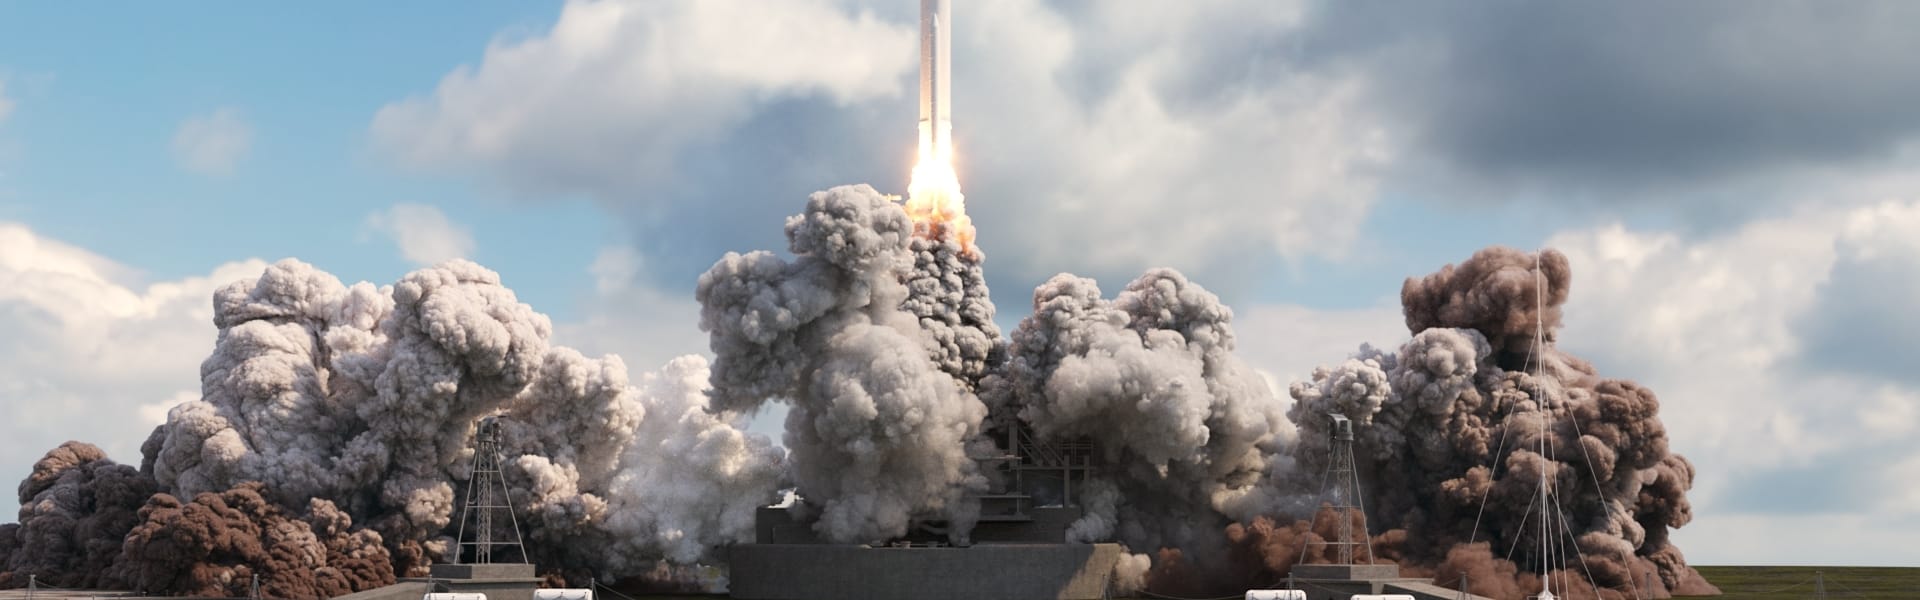
PhoenixBasics_pt.1_05.jpgPhoenixBasics_pt.1_05.jpg

Rendering

When you’re happy with your simulation, you can focus on the rendering and shading. Since the settings for shading and rendering are completely independent, sim cache files contain only sim data, and no render settings

Simulation cache data can be rendered in several render modes using the simulator’s Rendering Rollout. These include mesh and volumetric render modes, as well as the option to render particles as points or bubbles using the Phoenix Particle Shader. 

Fire/Smoke sims are typically rendered as volumetrics, whereas Liquid sims are often rendered as a mesh, or shaded using the Particle Shader. Phoenix also offers flexibility in terms of how you choose to render your caches, meaning you can render liquid simulations as fire using volumetrics, or render a fire simulation as liquid using a mesh mode.

Phoenix also offers its own Fire and Smoke volumetric shading controls, that make it possible to shade a variety of different types of fire, smoke and other volumetric scenarios. These include effects ranging from candle flames and fireplaces, to tornadoes and massive explosions, as well as sci-fi effects such as nebulae and so on.

PhoenixBasics_pt.1_06.jpgPhoenixBasics_pt.1_06.jpg

Simulations made simple.

Try Chaos Phoenix free for 30 days


Cory_Photo_for_CGBW.jpg
About the author

Cory Holm

Cory Holm has a broad variety of professional experience at the intersection of visual arts and technology. He graduated from Virginia Commonwealth University with dual Bachelor of Arts degrees in English and Film, and his interest in 3D design inspired him to pursue freelancing. After joining Chaos, he worked as a 3D generalist assisting with video production for Chaos product releases, tutorial content and webinars. He now specializes in creating tutorial content for Chaos Phoenix, helping artists learn how they can use dynamic visual effects to enhance their scenes.

Originally published: October 25, 2022.
© Škoda Design

Subscribe to our blog.

Get the latest news, artist spotlight stories, tips and tricks delivered to your inbox.

By submitting your information you are agreeing to receive marketing messages from Chaos. You can opt-out at any time. Privacy Policy.

Chaos
© 2024 Chaos Software EOOD. All Rights reserved. Chaos®, V-Ray® and Phoenix FD® are registered trademarks of Chaos Software EOOD in Bulgaria and/or other countries.