Summary:
- Viola Vazio and Stefano Strika, experts in 3D architectural visualization, share valuable tips for using V-Ray for Cinema 4D.
- Model background buildings quickly for flexible camera angles and lighting, enhancing scene exploration.
- Start with simple materials and gradually add details to achieve a cohesive scene and improve render quality.
- Utilize V-Ray’s displacement tool for detailed surfaces efficiently, especially on large, flat areas.
- Leverage the Cosmos library for ready-to-use assets like trees and vehicles, enhancing scene staging.
- Experiment with lighting using the Light Mix tool to adjust lighting in real-time without re-rendering.
- Use Cryptomatte to modify shader colors and create masks, speeding up post-production without external software.
- Enhance renders in post-production with exposure, tone mapping, and LUTs for a photographic look.
- Continuously experiment with different styles and techniques to grow as a 3D artist and improve skills.
Need some pointers on your next V-Ray for Cinema 4D architectural visualization project? 3D Render & Beyond’s Viola Vazio and Stefano Strika share expert advice.
Viola Vazio and Stefano Strika are leading architects and experts in 3D arch viz. With over 20 years of experience in the field, they founded 3D Render and Beyond, a trusted V-Ray partner and the first official training center for V-Ray for Cinema 4D.
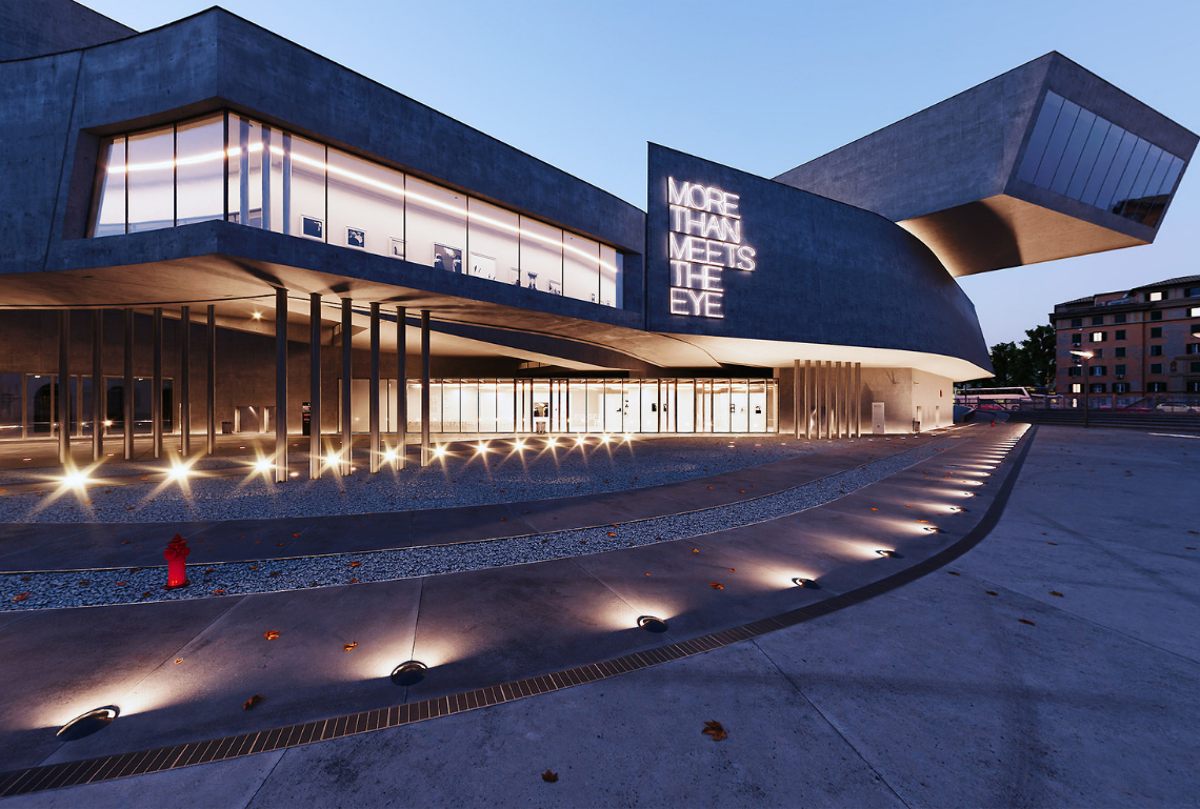
You might remember Viola and Stefano from the D2 Holiday Special, in which they gave an intensive workshop on V-Ray 5 for Cinema 4D and answered all of the viewers’ questions. Their tutorial on replicating Zaha Hadid Architects’ MAXXI: Museum of XXI Century Arts definitely impressed the audience, along with their attention to detail and their friendly instructions. Watch the recording of the workshop below. Also, feel free to watch part one, two, and three of 3D Render & Beyond's videos on the making of the museum scene.
New to the world of archviz? Check out our back-to-basics guide on how to do an architectural render.
Tip 1: Bring buildings into the background
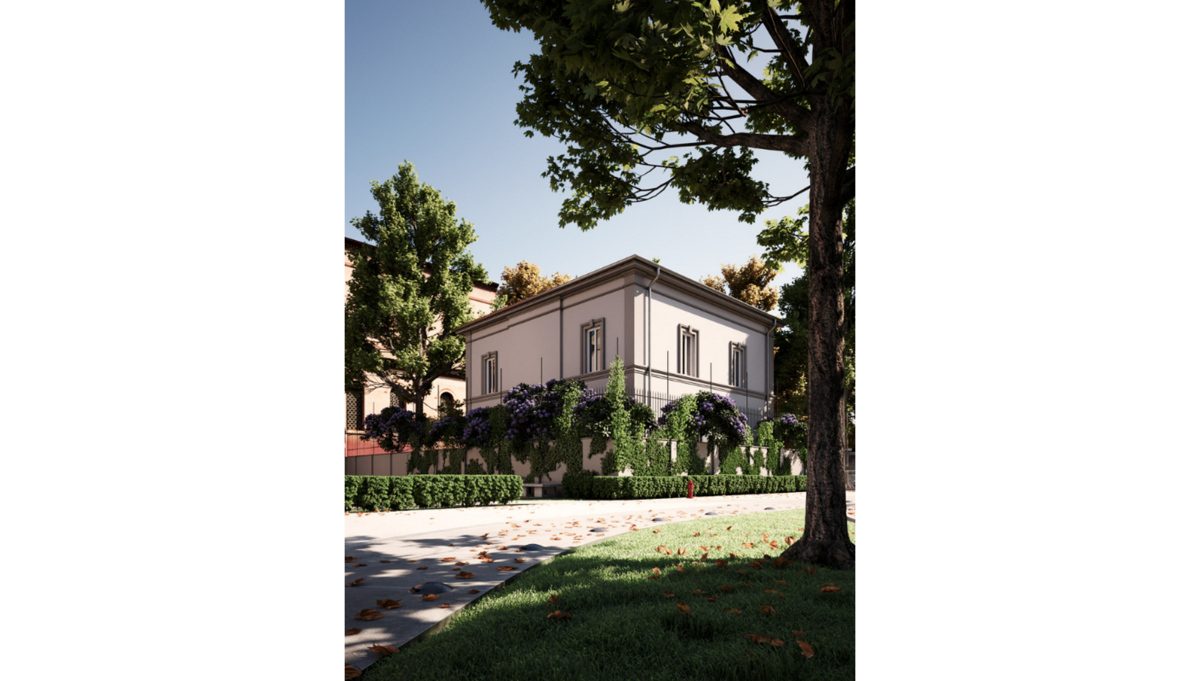
Background buildings can be modeled quickly without having to take care of details and it will give you great results. The advantage compared to a simple background image is that you’re not limited to the angles of the photos, so you can move the camera freely to explore the scene without the fear of running into an empty background spot. It’s also more flexible with lighting as it isn’t linked to the photo.

Tip 2: Start with simple materials
We always prefer to start with very simple materials and then slowly layer details where necessary. This will enable you to have an overall feeling of the scene right from the start and then allow you to take action on specific elements that add details and quality to your render.

Tip 3: Take advantage of displacement
V-Ray’s displacement is a fantastic and sophisticated tool. Different options are available and all of them have their strengths. For example, with large surfaces that are more or less flat, we can use displacement in 2D mode. This will give us great details without using too many resources, and the setup takes very little time.


Tip 4: Stage your scene with Cosmos
One of the many strengths of V-Ray 5 is the Cosmos library, which includes a great quantity of plug-and-play assets. They are perfectly configured to work with V-Ray and the library is growing every day. Even for those like us that want to model everything from scratch, this is extremely useful to add elements like trees, vehicles, and more.

Tip 5: Play around with lighting values
We always prefer to consider natural lighting and artificial lighting as two separate systems. For natural lighting, we often use physical sun in “PRG CLEAR SKY” mode. By default, this will give you excellent results with many different lighting conditions without having to use an HDRi. For artificial lighting, we use three simple rules to obtain consistent results.
- Choose the correct light body dimension
- Use the correct intensity in Lumens
- Use the correct color temperature
Luckily these are all known values, you just need to do a little online research in order to find this information from lighting fixture manufacturers.


Tip 6: Relight with Light Mix
Nothing beats the Light Mix tool when you need to test out different lighting solutions. Well-balanced lighting is always essential to start with, but with Light Mix, you can make small or dramatic changes to light in real-time without having to re-render.

Tip 7: Change up the look with Cryptomatte
Just as Light Mix can modify lights in real-time, Cryptomatte enables us to modify shaders’ colors and much more. With this tool, you can create an unlimited number of masks that can be used to change the look of single elements of your render. You can do all this without having to use any other editing software, which speeds up post-production quite a bit.

Tip 8: Spend some time in post-production
We often hear users complain that their renders look a bit dull by default; this is due to the fact that the render’s output is linear and is therefore missing the filmic look typical of a real camera. Fortunately, the frame buffer has many tools to create a nice photographic look.
We always start with three basic corrections: an exposure layer where I compress highlights, a filmic tone map layer with either Hable or Heje-Dawson mode, and finally a lookup table layer. In this layer, you can upload any LUT file that goes with the mood you are looking for. We recommend LUTs from Kim Amland, but there are many more available online.

Tip 9: Never stop experimenting
Very often, because of deadlines or because of a client’s taste, we are limited with what can be done with our renders. One of the reasons we were able to grow as 3D artists is by continuously testing things out, even on completed projects. This allows you to try certain things that you probably wouldn’t have tried for your clients.
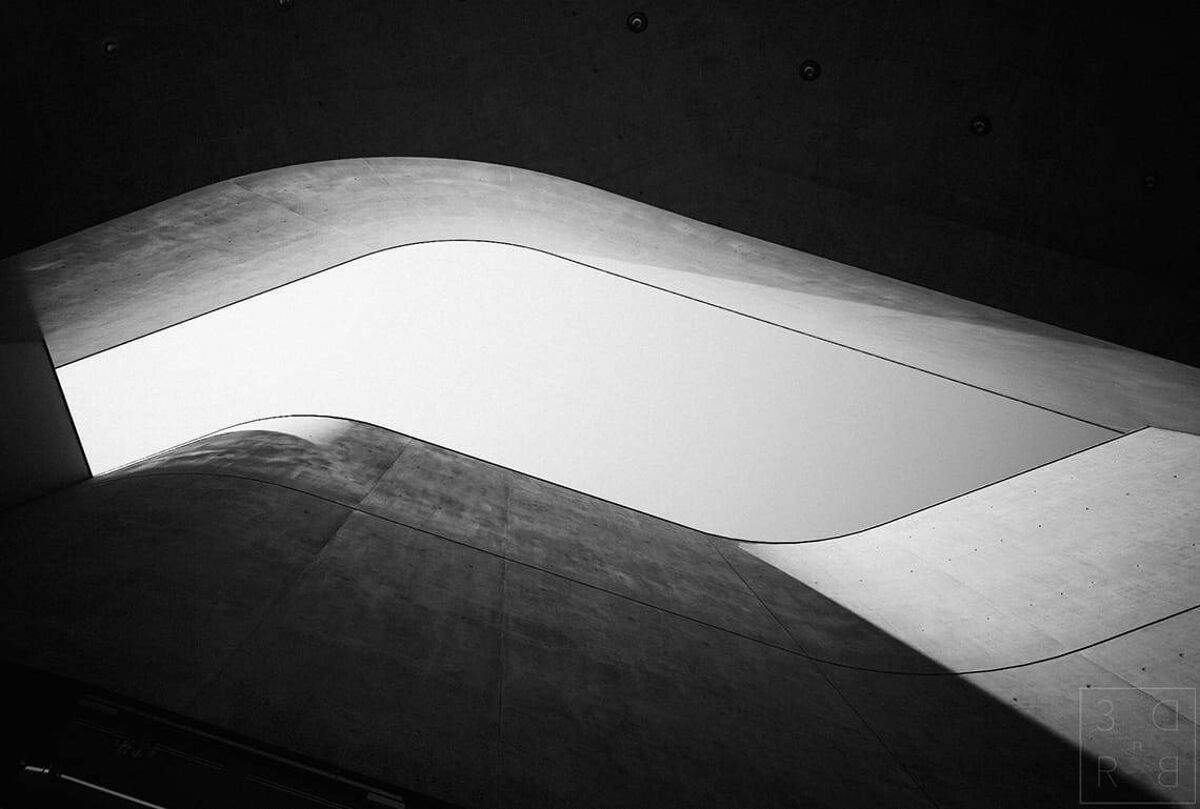
Months after we completed the museum scene, we ended up experimenting with a black and white look, which is a style we personally like very much. This is something we never would have created for a commercial project, but the results turned out to be very nice and we had the chance to improve our skills.


Join the 3D Render & Beyond community
Check out 3D Render & Beyond’s YouTube channel to stay in the loop with all of the great tips and tricks on V-Ray for Cinema 4D. If private coaching, or a V-Ray 5 for Cinema 4D essentials course sounds exciting to you, visit their training center.


