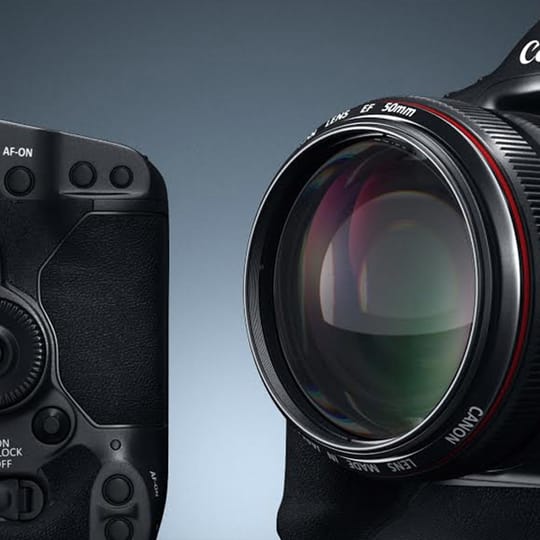
 © Ernest Kośka
 © Ernest Kośka
Photorealistic rendering is a technique that uses 3D rendering software to generate lifelike images and animations using physically based virtual lights, cameras, and materials, allowing you to showcase your projects as if they existed in real life.
Whether you're visualizing a pair of headphones or an entire house, it’s much easier to convince your clients when they’re looking at a render that looks as much as the real thing as physically possible.
Using photorealistic visualizations is an effective way to connect with your customers’ emotions, build trust, and make better design decisions.
Being able to communicate every tiny detail in the most realistic way leaves no room for doubts or uncertainties. And without guesswork, you and your clients can make informed decisions in less time.

Rendering can be faster and cheaper than setting up a photo shoot in real life. And, because your only limit is your imagination, you can take a luxury car to an aquarium, for example.
Companies around the world also create photorealistic 3D representations of their products instead of building actual prototypes. Within minutes, they can produce multiple concepts that account for different designs, materials, and budgets, and accurately figure out how they’ll sit in different environments and lighting scenarios. Almost every modern item you own will have been through this process.
Finally, you can breathe life into your projects with animation. If a picture tells a thousand words, a photorealistic animation tells a million. A simple camera move can add a new perspective to an architectural scene, a car can speed through a dramatic backdrop, or a believable character can explore an incredible new world.

Achieving photorealism is both an artistic and a technical skill. Being able to see and represent the real world’s details goes hand in hand with technical knowledge and the renderer’s capabilities. The first thing you need is the right software for the job. The software must feature:
The other part of the equation is understanding the real world and which elements are needed to create the feeling that an object, environment, or character exists in real life. As an archviz specialist, artist or a designer, you should try to:
Observe the world around you so you know what the real world should look like in your photorealistic architectural rendering.
Think like a photographer. Use camera angles, composition rules, depth of field, motion blur, and lens effects to your advantage so your virtual picture looks indistinguishable from a real one. Check out these tips to boost your composition and camera skills.
Plan your lighting. Well-arranged lighting can add value to your subject and make your setting look more realistic. Check out our 5 lighting tips for photorealistic renders.
Add details. Objects that look “too simple” can ruin realism. Detail your models as much as you can, adding intricacies such as round corners and imperfections such as dirt and scratches to materials.
Understand your materials. Every material behaves differently depending on its nature. Plastic reflects light differently than metal, for example, and understanding each material's properties is key to representing it accurately.

In the quest for photorealism, you need software that will help you reach your goal effortlessly. V-Ray is the best software for photorealistic rendering, whether it’s VFX, product design, or architecture.
V-Ray is able to deliver amazing visuals while handling huge amounts of geometry so you can have all the necessary details that make your objects stand out. It is also capable of calculating physically correct lighting and materials, with a virtual camera that works just like its real-life counterpart, making everything look exactly as it would in the real world.
There are many different ways to represent your designs so they look as real as possible. Here you can find some useful rendering tips and tricks to help you achieve your goal.
Now, how about trying it yourself? You can download a 30-day free trial right now and see why V-Ray is used by thousands of architectural visualization artists, designers, and VFX studios every day.