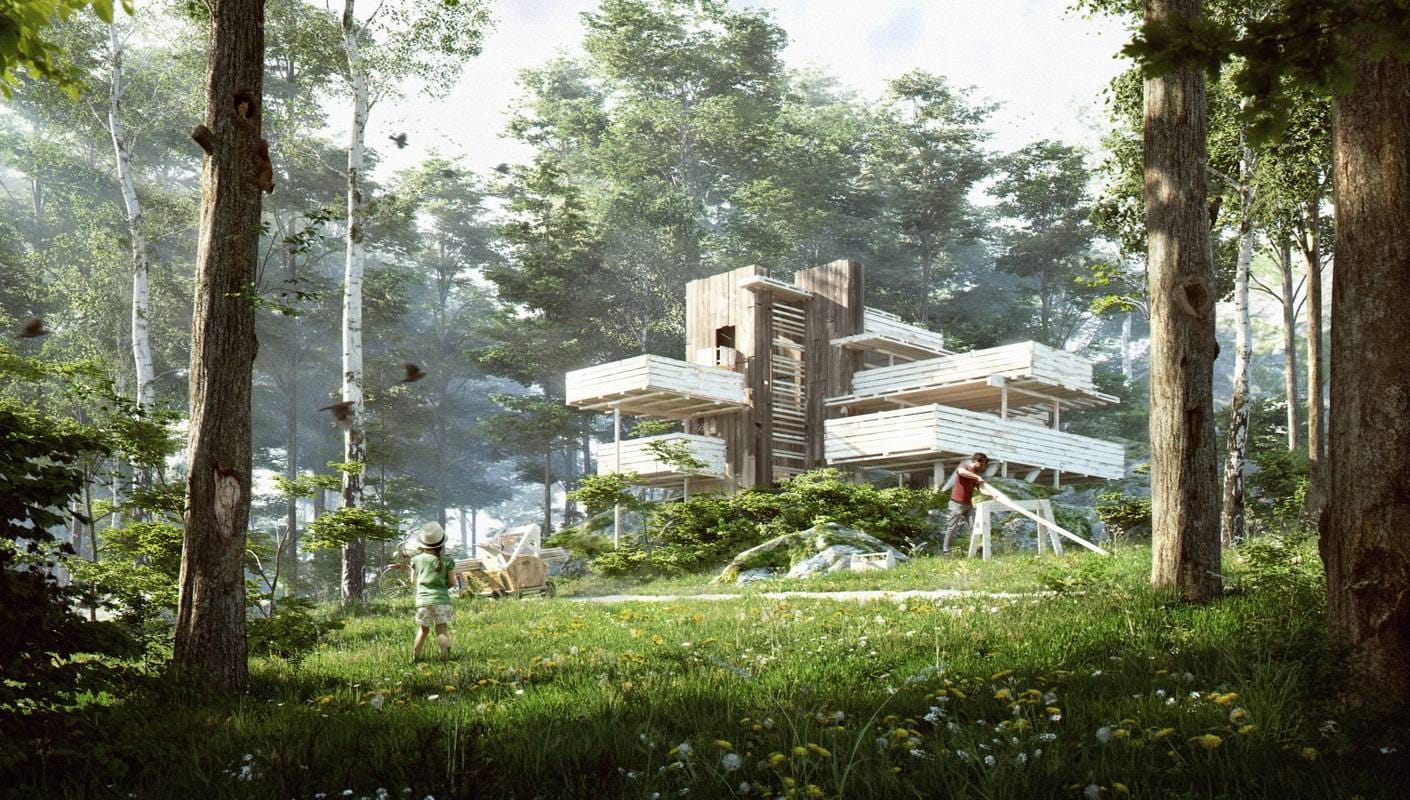
 © Nmachine
 © Nmachine
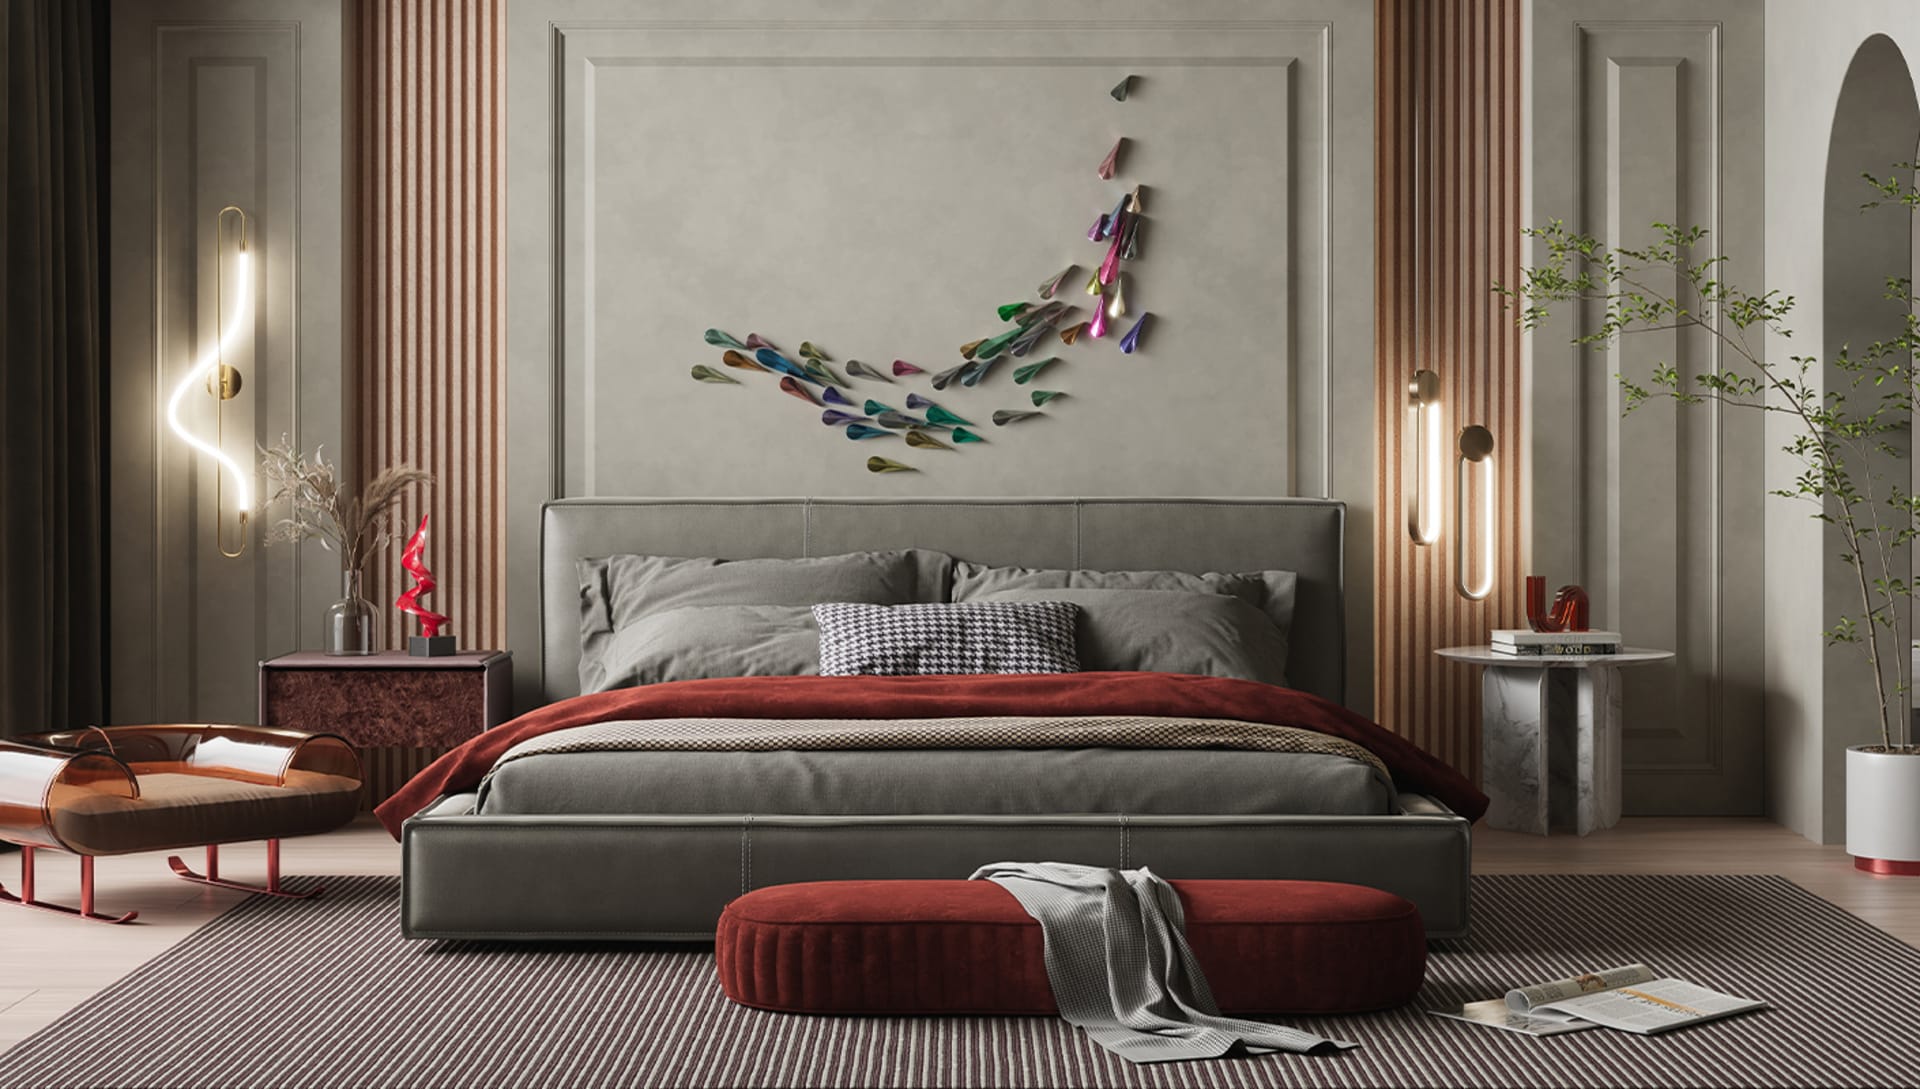


From the project's inception, lifelike architectural renderings are crucial. Initial representations involve creating a massing model to establish the physical parameters of a building and its integration into the surrounding environment. Enscape facilitates real-time project visualization, enabling rapid idea communication and speeding up the decision-making and approval processes.

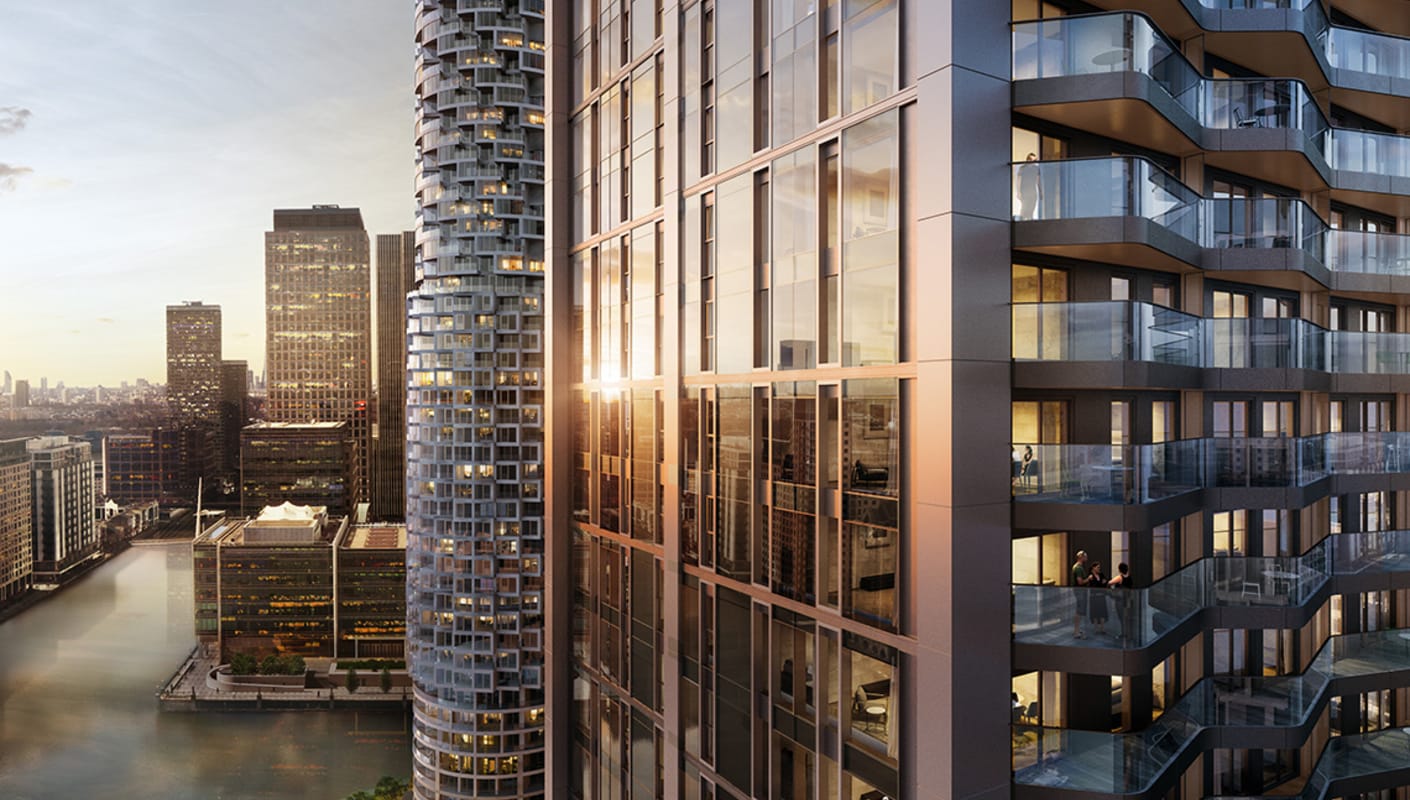
 © Nookta
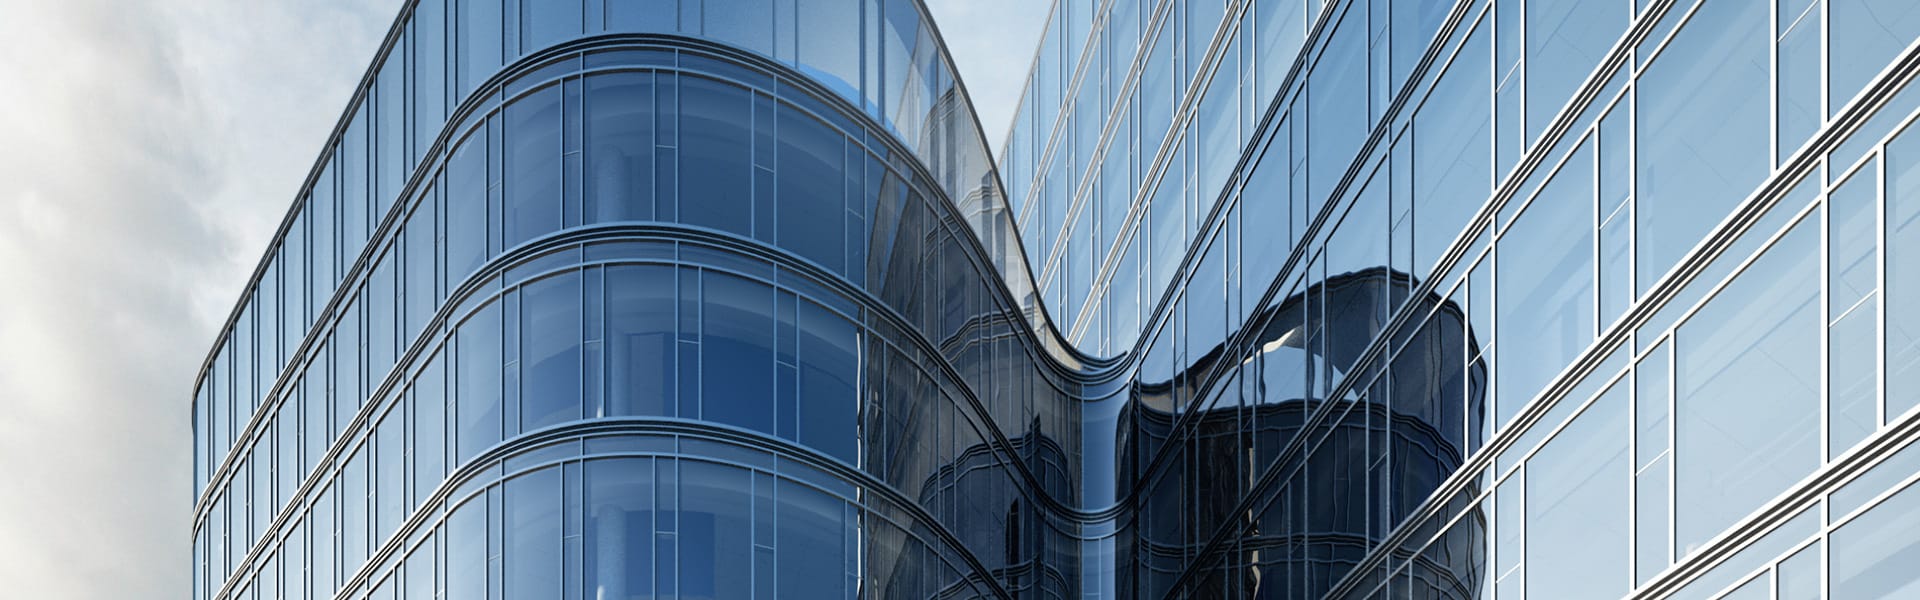
The diverse set of Chaos products is there to help with the evolution of an architectural rendering project. Property owners, planning authorities, and the architects themselves can benefit from photorealistic renders and virtual reality tours to explore ideas and the building’s impact on its locale.
Potential buyers and investors can be won over with glossy images and slick videos that show what it will be like to live in their dream homes. With V-Ray and Corona, artists have access to an array of tools and a rendering engine that can bring architecture projects to life and make them look stunning.
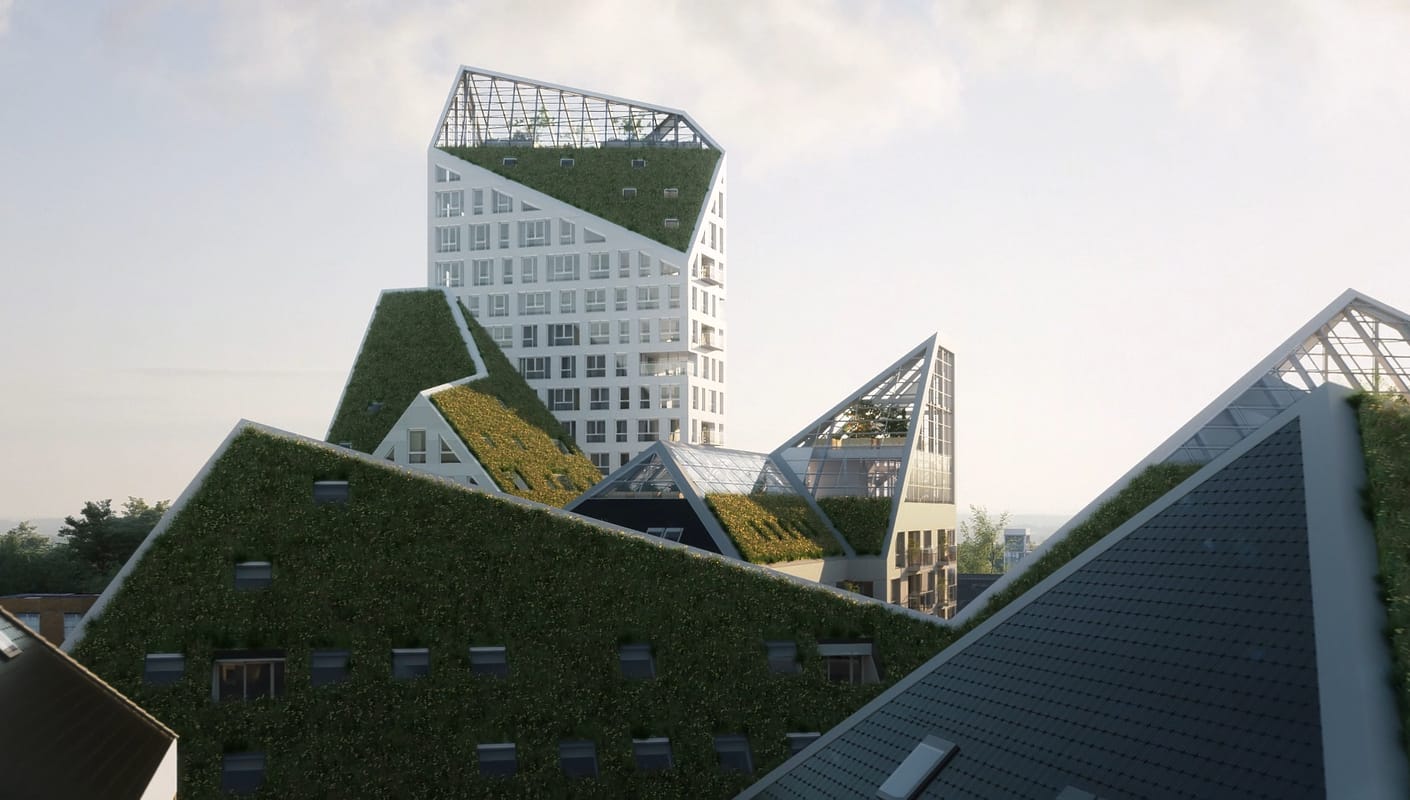
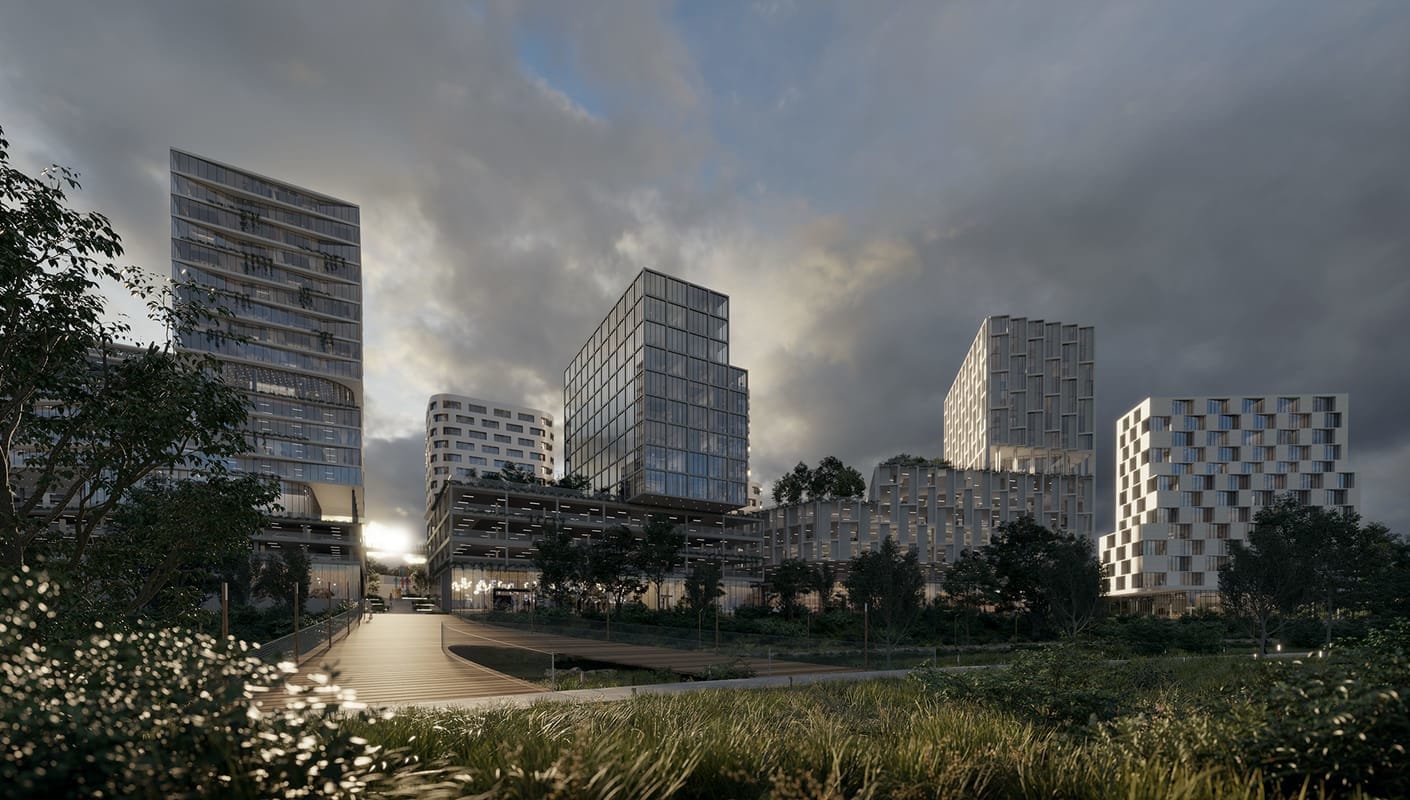
 © Uniform
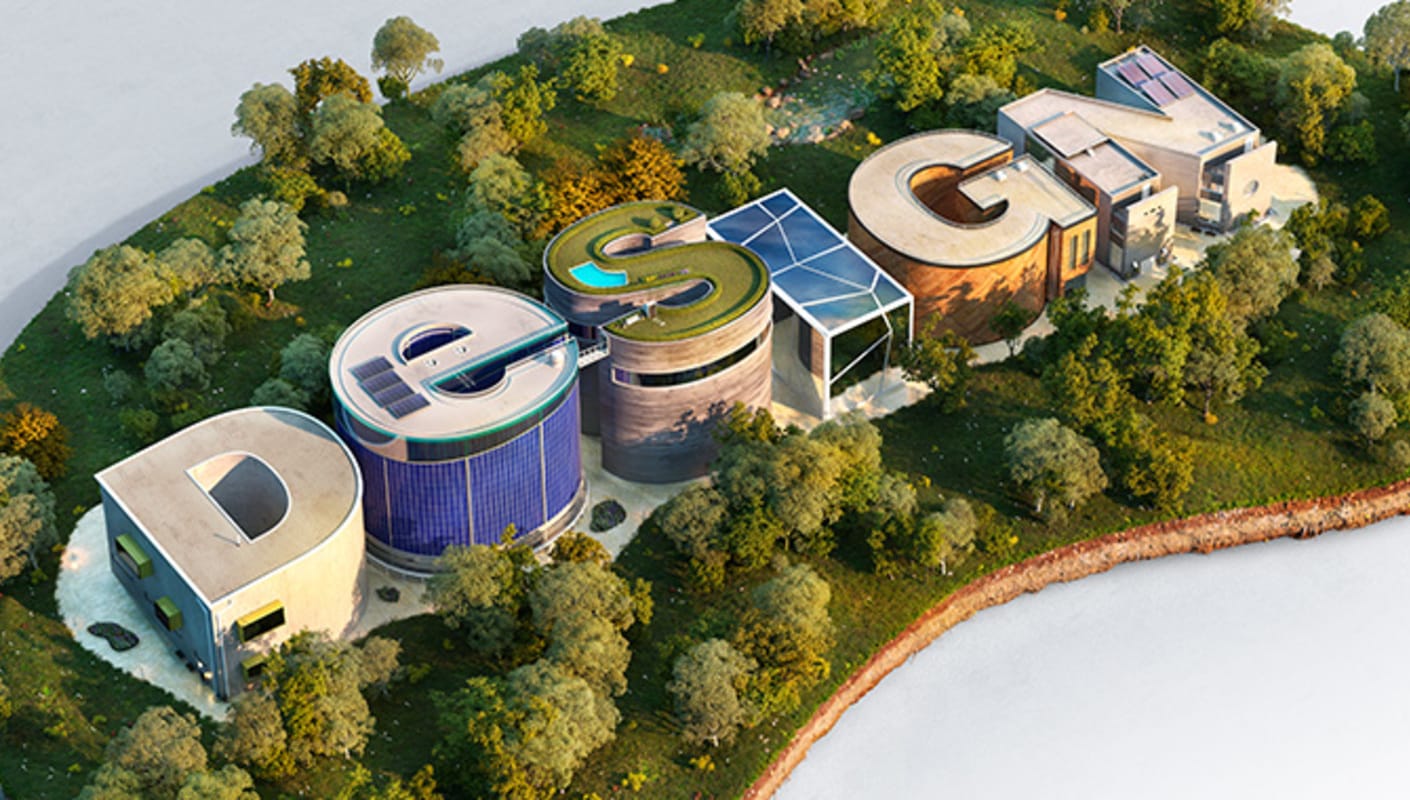
When time is of the essence, an intuitive user interface and compatibility with other software are essential. Chaos products are easy to learn — and their simple and intuitive interface gets more user-friendly with each new version — and they are compatible with the most popular plugins for architectural visualization. When your tools work together with seamless integration, everything is faster.
Entourage such as trees, vehicles, and people can be used at every stage of the design process to add realism and a sense of scale, and help make decisions. Chaos products like V-Ray, Corona, and Enscape come with asset libraries full of high-quality models.
Chaos Cosmos is a huge library with over 6000 free assets. Everything in Cosmos has been curated by Chaos and optimized for V-Ray, Corona, and real-time with Chaos Vantage, so users can use content with the added confidence that it will work flawlessly.

Connecting real-time and photoreal rendering workflows across multiple software platforms can seem daunting. We've improved the interoperability between Chaos' visualization tools by introducing a standardized project file format (.vrscene), allowing seamless project transfers between CAD tools like SketchUp, Rhino, Revit, and DCC tools like 3ds Max and Cinema 4D. This standardization promotes smooth collaboration and streamlined workflows among architectural designers and archviz artists across the AEC industry. Learn more >
Real-time rendering provides immersive, interactive experiences that allow the exploration and evaluation of buildings and spaces in a highly realistic and dynamic manner. It enables real-time adjustments and decision-making, fostering better communication and collaboration. Depending on your needs, either Chaos Vantage or Chaos Enscape can be the right real-time tool for you.
 © Brick Visual
Fast photoreal CPU & GPU rendering for artists and designers in architecture, games, VFX and VR.
The quick, easy-to-use secret for bringing SketchUp projects to life with exceptional realism.
The essential rendering software for architecture, automotive and product design workflows.
Professional rendering for architects, seamlessly integrated with the world’s top BIM application.
Professional 3D rendering software for Cinema 4D artists and designers.
The fastest way to bring V-Ray scenes into real-time and render ray-traced images directly from Unreal.
Powerful, artist-friendly simulation software capable of a wide range of effects including smoke, fire and liquid effects in both 3ds Max and Maya.
Thousands of high-quality models and HDRI skies that work perfectly with your V-Ray projects.
Create interactive experiences in real-time — in a 100% raytraced environment.
A professional image sequence player, designed for fast and smooth playback.
A single cloud-based platform for collaborative design reviews, advanced virtual tours and smart cloud rendering.
Enscape provides the fastest and easiest way to ideate, communicate, and showcase designs in real-time at every step of the design process.
Corona is the perfect choice for creating stunning interior design and architectural renderings right out of the box.
The complete solution to create and control crowd animations easily